
The kiln car has moved on. At the receiving belt, the de-stacker is waiting for its next stroke; a brick group still covers the same strip of rubber. During a stop, chalk the two ends of that strip. Later, compare the first check marks with those chalk lines and with a reading taken at the brick face.
Before calling it a bad compound, mark the first damaged metre. Is the cover cracked between stacks, shaved under a corner, or grooved beside the skirt? Each points to a different part of the line. The old belt, the kiln exit route and one day's temperature log are a better starting set than a catalogue temperature rating alone.

Photo: stack footprint. Clip: the first contact at transfer. Log: brick-face temperature, dwell and time for one belt circuit. Circle the smallest pulley on the drawing. Send that packet with the enquiry to a conveyor belt manufacturer; the rubber conveyor belt offer should identify the grade and build approved for it.
01At the Kiln Exit: Heat, Brick Corners and Stack Load
The log needs separate columns for room air, brick face and belt cover. Take the cover reading at a chalked spot after the stack departs. Add seconds since departure, distance from the instrument and its emissivity setting. Without those labels, the next shift may read a different surface and call it a temperature change.
The first row hits the receiving belt
A heavy stack distributes its weight until one row lands ahead of the rest. Then a few corners take the first hit. Photograph the touchdown at slow speed. The size of the stack on a dispatch note tells you mass, but not the pressure on a narrow strip of rubber during those first moments.
A cracked landing strip can hide two different depths of damage. Cut a piece across the first hairline. If the split stops in the face, there is still a cover question; if the skim has opened at a ply, the carcass and bending path enter the review. Bag and label the sample before the next shift cleans the dust away.
Read the abrasion pattern before choosing a grade
At a skirt line, a groove runs straight. At a transfer impact, the cut may begin under a brick corner and travel in the direction of motion. Sketch both if they occur on the same belt. Changing rubber hardness before removing a rubbing skirt can make the next belt fail in the same narrow band.
Put a depth gauge on the worn strip and on untouched cover near the tail. Label the readings by distance from the belt edge. The difference tells us where to look next: a dragging corner, dust caught at a guide, or general heat checking across the width. Keep the same reference spots for the replacement belt.
Field check: Mark one brick face and the corresponding belt patch. At the next safe stop, record their readings, the time since landing and the instrument settings. Two surface readings cannot reveal the temperature inside the fabric.
The exit line is easier to discuss as four marked stations. Each gets a photograph, a contact description and its own temperature reading. The kiln transfer is about landing; the gallery about dwell; packing about edges; reject return about broken pieces. Do not average their measurements into one 'kiln temperature.'
| Station | Record at this station | Likely belt stress | Specification question |
|---|---|---|---|
| Kiln car discharge | Brick contact temperature, dwell and landing pattern. | Heat with uneven impact. | Cover aging data and support at touchdown. |
| Cooling gallery | Carry and return temperatures at marked spots. | Repeated warmth; splice flex. | Approved joint and pulley path. |
| Strapping and pallet lane | Pallet alignment and loose strap tails. | Edge cuts or corner pressure. | Edge protection and transfer clearance. |
| Reject return | Shard size and spill location. | Cuts and local abrasion. | Cut resistance and cleaning access. |
02Follow the Line From De-Stacking to Strapping
A single controls screen may cover the de-stacker, gallery and strapping lane. The belt duties are less uniform. An impact mark at the first transfer and a splice opening halfway through the gallery should not be given the same cure. Label photographs by station before sending them to a supplier.
The transfer and the support beneath it
The first row leaves the car before the last one has settled. On a slow jog, mark the moment its corner meets the receiving belt. If the corner then travels sideways, compare the scrape with the transfer plate and the support below. That movement is missing from a static layout drawing.
At a stopped, isolated line, put a straightedge across the loaded support zone. A gap under the belt at the impact point lets the stack strike harder. De-stacking equipment settings, support spacing and transfer height belong in the same review. If the skirt has already cut a continuous stripe, reset its contact before blaming brick abrasion.
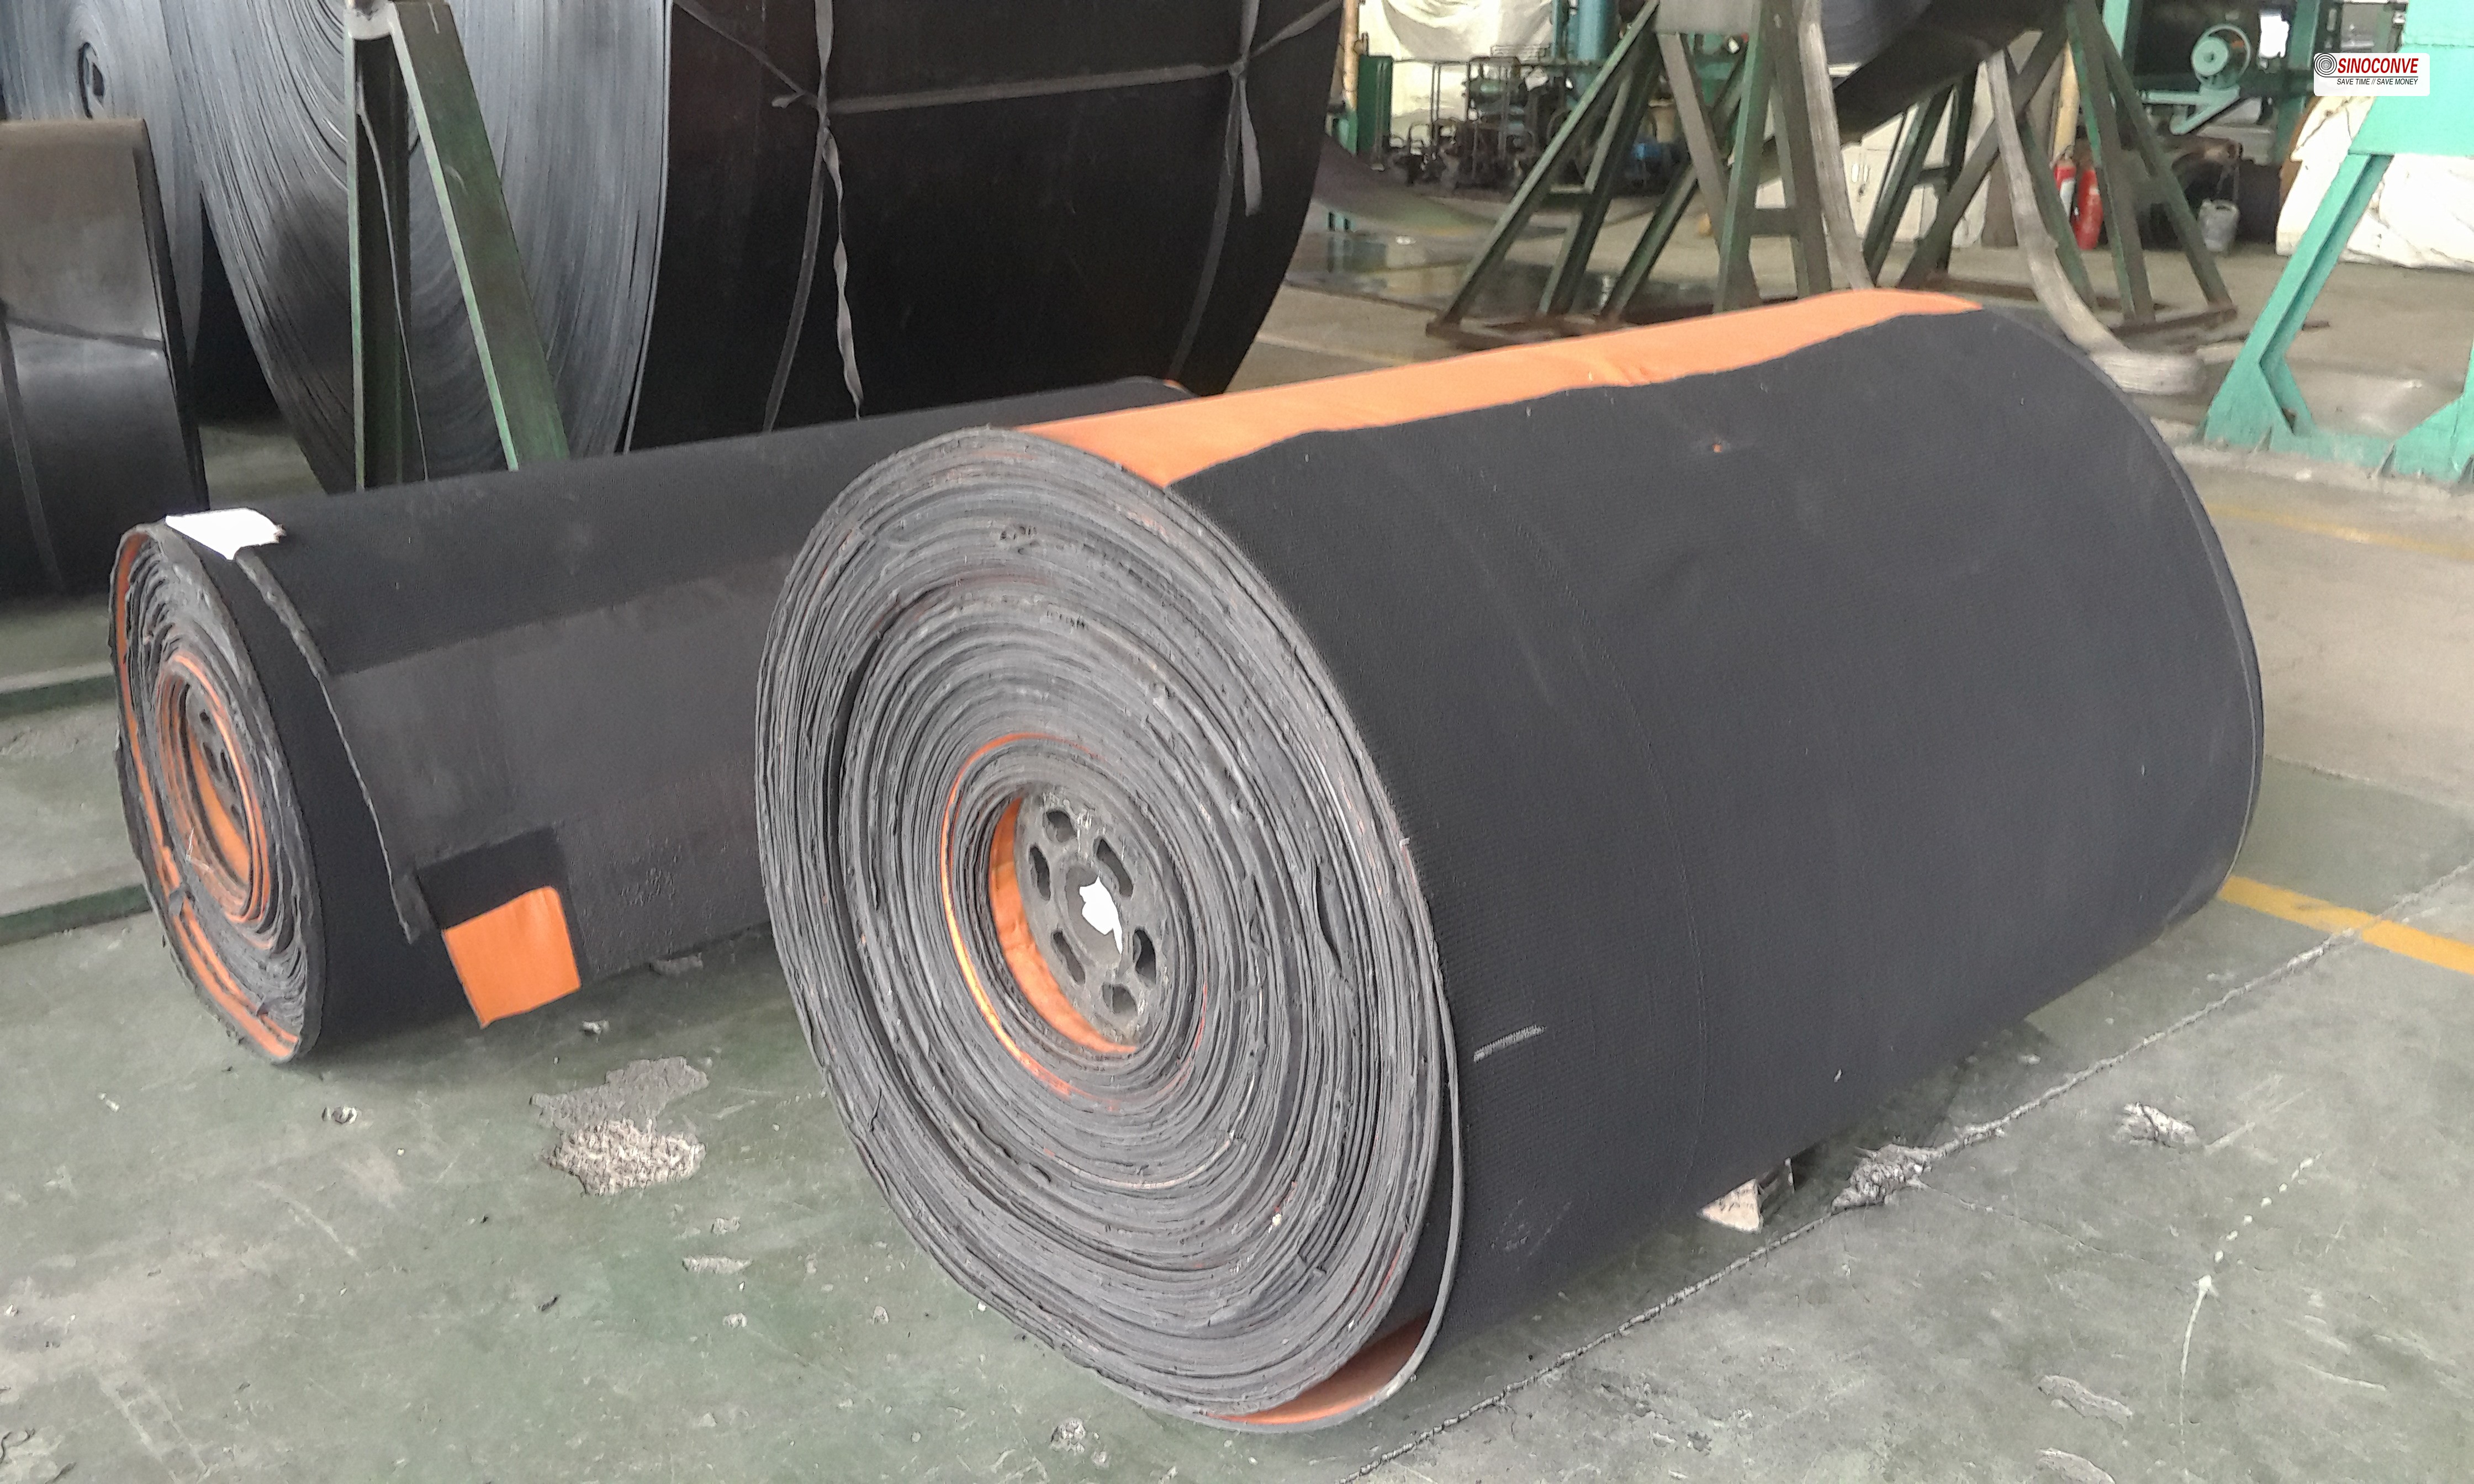
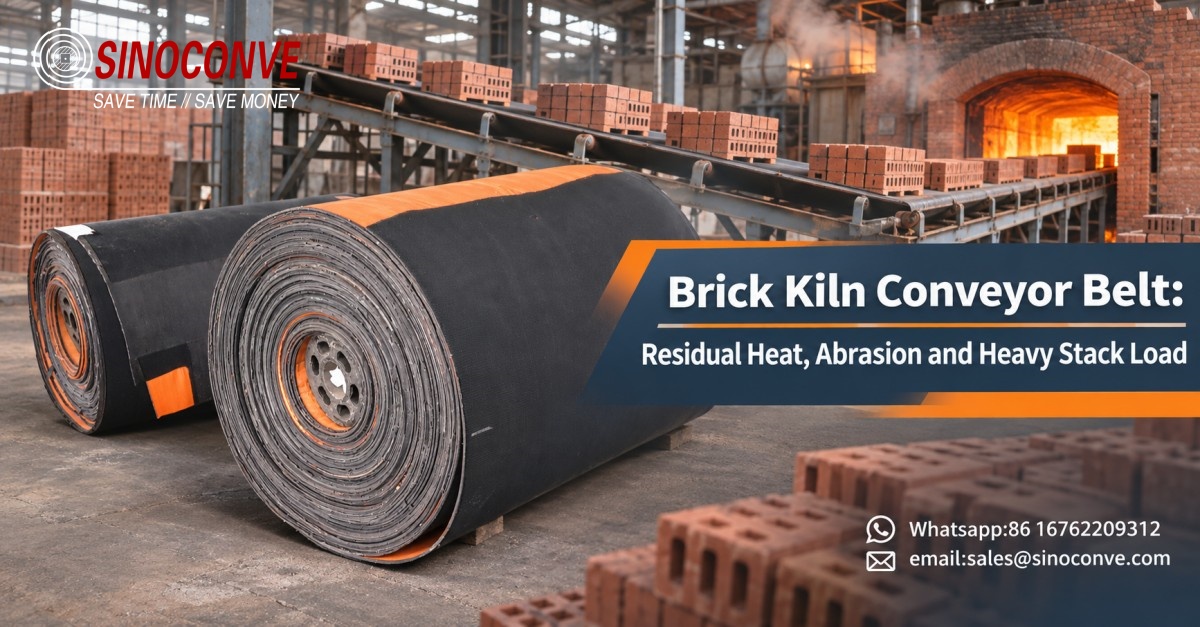
Heat-resistant fabric belt roll for a brick plant transfer; the installed contact temperature and support layout still determine its specification.
A cooler gallery can still work the splice
In the gallery, paint a small reference mark on the belt edge during a safe stop. Follow that mark for a circuit and log temperature after the brick leaves and before new brick arrives. If the return stays warm, the belt has less recovery time than the air temperature suggests.
On a gallery splice, mark both ends of an opening before cleaning it. Dark dust deeper inside may have been there for several circuits. Record whether the opening is on the top, underside or one edge. Ask for the joint sheet approved for the particular industrial conveyor belt construction fitted here.
One pallet enters the strapping transfer off square. A trailing band catches near the belt edge. Jog that pallet through at a stop and mark the exact contact on the frame and belt. The finished-goods handling drawings should be checked against this path, separately from the hot brick landing.
03Brick, Ceramic Tile and Clinker Are Different Duties
'Hot material' describes three very different transfers. A fired brick stack presses over an area, a tile line carries individual pieces through finishing, and clinker may arrive as loose, much hotter lumps. The contact shape and exposure time belong on the enquiry beside the peak temperature.
The tile finishing line
In a ceramic tile finishing hall, surface marks and gentle transfer can dominate the choice. A thin belt may be needed around small pulleys. The brick de-stacker has heavier stacks and a different heat history. Carrying a belt specification from one hall to the other without the contact drawing is an easy way to miss the real load.
The ceramic tile line guide is about a different handover. For brick, film the stack at touchdown. Put the dwell time and the hottest brick face beside that clip. The two clay products should not share a belt specification just because both leave a kiln.
The clinker discharge
Clinker is another boundary. Loose hot lumps can concentrate heat at a small contact point and arrive with abrasive edges. A belt suitable for fired units in a broad stack may not tolerate that exposure. If any glowing material reaches rubber, the transfer design and approved belt limits need review before operation.
The clinker handling article treats the discharge as its own duty. The right comparison is made at the belt surface: contact temperature, lump size, dwell and the time until that patch returns to the chute.
Some sites have both brick kilns and cement plant equipment. Keep each line's belt drawing and temperature log identified. A shared stores description such as 'heat belt' does not tell a fitter which roll belongs at which transfer.
| Line | What reaches the belt | Selection emphasis | Check before ordering |
|---|---|---|---|
| Fired brick exit | Stacked units retaining heat. | Contact heat, load and landing. | Dwell, footprint and support. |
| Tile finishing | Separate tiles, glaze or surface-sensitive faces. | Marking, transfer and small pulley fit. | Actual tile temperature and finish. |
| Clinker discharge | Loose hot lumps, sometimes with severe local heat. | Approved high-temperature handling design. | Peak contact and any glowing feed. |
| Green clay preparation | Wet, sticky material at a different temperature. | Moisture, carryback and abrasion. | Cleaning and return deposits. |
Auxiliary clay preparation and reject return lines are covered in the wider industry applications. They may need a different cover from the exit belt, especially where wet clay or broken brick, rather than sustained heat, sets the damage pattern.
04Aged Cover Samples Beside the Brick Edge
Cut two coupons from the proposed cover. Keep one as received; expose the other under the maker's stated aging test. Bend them over the same former and press a brick edge against each. Photograph the differences. A test report is more useful when its conditions and sample grade match the roll being offered.
Compare aged and unaged cover samples
Save a new offcut. Months later, place it beside a section from the landing strip and bend each by hand in the workshop. Look for a chalky surface and small checks that open under flex. That comparison tells the compound maker what changed; it does not tell us the polymer recipe by sight.
A quote may say EPDM, yet two EPDM-based covers can behave differently under sharp brick corners. Ask for test sheets tied to the quoted grade, not a generic family brochure. Put heat aging, tear and abrasion results alongside the actual contact and dwell log. If one value is absent, mark it as a question in the offer review.
The cover grade guide helps interpret the test sheet. For this enquiry, mark the hottest contact zone and the place where corners drag. The cover must survive both observations on the same belt.
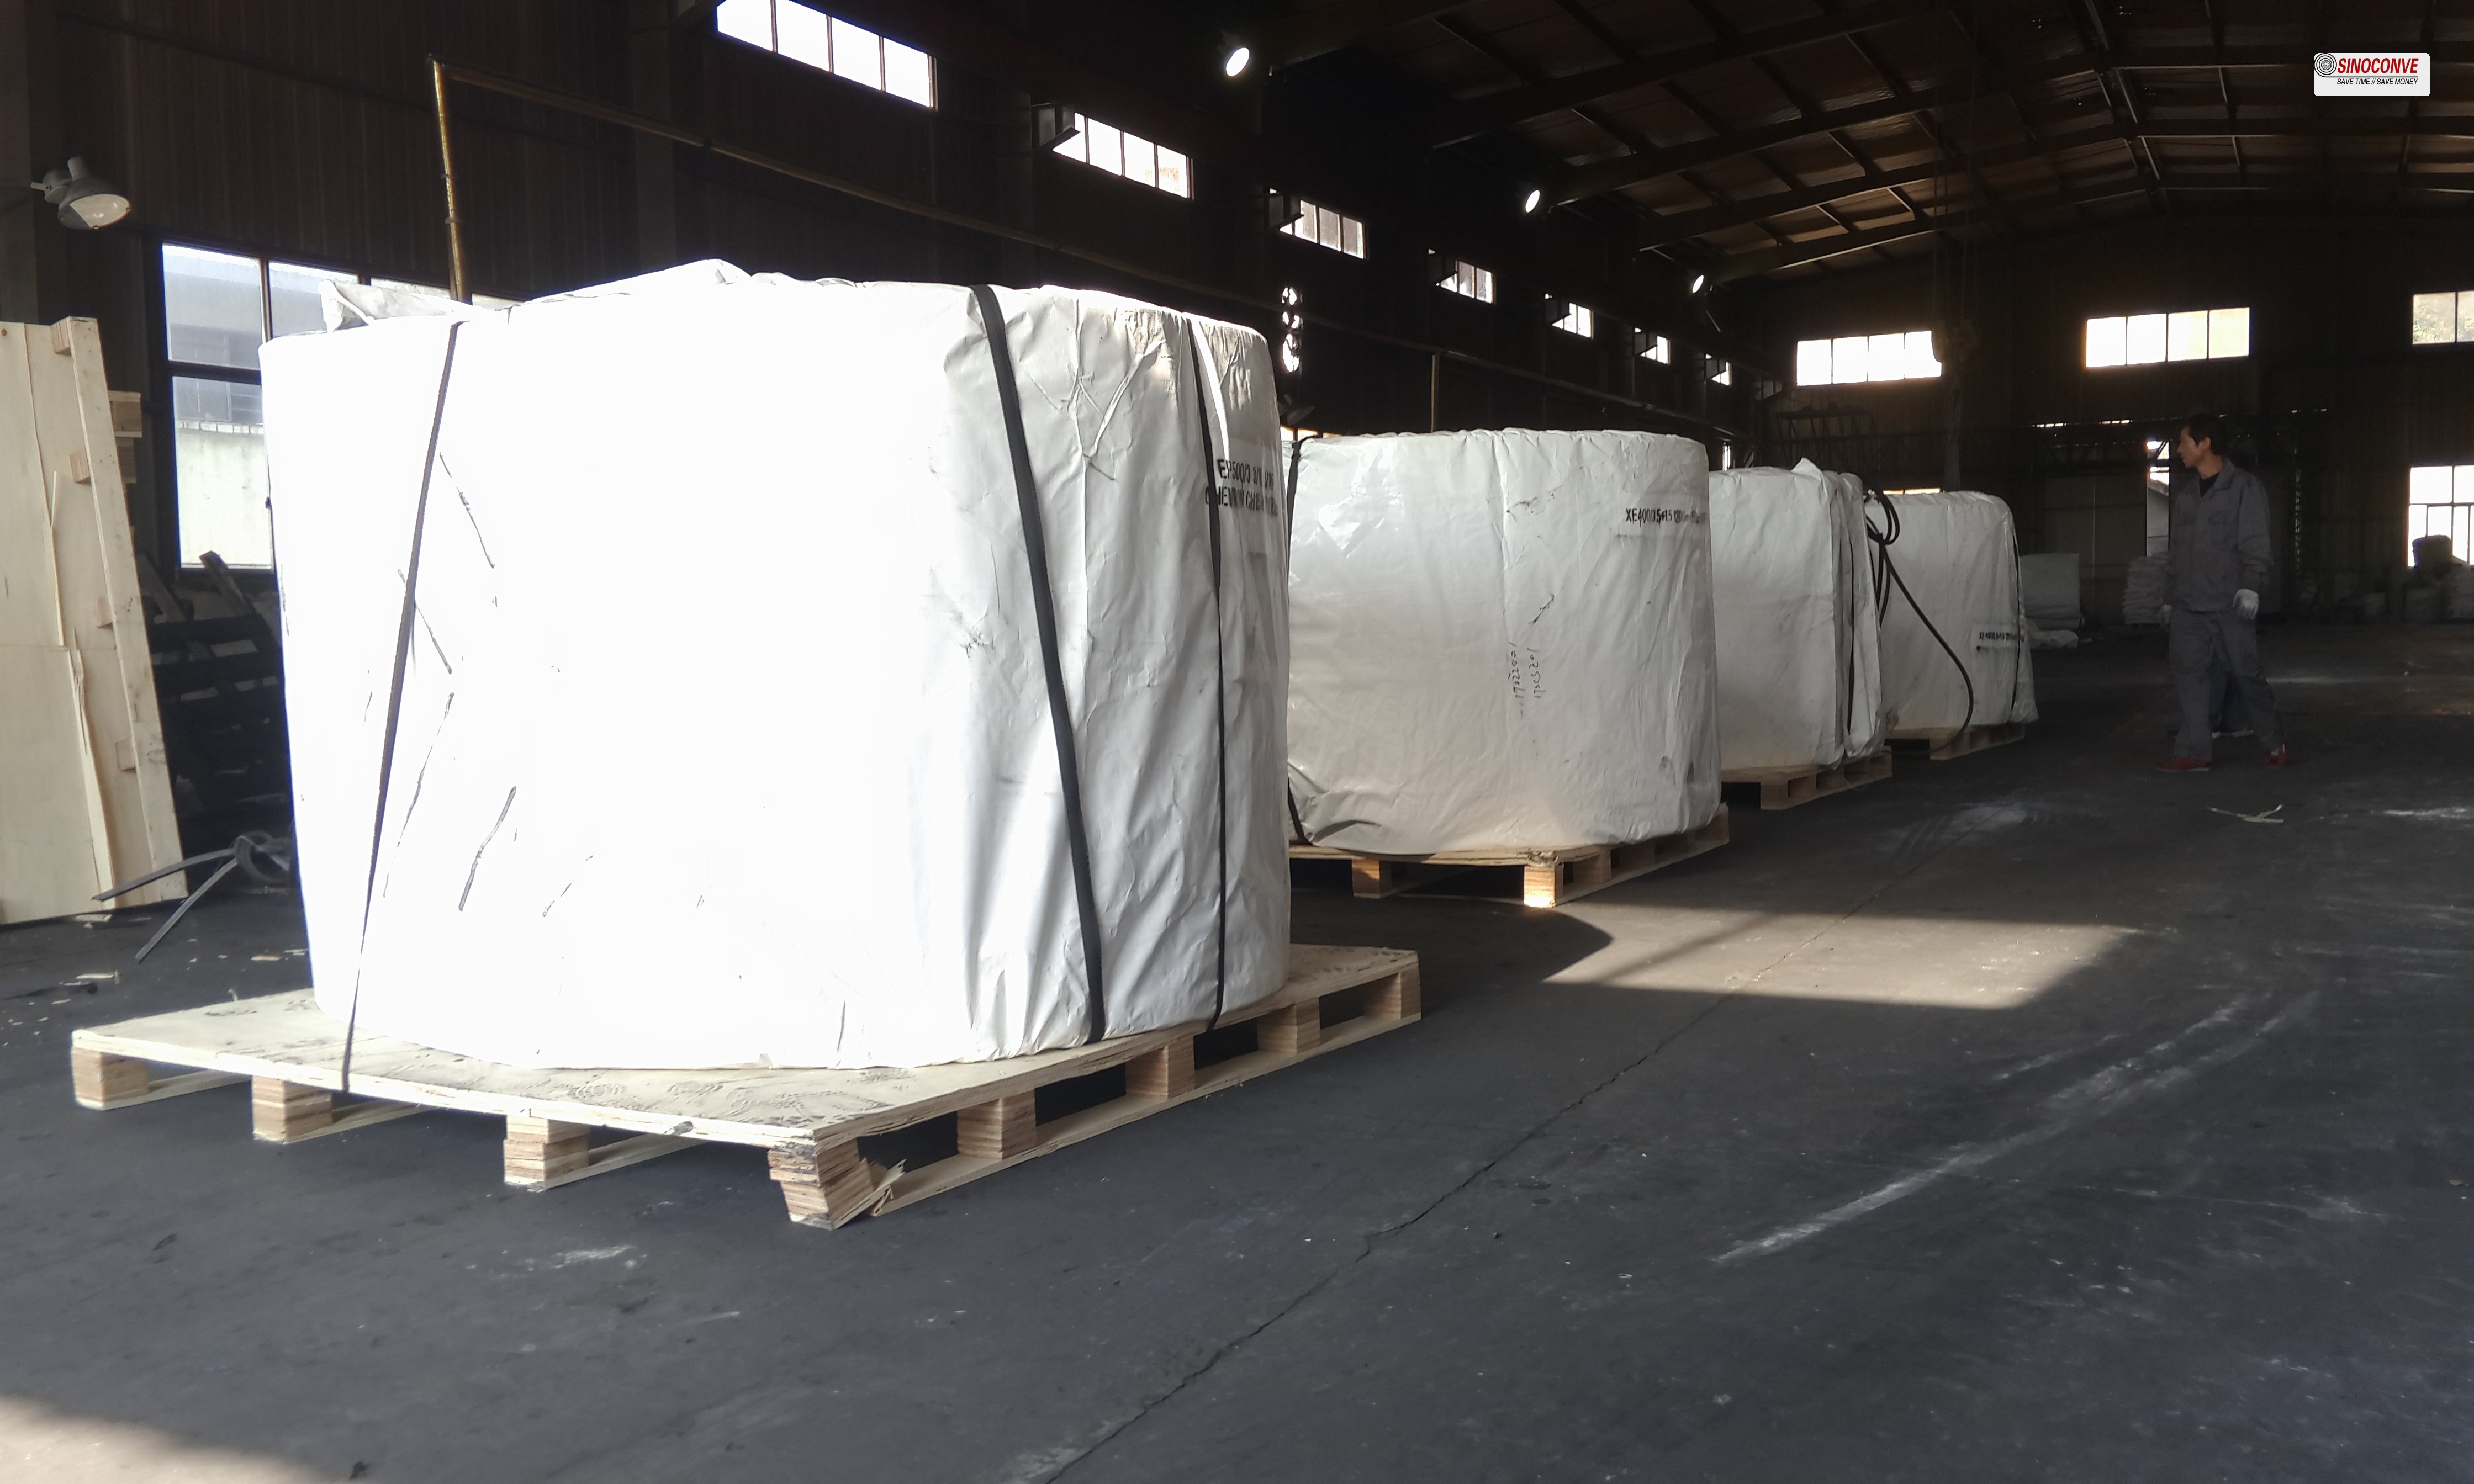
Fabric belt section showing the carrying cover, interply rubber and return cover; specify each gauge against the actual route.
Hardness readings need a reference
Write the delivery hardness reading on the belt record with its test temperature. At the next stop, use the same marked spot and method. A reading taken immediately after hot brick departs will not compare cleanly with a cold warehouse sample. Put the crack photograph beside each number.
| Cover option | Heat-aging evidence to request | Mechanical check | Possible duty |
|---|---|---|---|
| Standard abrasion compound | Retained hardness and flexibility after relevant exposure. | Cut test against brick corners. | Cooler reject or preparation line if approved. |
| Heat-resistant EPDM-based formulation | Ageing result for the offered grade. | Tear and abrasion after aging. | Kiln exit subject to measured contact. |
| Cut-oriented heat compound | Heat aging alongside tear data. | Corner drag and groove behavior. | Impact or strapping transfer if compatible. |
| Heat-barrier construction | Section and carcass temperature evidence. | Bending and splice compatibility. | A specifically engineered hot contact zone. |
A thicker standard cover sounds like cheap insurance. It provides material for a corner to wear through, but the heat test still belongs to the compound. Ask the tenderer to state which damage pattern the extra gauge addresses and whether the smallest pulley accepts it. A bulk order does not settle those details.
05Carcass, Edge and Pulley Compatibility
The carcass is hidden until an edge or splice opens. It carries belt tension while the stack lands and can change dimensions with heat. Ask for the fabric construction, working tension, pulley limits, splice method and dimensional behavior under the intended temperature cycle. 'Four ply' alone is not a complete answer.
Mark the Take-up Scale and Stack Position
Paint a line on the take-up scale. Read it at cold start and again after the line reaches normal operation. If the position changes, photograph the splice and note load and tracking before adjusting. The scale records movement; it does not by itself tell whether fabric, temperature or a slipping drive caused it.
Give the supplier the starting load and smallest pulley, not merely the requested ply count. A heavy belt may hold a stack firmly and still bend poorly around an existing head. Put its section drawing beside the machine arrangement, with the proposed splice marked.
A stack can land off centre. The near edge then sees extra compression and may rub the frame while the middle of the belt looks healthy. Mark the stack position during a slow transfer; inspect edge seals, guide contact and the loading plate. Strengthening the carcass without centring the load leaves that path in place.
06Splice and Return Path Under Repeated Heat
Before a damaged joint is cut out, mark its first lifted step. Bag a section showing both the open and still-bonded parts. On a brick line, that sample may tell whether dust entered an older gap or the rubber split cleanly during a recent hot cycle.
Record the joint and inspect the return
If a joint must be made in the field, lay the proposed fastener or splice section beside the smallest pulley. Check heat exposure and clearance. The joint comparison explains the options; the actual belt maker must approve the material and procedure for this build.
Keep the cure chart from the joint. A platen may display its target while the far edge of the splice is cooler. Put probes where the approved procedure asks, and record pressure and hold time. When a shoulder later lifts, those notes are worth more than a recollection that the press 'felt hot enough.'
The return path deserves its own thermal walkdown. A belt passing close to hot structure or through an enclosed frame may retain heat between stacks. Measure the cover at the same marked point after discharge and before it reaches the loading zone again. Clear accumulated brick dust from safe, accessible areas during a stop.
A different return roller may clear deposits, but a claimed temperature benefit needs a measurement on this line. Compare the same marked belt patch before and after any change, at similar load and air conditions. The roller guide helps with hardware selection; it cannot supply the missing site reading.
The fan-drive belt is not the one carrying brick. Give it its own tag and temperature check. A V-belt order needs its section and drive details; the kiln exit order needs stack, cover and carcass data. Keeping both records apart prevents a hurried stores substitution.
07Five Marks on the Maintenance Drawing
Mark five places on the line drawing: touchdown, unused shoulder, skirt, splice and return hot spot. Take the same photographs each month. A long checklist is no help if the crew cannot find the original measurement point.
Temperature, skirt contact and take-up
For temperature, establish how the infrared instrument is used, including surface condition, distance and emissivity setting. Read the same marked cover spot after a defined time from stack departure. Pair that with a direct product-contact measurement where practical. One scan of the room air cannot represent the heat the cover sees.
Set skirt clearance with the belt at its running tension and inspect the middle of the span, not just the ends. A skirt rubbing hot rubber can cut a narrow polished groove. A visible gap may let dust escape, so the cure could require support or sealing changes as well as a skirt adjustment. Record what touches the cover.
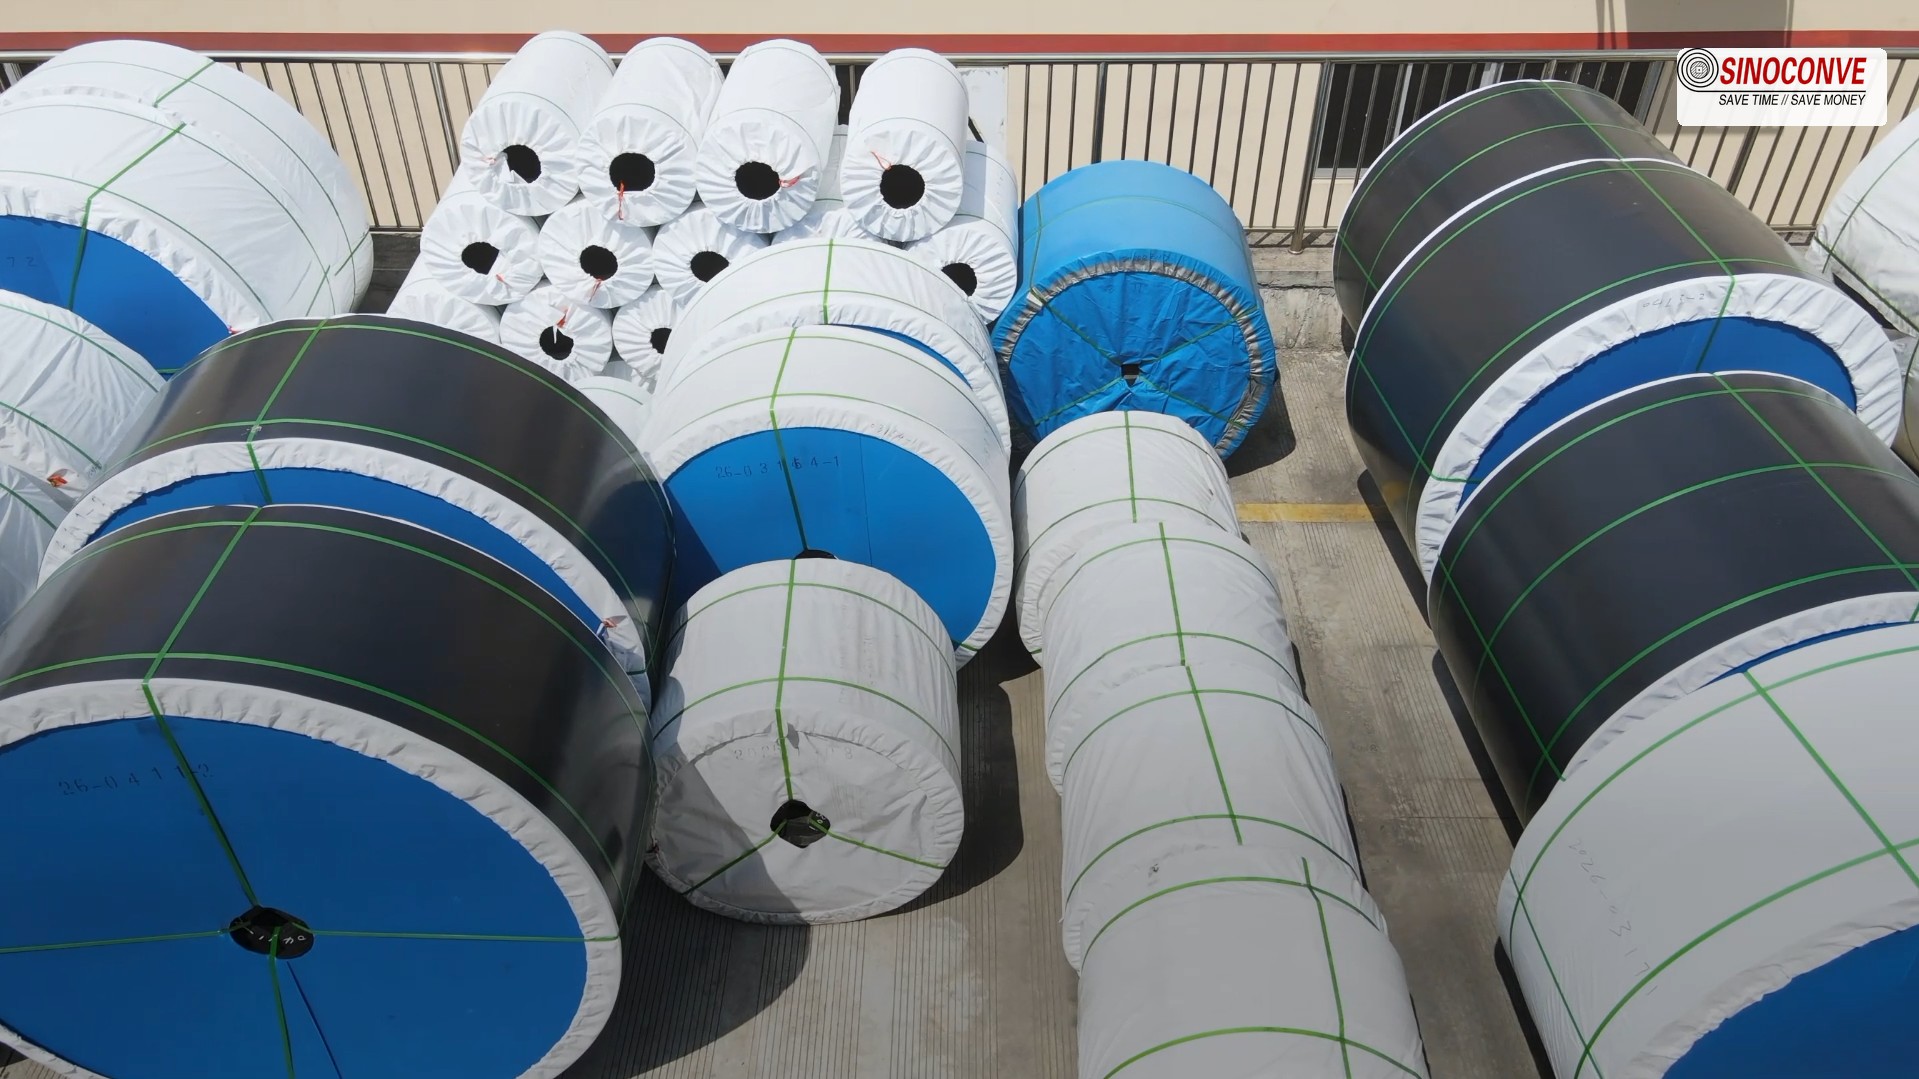
Record new cover gauge and hardness at identified positions before dispatch; use those points for later comparisons.
Write down the take-up scale at startup and during a steady run. If the travel surprises the crew, check tracking marks and the splice before winding in more tension. That extra force goes through every pulley and the already vulnerable joint.
| Check | Where and when | Record | What a change may prompt |
|---|---|---|---|
| Cover temperature | Marked carry and return spots at a defined point in the cycle. | Instrument setup, product temperature and cover reading. | Review dwell, contact and ventilation. |
| Cover condition | Same marked positions during planned stops. | Cracks, gauge and comparable hardness. | Section a growing crack; plan replacement. |
| Skirt clearance | Head, middle and tail at running tension. | Contact stripes and measured gap. | Correct support and skirt geometry. |
| Take-up and tracking | Cold start and stable hot run. | Position, load and splice condition. | Investigate movement before adjustment. |
| Return hardware | Accessible rolls and nearby frame. | Dust on the roll face; rough bearing; warmer belt patch. | Remove the deposit at a stop. Check the same spot again. |
The spare roll needs a tag that survives storage: grade, width, drawing revision and approved splice kit. Compare its paperwork with the heat-resistant belt being removed. Store V-belts for auxiliary drives under their own equipment tags.
The useful purchasing record is a failed-belt map paired with the line conditions: which zone cracked, which one wore thin, where the splice opened, and what temperatures were actually measured. Send that to the conveyor belt supplier. It gives the next quote something testable to improve.
Put the machine sketch on the desk with the conveyor belt factory drawing. Compare cover grade, ply section, smallest pulley and the splice kit line by line. If the supplier has not approved one of those, mark the offer incomplete before dispatch.

08Frequently Asked Questions About Brick Kiln Belts
How much does 120 °C to 160 °C residual heat actually shorten belt life?
There is no dependable life reduction from that temperature range alone. A contact reading needs a location and dwell time; the return temperature, cover formulation, stack landing and cleaning routine also matter. Compare the old belt's crack map with measured operation before predicting replacement intervals.
Why did our last rubber belt crack in a net pattern after only two months?
A net-like crack pattern is consistent with heat aging, but it is not a chemical identification test. Check the temperature log and cut through a crack. Look for ozone exposure, flexing and a rubbing component too. The heat-exposed belt failure guide can help sort those observations.
Which splice rubber should we use for a hot brick line?
Use the splice materials and procedure approved for the supplied belt construction. Record actual joint temperature, pressure and time, including readings near both edges. A generic splice gum substituted in the field may behave differently under the kiln's repeated heat cycle.
How do we stop the belt edges being chewed at the transfer corner?
Watch a stack land at the corner. If it pushes the belt sideways into a frame or guide, correct the transfer and tracking. Check the support beneath the edge and any strap or brick fragments caught there. A tougher edge can help only after the rubbing path is removed.
Is a thicker cover the cheapest way to get more life?
Only if measured cover loss, rather than heat checking or splice damage, is limiting life. Extra gauge gives some wear allowance but changes the belt's bending demands. Specify compound, gauge and pulley diameter together after inspecting the failed belt.
Can we run the same belt through the kiln exit and the cooling gallery?
Possibly, if the same construction is approved for the hottest station and the whole route, including the smallest pulley and splice. A gallery-only replacement may have a different specification. Compare each segment with the heat specification guide and the site's FAQs rather than assuming one stock roll fits every position.
Related Products You May Need
- Heat resistant conveyor belt for kiln exit and cooling duty
- EP fabric rubber belt and carcass options
- Conveyor rollers and support components
- Full product catalog covering belts, rollers and drives
Related Blog Posts
- How high temperatures affect conveyor belt life and performance
- Heat resistant conveyor belt guide to types, grades and selection
- EP versus NN carcass construction compared for heavy duty
- Cleaning methods and schedules when scrapers will not work
- Ceramic tile line belting for glazing and polishing halls