
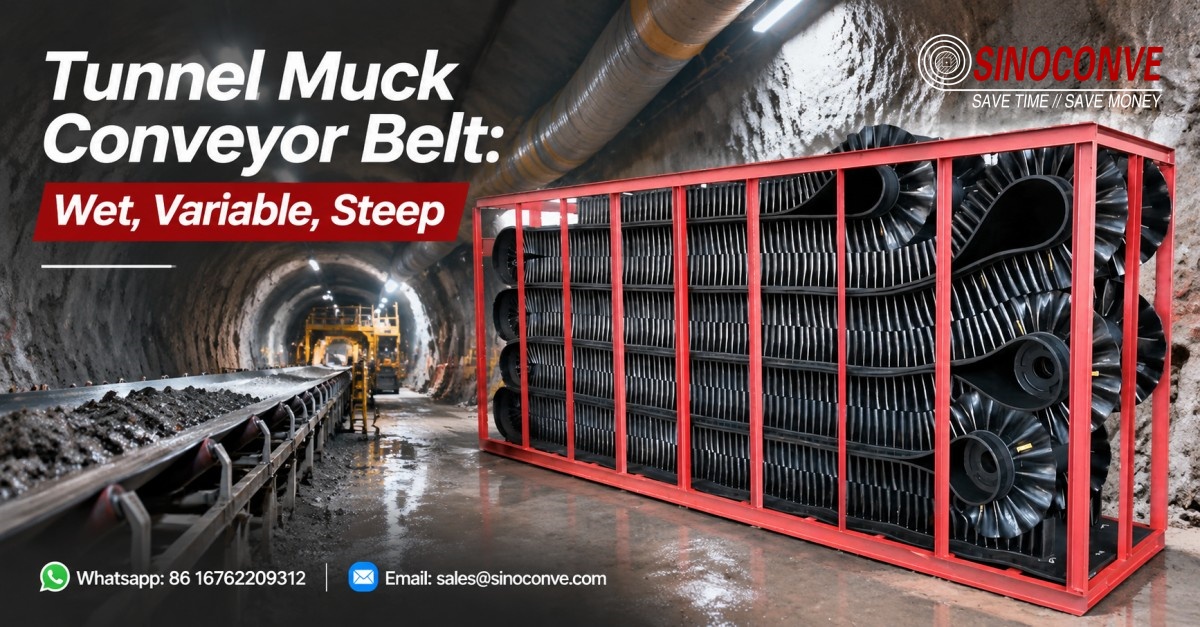
At a tunnel heading, the spoil can change while the crew is still setting the next ring. One shift brings a wet, cohesive ribbon off the screw; the next brings angular pieces that strike the loading bed individually. The same belt has to take both. A drawing marked simply 'muck' conceals that change, especially at the transfer where the material first meets rubber.
On the layout, sketch the removal path for the first return roll. Its shell has to clear the bracket, the adjacent frame and the tunnel lining. If the path ends at the wall, specify a split or lift-out assembly now. Repeat the sketch at the cleaner and at the place reserved for a splice press.

01Tunnel Muck Is a Moving Target, Not a Fixed Material
The purchase line may say 800 mm belt, one duty, one capacity. The ground log is less tidy: sand at one chainage, fractured rock at another. Copy that sequence onto the enquiry and locate the load point. Sand sends water under the return; the rock interval can strike the belt hard at the first drop.
Weigh spoil straight from the screw and weigh it again after drainage, recording the time between measurements. Keep both numbers with the belt calculation. When the drive reaches that wet seam, inspect beneath the return; a clean-looking top cover can still be carrying a slurry film past the scraper.
Ground changes at the cutterhead
Chainage is useful for ground planning, but the belt experiences whatever the cutterhead delivers this hour. Sand may arrive with free water, while conditioned spoil from an earth pressure balance machine may hold together as a paste. Rock from an open-mode drive behaves differently again. Record the machine's conditioning practice alongside the geology when comparing proposed belt constructions.
One machine adds foam and the next does not. The discharge pictures may look like two different excavations even when the ground log uses the same name for both. Include the conditioning note with the pictures.
When muck appears at a skirt, watch it arrive before changing anything. The stream may be split by a lump of clay stuck to one chute wall, or free water may run in front. A skirt tightened against such a blockage can pinch a rock corner into the top cover. Clear the obstruction and check the stream path first.
The RFQ should show the face with running water, the clay that clings to steel, the biggest block expected at the chute and the loaded grade. Put a chainage or operating phase beside each observation. The supplier can then see that these are different conditions in the same installation, not four names for one sample.
02Where This Belt Sits, and What the Mining and Plant Pages Cover
Start at the point where spoil drops onto rubber. On an EPB drive that may be behind the screw; on a hard rock machine it may be another belt, and a drill-and-blast job may load differently again. Draw the handover to the muck box or shaft. The surface line begins beyond that handover and should have its own loading data.
The broader belt solutions arranged by industry page gives context for the rest of the plant. For this heading, separate the belt's contact with muck from its moving frame, loading hardware and eventual surface transfer.
Hard rock and quarry duty is useful when broken rock and impact dominate. It helps frame cover and load-zone questions, though a tunnel's changing moisture and restricted access still need their own answers.
The machine and equipment side shows up most sharply at each advance. How far does the tail travel, how much take-up remains afterwards, and where can a splice press be placed? Put those dimensions beside the discharge arrangement.
Once spoil is above ground, Surface transfer and material movement brings in stockpile and reclaim questions. A ribbed belt selected for one underground climb may be a nuisance on a long, damp surface run. Give that transfer its own specification.
The fixed route described under Long-distance heavy-duty conveying for mining and critical minerals has room for a carefully designed tension profile. At the heading, the crew may shift the tail again before the next week's ground looks like the last. Those move and access details belong beside the usual belt rating, not in a footnote.
03Three wet materials at one heading
Bring samples from the current face to a shallow tray. Sand may run to one side while conditioned clay remains in the bucket until shaken loose. Wet rock drops cleanly but leaves water between pieces. Turn the tray over and inspect the residue; it is a quick preview of what a head-pulley cleaner has to deal with.
Saturated Sand, Clay Lumps and Blocky Rock
On the wet climb, place a marker on the surface of the sand bed and watch its position against the moving belt. It may slip toward the loading enclosure. Check the side by the skirt for a water track and measure the material depth at that moment. belt for sand washing duty provides a comparison for fines, but this heading may deliver rock next.
Put a chalk mark on a clay lump and follow its circuit past the discharge. Should it return below, inspect the idler shells and the chute ledges after a stop. A cleaning station needs hand access and a real drainage route. On a ribbed cover, check whether the blade can reach below the crests.
Rock does not strike the belt at an hourly average rate. One block falling badly can cut the cover while tonnes of smaller pieces pass without damage. Check the fall height and support under the first belt length, and distinguish a gouge at loading from the fine wear farther along.
| Material at loading | Behaviour on belt | First trouble spot | What to inspect or specify |
|---|---|---|---|
| Free-draining sand with fines | Spreads under skirts; water runs toward the low end | Skirt spillage and slurry on the return | Bed depth, sealing and a cleaner that contacts the cover |
| Cohesive clay or conditioned spoil | Stays on the cover and returns after discharge | Clay-coated idlers and a narrowing chute | Open cleaning access and a profile the cleaner can reach |
| Angular rock in intermittent pieces | Strikes the loading zone and may bounce sideways | Gouges beneath the chute and cuts near an edge | Drop height, impact support and cut-resistant cover |
What Each State Does to the Return Run
After a wet shift, stop and inspect the take-up. One return roller may carry a collar of clay thick enough to shift the belt. Check whether it can be reached and scraped without unbolting several metres of frame. That space is easier to provide during layout than after the machine starts.
Press a sample blade against the selected cover profile. It should meet the plain surface but will bridge across chevron crests. For clay, trial a brush or an accessible wash point. The cleaning methods and when scrapers will not work discussion lists alternatives; measure the space under this tunnel frame before naming one on the purchase order.
Trace the wash water while the hose is running. Where it crosses the return path, a slurry film will ride another circuit. Collect it below the cleaning point and provide access to shovel settled solids from the sump. Put the runoff route on the same drawing as the cleaner.
04Grading Swings: Sand, Clay Lumps and Rock in the Same Stream
A trough full of rock has plenty of air between pieces. Replace that rock with fine sand and water and the same apparent fill can be much heavier. The lab figure may describe a sample after it has drained on a tray; the running belt has no such luxury.
For each face condition, compare the loaded weight with the cross-section the material occupies. Rock may set the latter limit, saturated fines the former.
Which stretch sets the limit?
On the chainage drawing, mark the rockiest drop, the sticky clay reach and the wet climb in different colours. Each mark calls for something different: supported impact, an accessible cleaner or grip on the loaded grade. The carcass travels through all three, but the hardware around it can be chosen for its local task.
| Stream seen during the drive | Why a single density is weak | Design check that matters |
|---|---|---|
| Wet sand and fines | A drained test sample can be lighter than the loaded stream | Loaded mass, bed depth and water path on the climb |
| Clay leaving as cohesive slabs | Mass per cubic metre does not predict release from the cover | Discharge opening and access to clean the return |
| Rock in bursts | Hourly average conceals individual strikes | Maximum piece, drop and load-zone support |
| A mixed stream through one shift | Material state changes before hardware can be adjusted | Operating range for speed, sealing and cleaning |
Bed depth is worth checking on a wet incline. Too much saturated sand spreads toward the skirts; raising speed can reduce depth but makes rock strike the discharge harder. Observe both ends of that trade at the expected flow, then set the load-zone support. impact rollers sized for the loading zone can help at a rocky transfer when their spacing and structure match the actual drop.
Select the base rubber conveyor belt for the load and rock at the chute. Only the climb shown to lose wet material needs a grip profile. Deep ribbing on a level return run leaves more clay to remove and adds nothing to the impact support.
The industrial conveyor belt on a controlled crusher feed usually receives a more consistent grading. Here the face may change before the shift ends. Ask which sample underlies the proposed density and maximum lump figures; the plant figures are a useful comparison, not a tunnel test.
Discuss the drive surge with the V-belt manufacturer, then watch the receiving chute during a clay bridge release. A sudden slug may stall the belt or trip the drive before the cover ever reaches its wear limit. Measure the opening the slug has to pass through.
05Steep Inclines, Spillage and Why Sidewalls Are Not Automatic
The tunnel gradient cannot be moved to suit the conveyor. At a shaft approach, the loaded belt may start climbing almost as soon as spoil falls onto it. Show that short transition at full scale; a profile drawn as one average grade conceals the unstable first few metres.
Up the Grade: When Wet Muck Slides Back
At the foot of a climb, water can work down through fine muck while the rubber moves up. The material piles against the loading enclosure. Check there under a real wet feed; an empty-belt trial cannot show rollback.
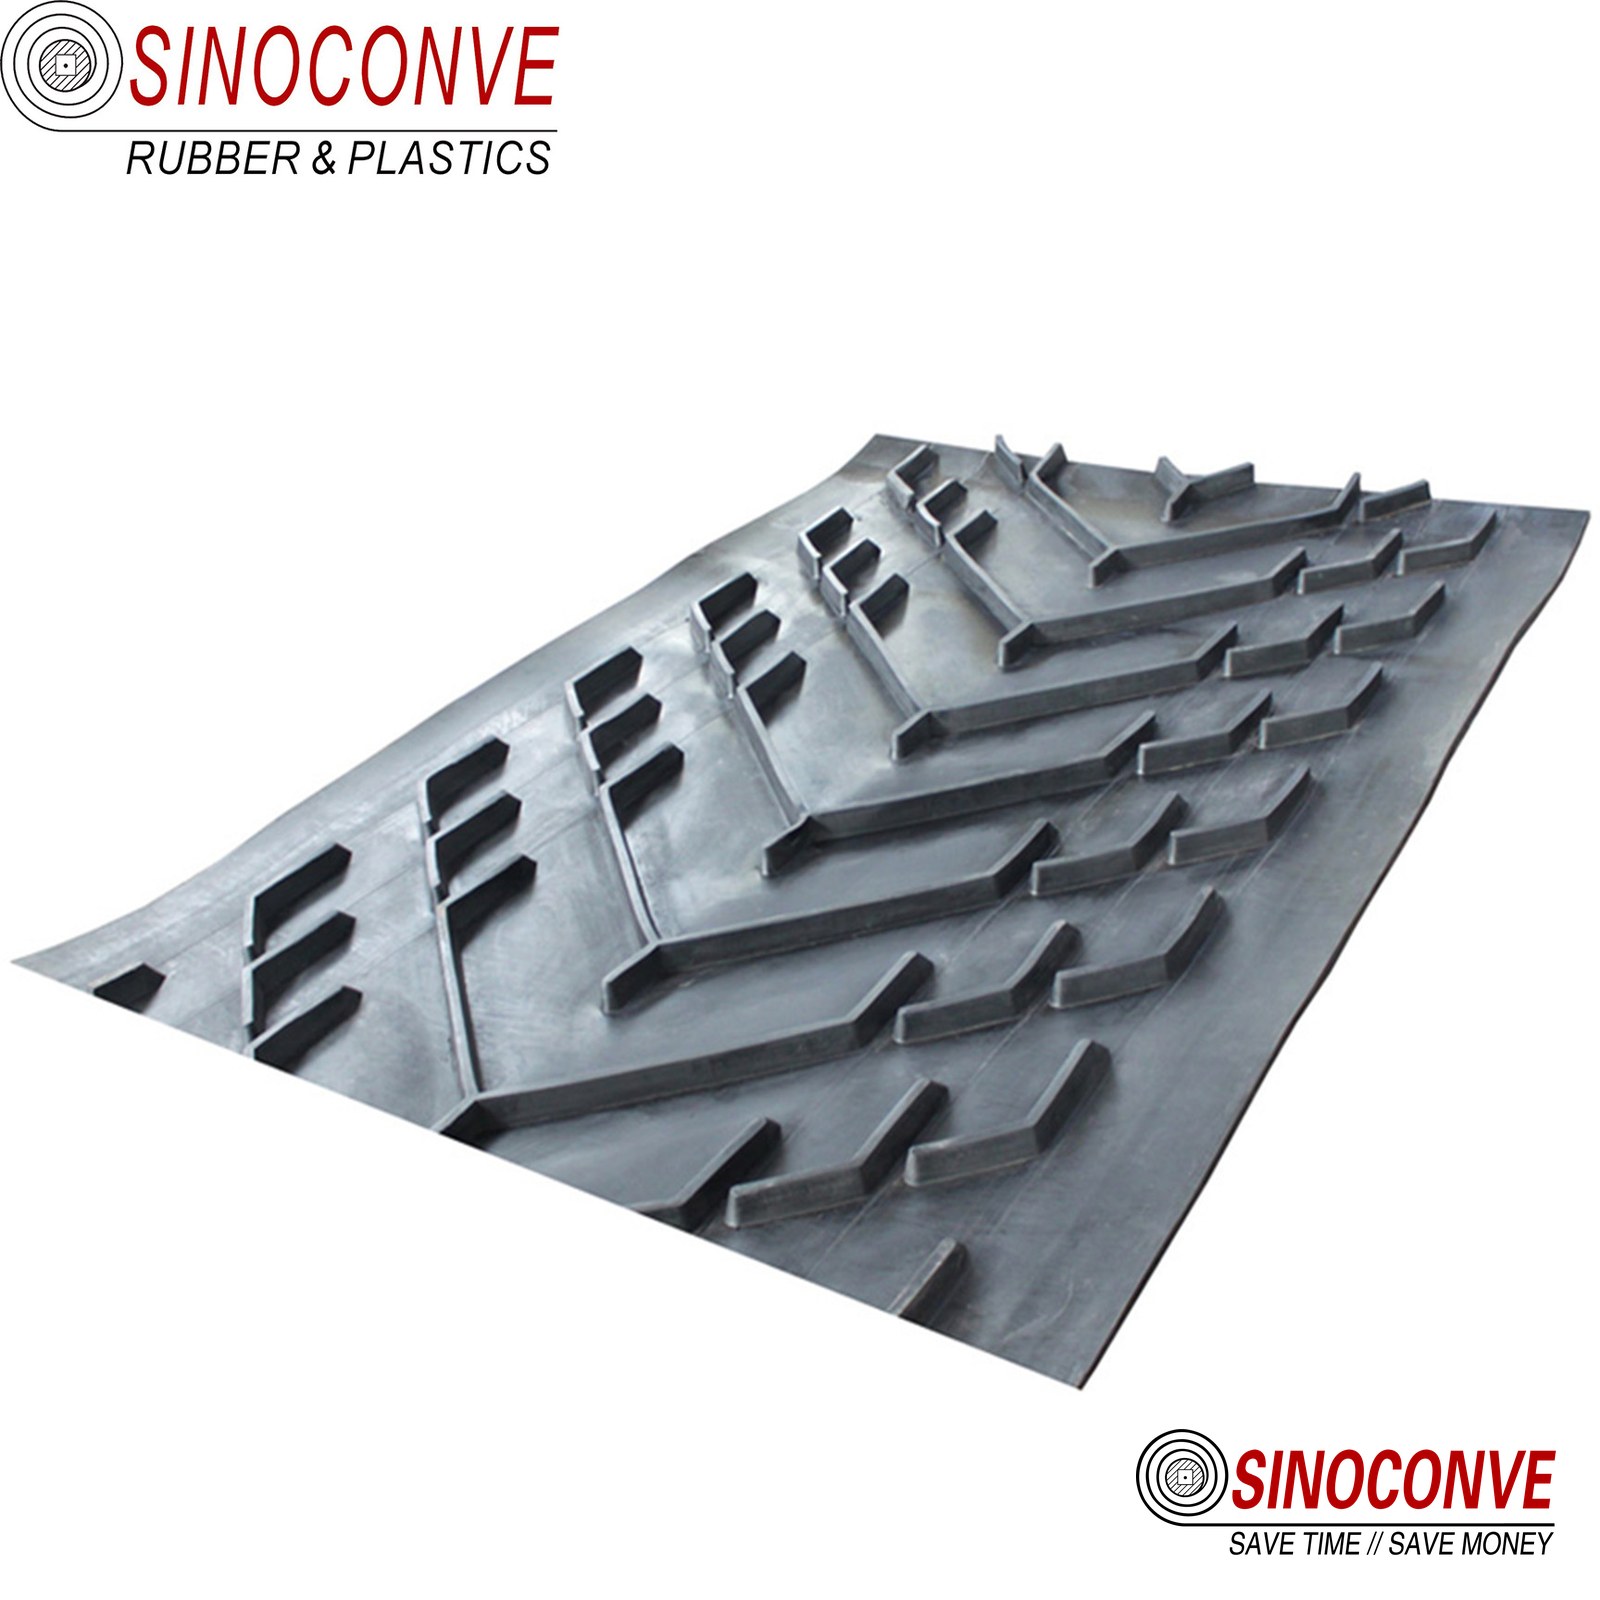
Chevron can hold the bed in smaller pockets. The ribs must still pass the skirt and be reachable by whatever cleaner the site can fit. The chevron belts for incline anti-slip discussion gives the profile options; test the chosen one with the wet clay from this drive, not only with a dry slope rating.
Clay can fill the rib valleys and travel back as extra weight. If the return rollers cannot shed it, a stronger profile may produce more tracking work than it saves in load retention.
Down the Grade: When the Load Runs Away
On a decline, a thin wet layer may accelerate relative to the cover. Its strike point in the next chute moves as the ground becomes sandier. Observe that point loaded and put the receiving liner where the muck actually lands.
A deposit may first appear on the chute back plate after a clay seam. Photograph its growth during a safe inspection. Once it reaches the stream, the following load spills uphill. A cleanout door located opposite that deposit can save dismantling the transfer on every wet shift.
| Grade and material | Movement to watch | Possible belt arrangement | Remaining maintenance check |
|---|---|---|---|
| Wet fines on a climb | Rollback near the loading point | Shallow chevron where tests show grip is needed | Clean rib valleys and clear the tail |
| Rock pieces on a short steep climb | Blocks roll or move toward an edge | Cleats and sidewalls where containment is essential | Impact on cleat roots and clearance at the joint |
| Runny muck on a decline | Material can arrive ahead of belt speed | Plain, sealable cover with a suitable receiving chute | Chute blockage and drainage at the low end |
| Sticky clay on a decline | Coating releases in slabs after the head | Smooth cover with accessible cleaning point | Capture wash water before it reaches the return |
What Sidewalls and Cleats Actually Cost You
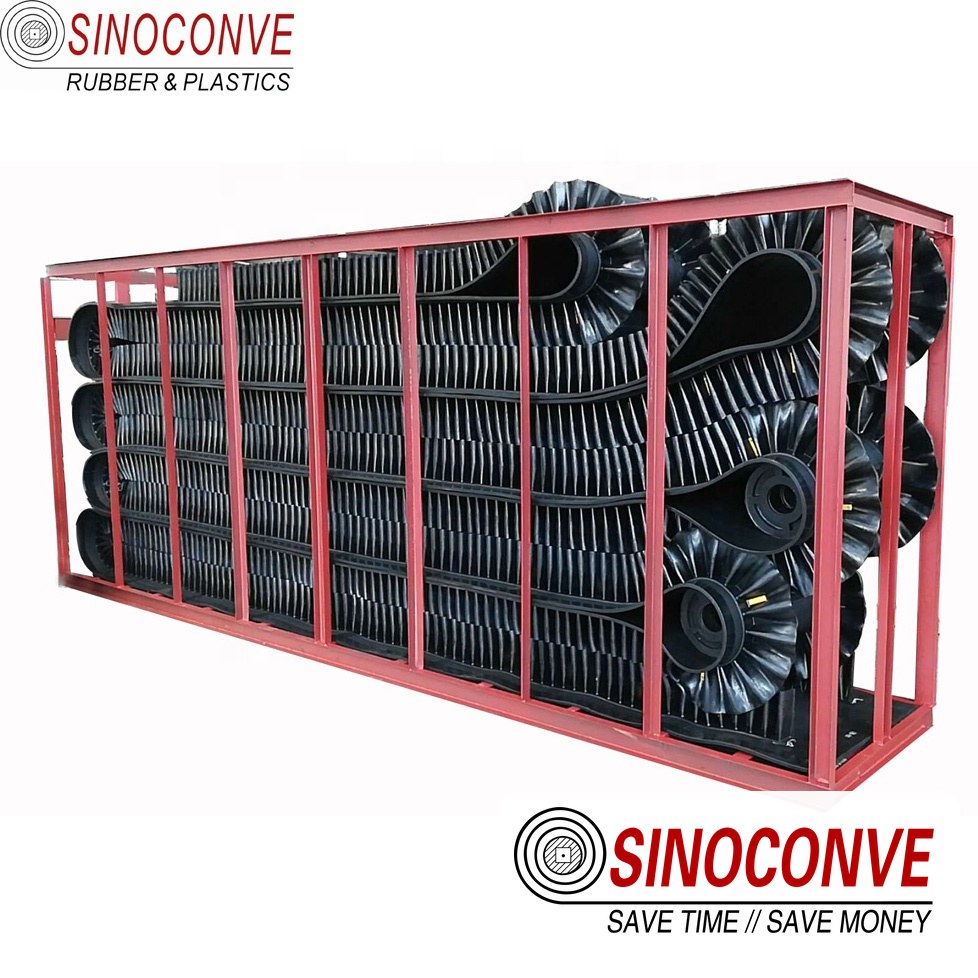
corrugated sidewall construction for steep conveying can carry material where a flat belt would shed it. The price is a more involved return, cleaning arrangement and joint. Reserve it for the segments where the grade and available footprint make containment necessary.
On the incline, a cleat holds a little water behind each load of fines. Over the head pulley, those pockets empty one after another into the same transfer. Check the short burst at discharge and give it a drain; the hourly tonnes say little about that moment.
The root between cleat and base belt needs attention during cleaning. Clay compacts there, dries during a stop and flexes the bond on restart. A straight scraper cannot reach the corner. Plan access for a brush or wash point and capture the wastewater.
The joint on a sidewall belt is a job in its own right. Wall and cleat positions determine where the crew can prepare the ends, and the finished thickness has to pass the nearby frame. Put the press footprint and joint allowance on the installation plan before accepting the belt drawing.
Split the route into actual grades and muck states before deciding where profile is needed. A short steep section may justify walls, while a long wet section benefits from a simpler cleanable surface. A conveyor belt distributor should quote that arrangement against the layout rather than against a single 'maximum incline' line.
06Moving the Conveyor Forward with the Machine
The heading moves and the belt installation follows it. Each advance changes the loading position, frame alignment and available belt length. Describe the move sequence in the enquiry; it directly affects splice allowance and the choice of tail arrangement.
A mobile tail can follow the machine on skids or rails. A telescopic system stores belt so several advances can occur before another joint is needed. A fixed tail demands more frequent frame and belt additions. None is universally quicker: compare the time to move, align and restart on this particular drive.
Tail Advance, Belt Storage and the Re-Alignment Nobody Skips
Mobile tails need a centreline check after they are pulled. A stored-belt loop needs enough support and access to clear carryback from its extra pulleys. Record those tasks on the advance sheet; neither arrangement works merely because it fits in the CAD model.
Storage can reduce how often a press is assembled underground. It also adds pulley surfaces that clay can coat. Include cleaning and inspection time when comparing its apparent saving in joints.
At the end of an advance, use an empty run before feeding the first full load. Square the moved tail, sight the frame to the planned centreline and see where the discharge will land. Then feed slowly enough to see whether the belt moves sideways only when loaded. The tunnel wall is a convenient visual reference but often a poor datum.
Why the Belt Runs Off After a Move
A tracking complaint immediately after a move has two easy checks. Does the empty belt drift? That points toward tail and frame geometry. Does it drift only with muck aboard? Look at the new loading position. Mark the observed direction before turning any idler bracket.
With the belt empty, observe the self-aligning roller and note any guide already rubbing the edge. Measure the tail after its move and sight the discharge. Feed a small amount, stop, and record the first point of sideways movement; the head pulley may only show the eventual result.
An uneven layer of clay makes one end of a roller behave as if it were larger. Clean the shell before touching its bracket, then try an empty run. If the tracking changes, the deposit was steering it. Bracket adjustments made while the clay remained would have introduced a new offset.
Spares Chosen by Replacement Time
Include an actual exchange in the spares review. If a shell cannot pass the lining, time the extra dismantling as well. Keep complete assemblies where that time dominates the repair, close enough to the machine to bring in one trip.
At the portal, pack one box for each likely repair. An idler change needs the roller and frame together; the skirt box needs pieces drilled to the current holes; a splice needs materials matching the installed belt. Mark the box with the task and part number so nobody sorts loose stock beside the machine.
A single width and carcass make underground storage simpler. Give the conveyor belt manufacturer the hardest chainage and ask whether it really forces a second construction and joint kit. The wholesale conveyor belts listing establishes supply; tail clearance is settled by the measured frame.
Read the actual drive sheave markings and tag the spare set with them. Have the transmission belt manufacturer confirm the matched set against those markings. A dated drawing may show a previous machine; the kit should correspond to the drive now underground.
07The drawing and the delivery check
Walk the route on a print, beginning under the machine discharge. Mark each place the muck changes direction or the water changes destination. Then follow the underside back toward the tail and write down how a blocked point is reached. Those annotations make the tonnage requirement usable by the supplier.
Write down how a density sample was obtained. A tray sample that has shed water cannot represent the stream just leaving the screw. On the purchase drawing, show construction and cover dimensions alongside the selected profile, cleaner and joint allowance. Receipt inspection can then compare actual belt markings to a specific requirement.
On the conveyor belt supplier drawing, put width, strength construction, both cover dimensions and the smallest pulley. Place the joint and travel direction on that same sheet. If there are cleats or walls, add their pitch and height against the actual return frame and skirt clearances.
| Decision before purchase | Information to place on drawing | Receipt or installation check |
|---|---|---|
| Ground range | Wet fines, cohesive clay and maximum rock piece | Cover and load-zone plan address every stated state |
| Loaded grades | Direction, slope, transfer and any profile dimensions | Walls or ribs clear skirts and return structure |
| Advance method | Tail movement, belt storage and joint allowance | Delivered length covers moves and splice preparation |
| Cleaning route | Cleaner type, access point and wastewater destination | Installed cleaner can reach the selected surface |
| Service spares | Belt construction, roller assemblies and joint kit | Labels and dimensions match installed equipment |
Inspect the delivered belt before taking it underground. Look for transport cuts at the edges, interrupted bonds at cleat roots, consistent wall height and clear construction markings. Check the belt length against storage-loop and splice allowances. A defect found at receipt is easier to resolve than one discovered at the heading.
The conveyor belt factory should provide joint instructions for the supplied construction. Confirm that the site press, materials and available working length can follow them. The quality of that underground joint will determine whether the belt's rated strength is useful in service.

08Questions from the heading
Sand and rock on one belt?
Put a wet sand sample beside the angular rock sample at the review table. For rock, inspect drop height and the support directly beneath it. For sand, run through rollback, skirt leakage and what the cleaner leaves behind. The same belt may serve both, with different protections around it.
Where do sidewalls earn their place?
Use walls for the part of the route that cannot hold material otherwise. Check the loaded slope first. On the long damp stretch beyond it, the time spent digging clay from wall roots may outweigh any advantage of carrying the same profile all the way through.
What changed when the tail moved?
Run it empty after the move. If it walks sideways, check tail squareness and frame line. If the movement starts only as muck lands, check the discharge centre. A clay collar on the first roll is worth clearing before any bracket is moved.
Setting speed on a wet incline
Set speed against bed depth and the receiving chute together. More speed can keep wet fines shallow but makes blocky muck hit the transfer harder. Test the expected feed range rather than choosing speed from one sample.
How do you clean a chevron or cleated belt underground?
A straight blade cannot enter a rib valley. A brush or appropriate profiled cleaner may reach it, with washdown only where wastewater can be collected. Allow room to inspect the return and clear packed clay during a stop.
Spares beside the machine
At the machine, keep a roller already mounted in its frame, strips of skirt cut for these brackets, cleaner wear parts and the joint kit for this carcass. Add enough spare belt for the planned joint. Each package should carry the belt width and the applicable part number in large writing.
Related Products You May Need
- Sidewall conveyor belts — corrugated sidewalls and cleats for steep lifts inside a tunnel section.
- Chevron conveyor belts — profiled covers for wet, granular muck on a climbing run.
- EP rubber conveyor belts — fabric carcass constructions for short, repeated, re-spliced lines.
- Impact rollers and conveyor rollers for the loading zone and the return run.
- The full product catalog for belt, roller and splice material in one place.
Related Blog Posts
- Sidewall conveyor belts in incline transport — where containment earns its cleaning cost.
- Chevron belts for incline anti-slip and steep bulk handling with chevron covers.
- EP conveyor belt tracking guide — the alignment sequence behind most mistracking calls.
- Cleaning methods and when scrapers will not work.
- Splice versus mechanical fastener and why splices fail.
- Heavy-duty conveying for mining and critical minerals — the fixed-route, long-haul case this page does not cover.