
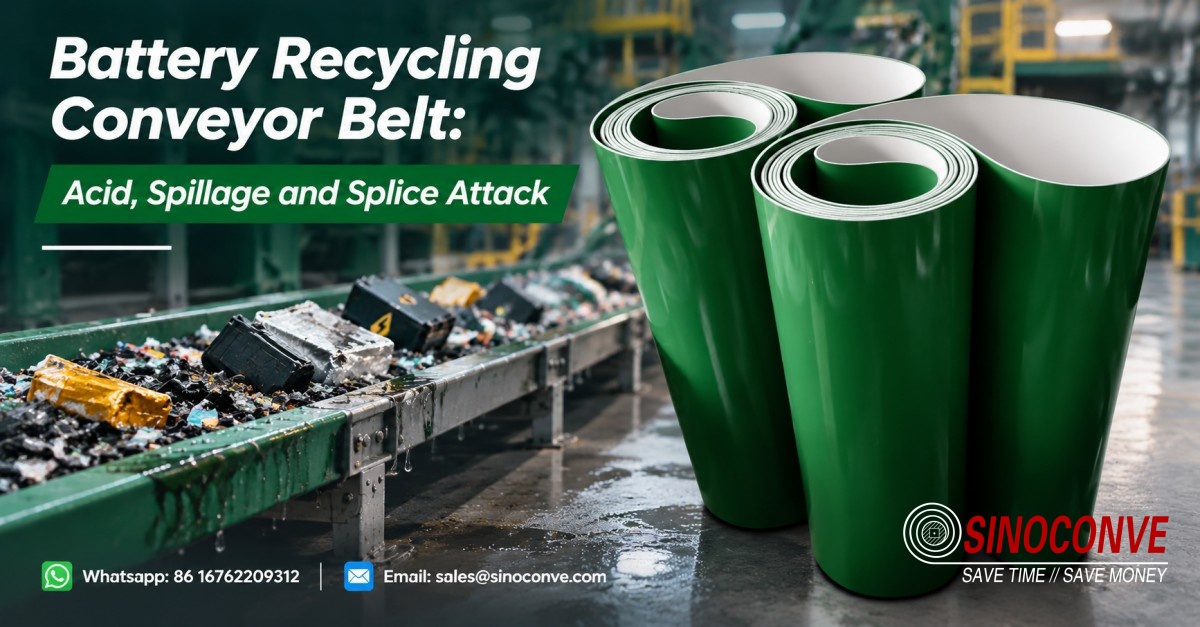
At the opening station, look below the side skirt before looking at the belt face. A drip can reach the return run without leaving much on top. The first question on the replacement sheet is where that liquid came from; the second is where the drain should have taken it.

01 Start With the Wet Position
The two common battery streams call for different notes on that sheet. On the left of the drawing I write 'sulfuric acid, lead solids' beside the lead-acid breaker. OSHA's description of that station stays with the safety file. On the lithium-ion page, the EPA recycling guidance is attached beside the cell-handling procedure, where the team records flammable electrolyte and damaged packs. Put these streams in separate columns. The word “battery” on its own hides the exposure.
Walk the line with the process operator and a drawing. At each belt, write the case condition and the contents of the nearest collection tray. A stain just beyond a transfer can come from the previous machine. Take the cleaner's chemical label to the same meeting; it may touch the belt more often than the product does. The supplier can then check the actual liquid against its cover and joint material.
At the lead-acid opening station, I follow the tray to its outlet. A stain under the take-up can be traced back to a tray that filled during the last batch. On a lithium-ion line, the wash plan belongs to the site's process and EHS team. I would ask for their approved procedure before adding a nozzle to the belt drawing.
02 Where the Material Changes
Number the belts from intake to discharge. At the first chute, note impact and cracked cases. At the opened-case transfer, circle the wet edge. At the discharge, wipe a finger along the return cleaner's housing; black residue there has already made the trip around the pulley. The recycling plant layout and recycling conveyor system drawings are useful beside this numbered list.
| Segment | Look at this during a walk | Belt and equipment question |
|---|---|---|
| Whole batteries or modules | Broken housings below the chute; impact marks on one strip | Is the drop supported, and are damaged units kept out of routine feed? |
| Opened lead-acid cases | Acid-bearing drips at the skirt, edge or take-up | Where is liquid captured, and are cover, edge and splice compatible with it? |
| Processed fragments or black mass | Fines at the discharge and on the return | Can the cover release residue without carrying it back to the tail? |
| Light sorting or packing transfer | Residue from a preceding stream | Is the belt cleanable under the plant's actual method? |
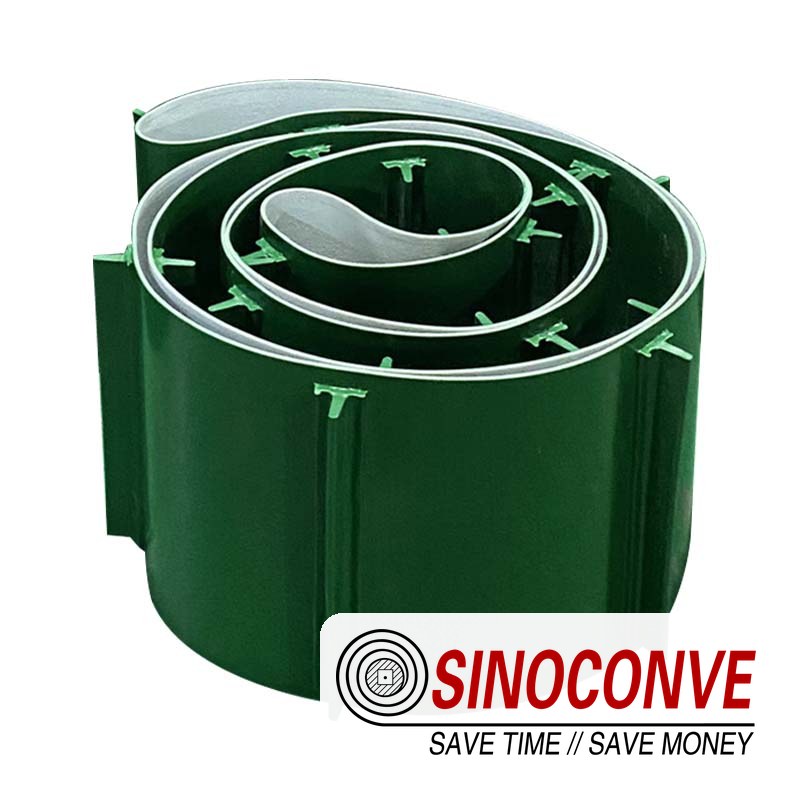
At the intake, a case can be damaged by the drop before chemistry touches the belt. Check the chute lip and support at the point of impact. If an incline needs cleats, bring a representative case or module to the layout review; a profile that prevents rollback can also snag or crush an awkward load. The cleated belt for recycling lines and impact roller loading guide address these mechanical choices.
After the opening station has run, take a photograph beneath the next transfer. A stripe at the left edge sends me upstream to the skirt gap. I would check the tray outlet while the line is stopped. Mixed electronic scrap adds metal edges and damaged packs to this picture. The e-waste belt article deals with those loads.
03 Use the Damage as a Map
Keep the failed belt section with its position marked. A broad worn patch below the chute sends the inspection back to the drop and support. A local peel near a damp edge sends it toward the tray, edge seal and ply bond. A polished line under the scraper asks for the blade setting. Photograph these marks before the maintenance crew removes the deposit; the residue may identify which transfer caused it.
A cover sample can survive the liquid while a cut exposes fabric beneath it. On the enquiry I put top and bottom cover codes in separate boxes and mark every exposed edge. The acid and alkali belt range is a starting list of constructions. I put the liquid's identity and concentration on the sample bag. The temperature and dwell time go on the chemical resistant belt guide printout beside it.
For a peeled ply, I label the failed sample 'wet edge' and a second piece 'sound'. The laboratory can choose a bond test after seeing both sections. I keep the old splice record with them; the field joint may have its own batch of rubber. The puddle beneath the machine is entered as a separate maintenance item.
04 The Joint Has Its Own Record
A raised splice lip is easy to miss until the belt is stopped. Run a light across it and check whether dark residue has settled at the step. Look for a lifted corner and for fabric visible at the edge. Those signs matter even when the carrying cover elsewhere still feels firm. Make this inspection after the first cleaning cycle, with the guard opened under the site's isolation procedure.
The splice sheet should show which end leads, who prepared the steps, the consumable batches and the cure record for a vulcanized joint. Compare it with the wet position on the drawing. The joint methods guide and splice failure guide are useful at the shutdown meeting. I would ask for the proposed tie gum's chemical compatibility data before the crew cuts the old belt.
| Joint or edge detail | Evidence to inspect | Procurement action |
|---|---|---|
| Vulcanized splice | Lifted step, void, wet line or loss of bond | Specify procedure, compatible materials and acceptance record |
| Cold bonded joint | Damp preparation surface or incomplete cure | Ask the joint supplier for site-condition limits and record them |
| Mechanical fastener | Wet fabric at holes; loose or corroded metal | Check temporary-use approval, clearances and removal date |
| Cut edge | Yarn protruding or a stain running inward | Compare the seal detail with the approved drawing |
Stores may have a fastener kit for breakdowns. Before using it here, lay the fastener against the cleaner and smallest pulley; a projection can foul either one. The holes also leave fabric accessible to liquid. The splice versus fastener comparison helps the fitter record that choice. If the previous joint failed in the same wet place, the repair card needs a drainage task too.
05 Look Above and Below the Belt
The OSHA conveyor handling page belongs with the plant's lead-exposure file. For the belt survey, look at the steel directly over the return strand. A drip from the enclosure roof or a gap in the tray can wet the lower cover after the visible spill has been cleared.
Stop the machine under the site isolation procedure and look at the first return roller after discharge. A ring of damp powder there can change roller diameter and drag the belt sideways. Bag a sample of the deposit for the site's analysis rather than calling every dark crust “acid.” It may contain process solids, wash residue or wear debris. The return-side cleaning guide is relevant when carryback is the route.
Keep roller specifications on a component schedule beside the belt order. SINOCONVE's belt report and the qualified roller partner's report go in separate sleeves. At the dusty transfer, compare the partner's seal detail with the sealed roller guide; at the wash bay, check the shell against the corrosion-resistant roller guide. Try the cleaner adjustment from the walkway before approving the frame drawing.
06 Follow the Wash Water
I would stand at the wash bay for one full cleanout. The first drip may fall from the belt edge into the tray; the second may escape at its end plate and land on the return. The wet patch beneath the take-up is then a drawing correction, with its own location and photograph. The plant's EHS team decides how contaminated liquid is collected and treated. The lithium-ion station gets its cleaning instruction from that process team, with EHS review. It cannot simply inherit the hose arrangement shown on a lead-acid drawing.
| Observed route after cleaning | What to verify | First design response |
|---|---|---|
| Liquid stays in cleats or a profile | Dwell time and material caught in pockets | Test cleanout; consider a smooth wet segment |
| Drips cross the splice or belt edge | Direction of spray and edge condition | Move or shield the wash point and verify the joint |
| Runoff reaches the return belt | Tray position and roller contamination | Capture liquid at the transfer and inspect underside |
| Puddle forms under the frame | Floor fall and collection point | Correct drainage with the plant's EHS team |
I would test the proposed belt with the plant's actual cleaning sequence, then inspect it after it dries and after the next shift. A shiny wet surface can hide a deposit that appears at the edge later. The conveyor cleaning system and cleaning methods guide cover equipment options. Neither replaces a drawing of the runoff route.
07 Make the Roll Traceable
Send the supplier one sheet per belt position. Include battery stream, material state, electrolyte or cleaner identity, measured temperature, contact time, the faces exposed, pulley diameters, speed, tension, incline and the previous belt's failure evidence. Ask the bidder to identify the cover compound and its compatibility basis. The carcass rating should follow the conveyor calculation; extra plies do not repair a leaking tray.
| RFQ item | Supplier response to request | Receiving check |
|---|---|---|
| Top and bottom cover | Compound code, thickness and stated exposure limits | Roll marking and construction record |
| Carcass and ply bond | Construction and applicable test method | Batch-linked report and ordered dimensions |
| Edge and splice | Seal detail, joint materials, method and crew | Visual edge check and splice record |
| Cleaning exposure | Named chemicals, concentrations, contact and rinse conditions | Compatibility statement for the supplied build |
| Storage and handling | Packaging and storage conditions | Wrap condition and coil identification on receipt |
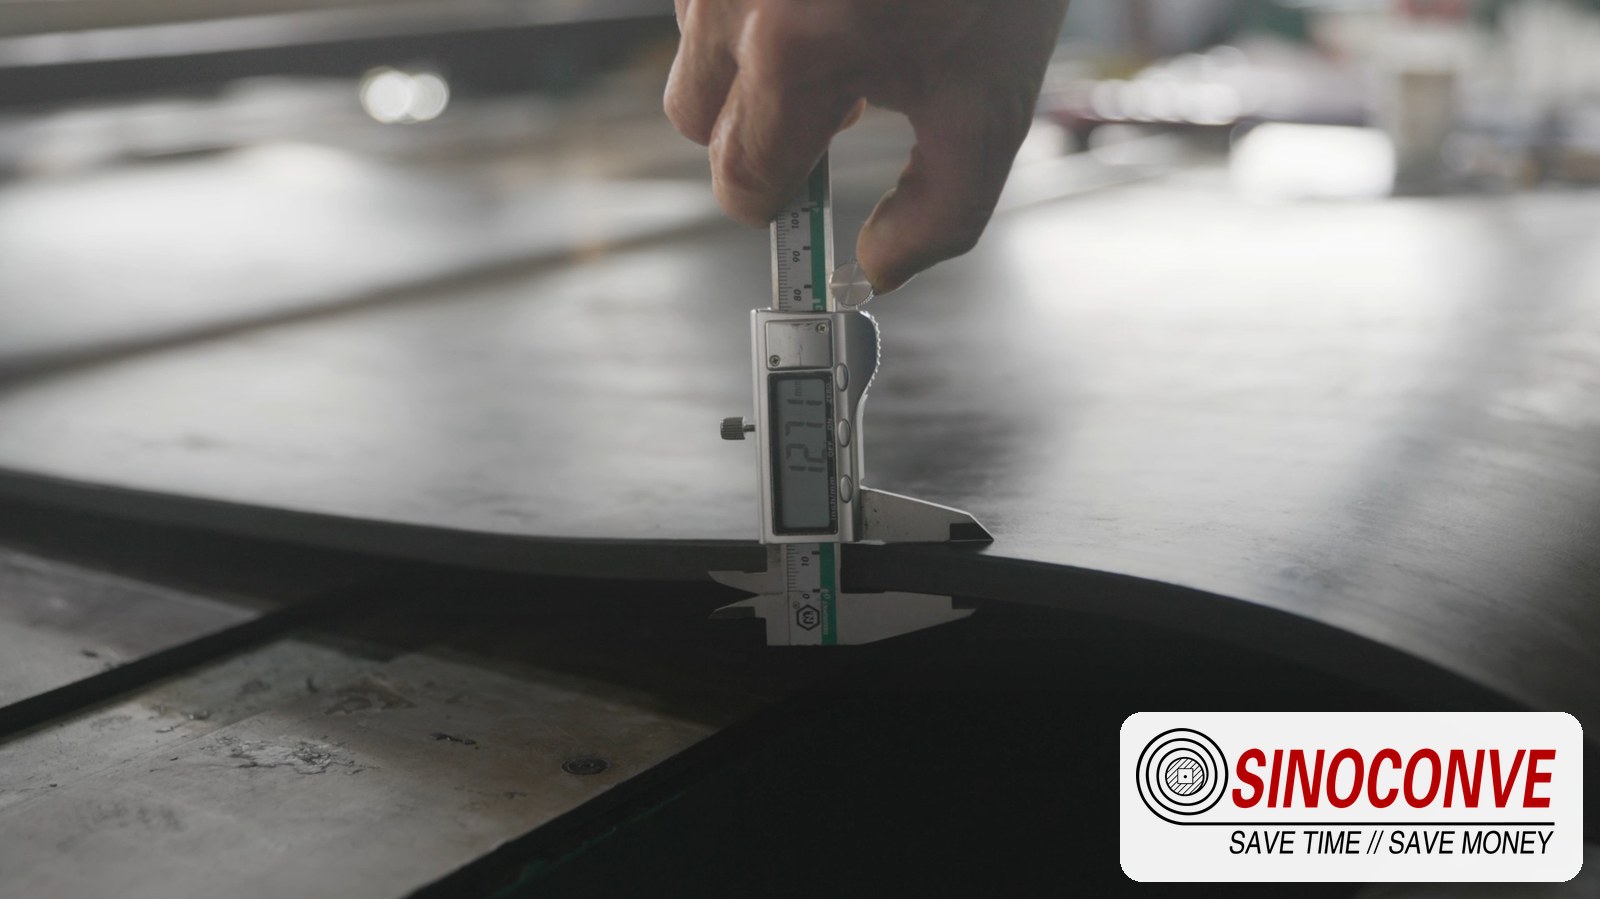
Goods-in has a simple sequence: match the coil ID, note packing damage, then open the wrap. Keep any sample location on the measurement sheet. An edge defect needs its position along the roll, not just a close-up photograph.
The cost sheet has a separate row for the joint crew and a row for lost production. I also enter the time spent clearing residue at each changeover. A second failure beside the same wet take-up is a reason to price the drain repair with the belt. The product catalogue gives candidates; the old sample and zone drawing narrow the choice.

08 Questions From the Belt Walk
Can the intake and opened-case lines share a spare?
First compare the pulley sizes and the drop onto the intake belt with the wet exposure of the opened-case belt. A shared spare needs approval against both drawings. The same width on the order form does not settle it.
Does the label “acid resistant” cover our lithium-ion line?
Ask what liquid was tested. Send the process data and cleaner identity to the supplier, including the splice materials, before accepting a generic label. Use the actual chemical inventory for each stream.
The top cover looks sound. Why is the joint lifting?
Look at the joint step and the edge under a light after the line is isolated. A wet line or exposed fabric deserves a sample from that area. Compare it with sound material and the joint record; a cover hardness check alone says little about the bond below.
Can stores use its emergency fastener kit?
Check it against the site's temporary repair procedure and the smallest pulley, scraper and wet zone. Record the metal specification, exposed holes and the date for a permanent splice. An available kit is not automatic approval to fit it.
What tells us the wash interval is wrong?
Look for hardened deposit before cleaning and for liquid left on the return afterwards. Date the two photographs and keep them with the wash record. The runoff drawing goes through process and EHS review.
The roll has arrived. Where is its test sheet?
Keep the marked roll, packing list, compound designation, applicable batch reports and joint drawing together. Photograph shipping marks before unbanding. When the splice is complete, add its crew and cure record to the same file.
09 Related Products
- Acid and alkali resistant conveyor belts
- EP rubber conveyor belt
- PVC conveyor belt for suitable light transfers
- Impact conveyor roller, supplied through qualified partners
10 Related Reading
- Chemical resistant conveyor belts
- E-waste recycling conveyor belt
- Conveyor belt splice failure causes
- Return side belt cleaning