
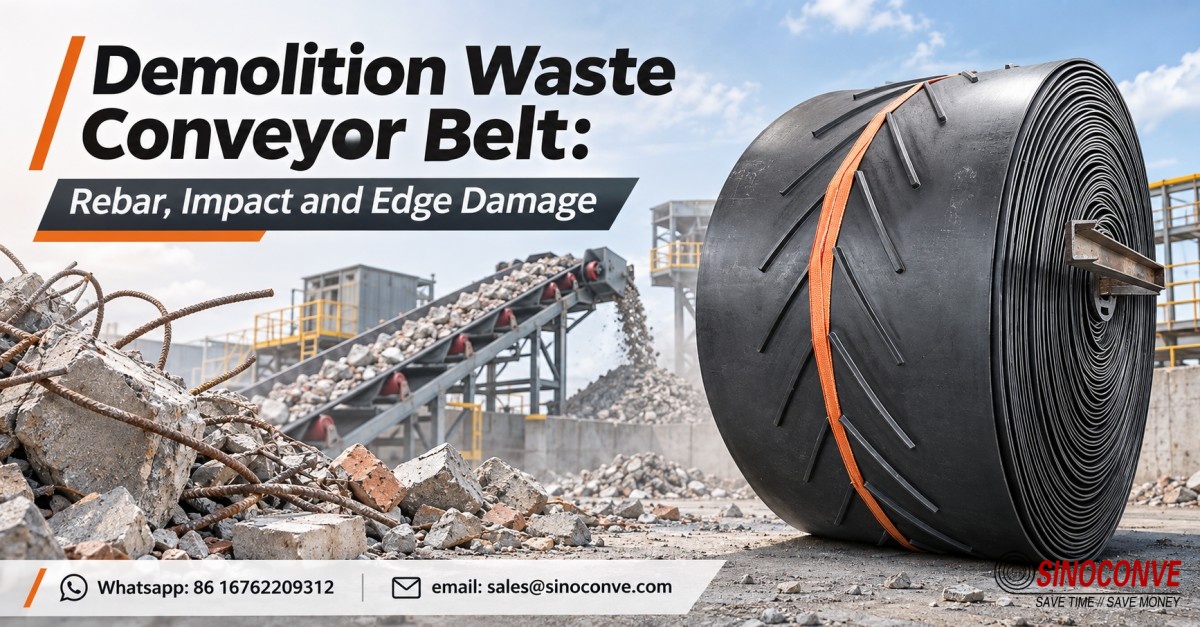
A loader bucket tips into the receiving hopper. Concrete breaks against the chute. A bar left inside the slab does not break with it; its free end may reach the belt first. That one end, rather than a day's tonnage, is what the replacement specification needs to account for.
Before ordering another cover grade, lay the failed section out with its running direction marked. Find the first hole or groove. Circle the first mark on the conveyor sketch. The dot on the sketch now ties the damage to the loading station, not simply to the belt model.

01 Start at the first mark
Concrete fines can polish and thin a cover over a wide track. A bar end makes a local hole. One end held fast at the chute can score meter after meter of passing rubber. A thicker abrasion-resistant cover may help the first problem. On its own it leaves the trapped steel exactly where it was.
Put the failure on the conveyor drawing
| Mark on the removed belt | Look at the machine | First design question |
|---|---|---|
| Wide, even cover loss | Fines and cleaner contact | Is the cover grade suitable? |
| Hole followed by a lengthwise slit | Chute, trapped metal and rip switch | Where did the point lodge? |
| Bruised patch below the feed | Drop and receiving support | Did the belt sag between idlers? |
| Bright groove near one edge | Skirt, flange and tracking | Is material trapped against the moving cover? |
Do not label all four as “abrasion” on the work order. The replacement shop will only see the description and may send a better version of the wrong belt.
02 Define the part of the plant being discussed
This page follows the mixed-debris belt from receiving to the first picking or sizing station. A later clean aggregate stream has a different load. See the recycling layout for the whole line. Smaller metal and circuit boards are covered in the e-waste article.
Which drawing does the buyer have?
On a short receiving conveyor, a bent length of steel can be more serious than average throughput. A long lift still needs a tension calculation, pulley sizes and a splice design. Put the chute on the drive drawing too. The mining belt guide can help with a long lift; the receiving point here needs its own note about metal shapes.
If the conveyor is part of a skid or screening machine, give the builder its interface dimensions and the belt maker the actual feed description. “Construction waste” is too broad to settle either one.
03 Follow the steel from first contact
The tip of a bent bar hits the cover below the hopper. A slab fragment pins the bar against the liner. The moving cover then passes under that stationary point. At the next isolated stop, look for a point mark just upstream of the long slit. Inspect the chute at the same lateral position; a witness scratch there can explain the whole run.
A breaker layer has a specific job
On the cut sample, find the layer just under the top rubber. Will the proposed breaker sit there, and will it extend through the splice? Ask for a cross-section and the bending limit. A stiff new build may need more transition room than the old fabric belt had.
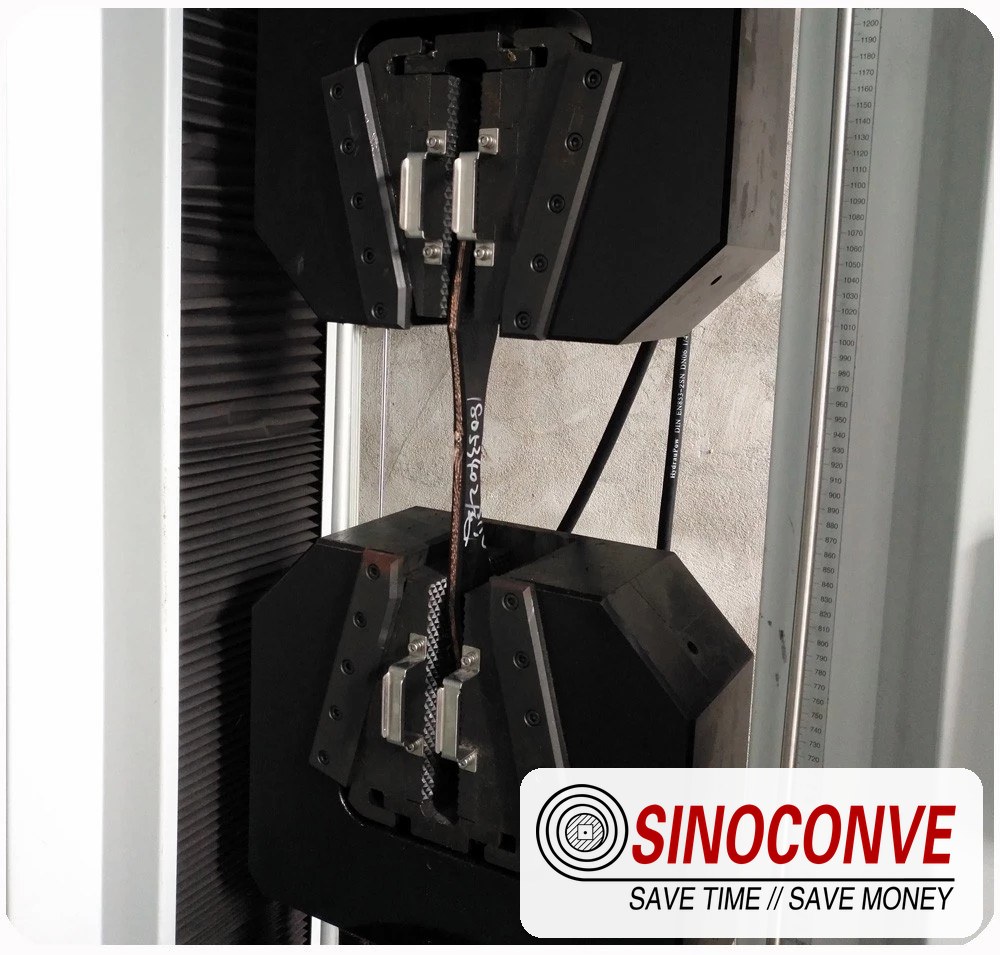
A rip switch or sensor cannot erase the initial puncture. How far would the belt move after that switch trips? Put the calculated distance beside the switch location, then test the stop. A detector at the far discharge may give an alarm after many meters have passed the trapped bar.
The failed joint deserves a separate look. A tear at the joint merits one last photograph of the opened layers. Keep that image with the repair report and the splice failure notes.
04 Walk the first transfer with the guard open at isolation
The cover is dished beneath the hopper. The nearest two idlers straddle that point, leaving the belt unsupported right where the slab landed. Mark their centers on the chute sketch. A cradle or closer impact idlers can then be sized to the actual chute. The choice depends on available room, trough shape and the incoming load. Martin Engineering's damage guide distinguishes impact marks from material trapped at the skirt.
The hopper can send a slug instead of a stream
Watch one normal bucket discharge from behind the guarding. Does the belt clear material continuously, or does a heap briefly stop at the skirt? The latter can overflow and put broken concrete between the return side and an idler. A metered feeder or chute change may do more than another millimeter of cover. Check the feeder's real duty and capacity with the system designer.
| What you see at the transfer | Check before changing the belt | Possible system action |
|---|---|---|
| One deep impact patch | Landing point and support gap | Review cradle or impact idlers |
| Material piles against the skirts | Feed slug and chute outlet | Meter the feed |
| Rubble spills at the side | Belt sag and seal setup | Stabilize the belt line |
| Wet fines bridge in the chute | Drainage and dead-bed shape | Clear the bridge point without exposing the belt to direct impact |
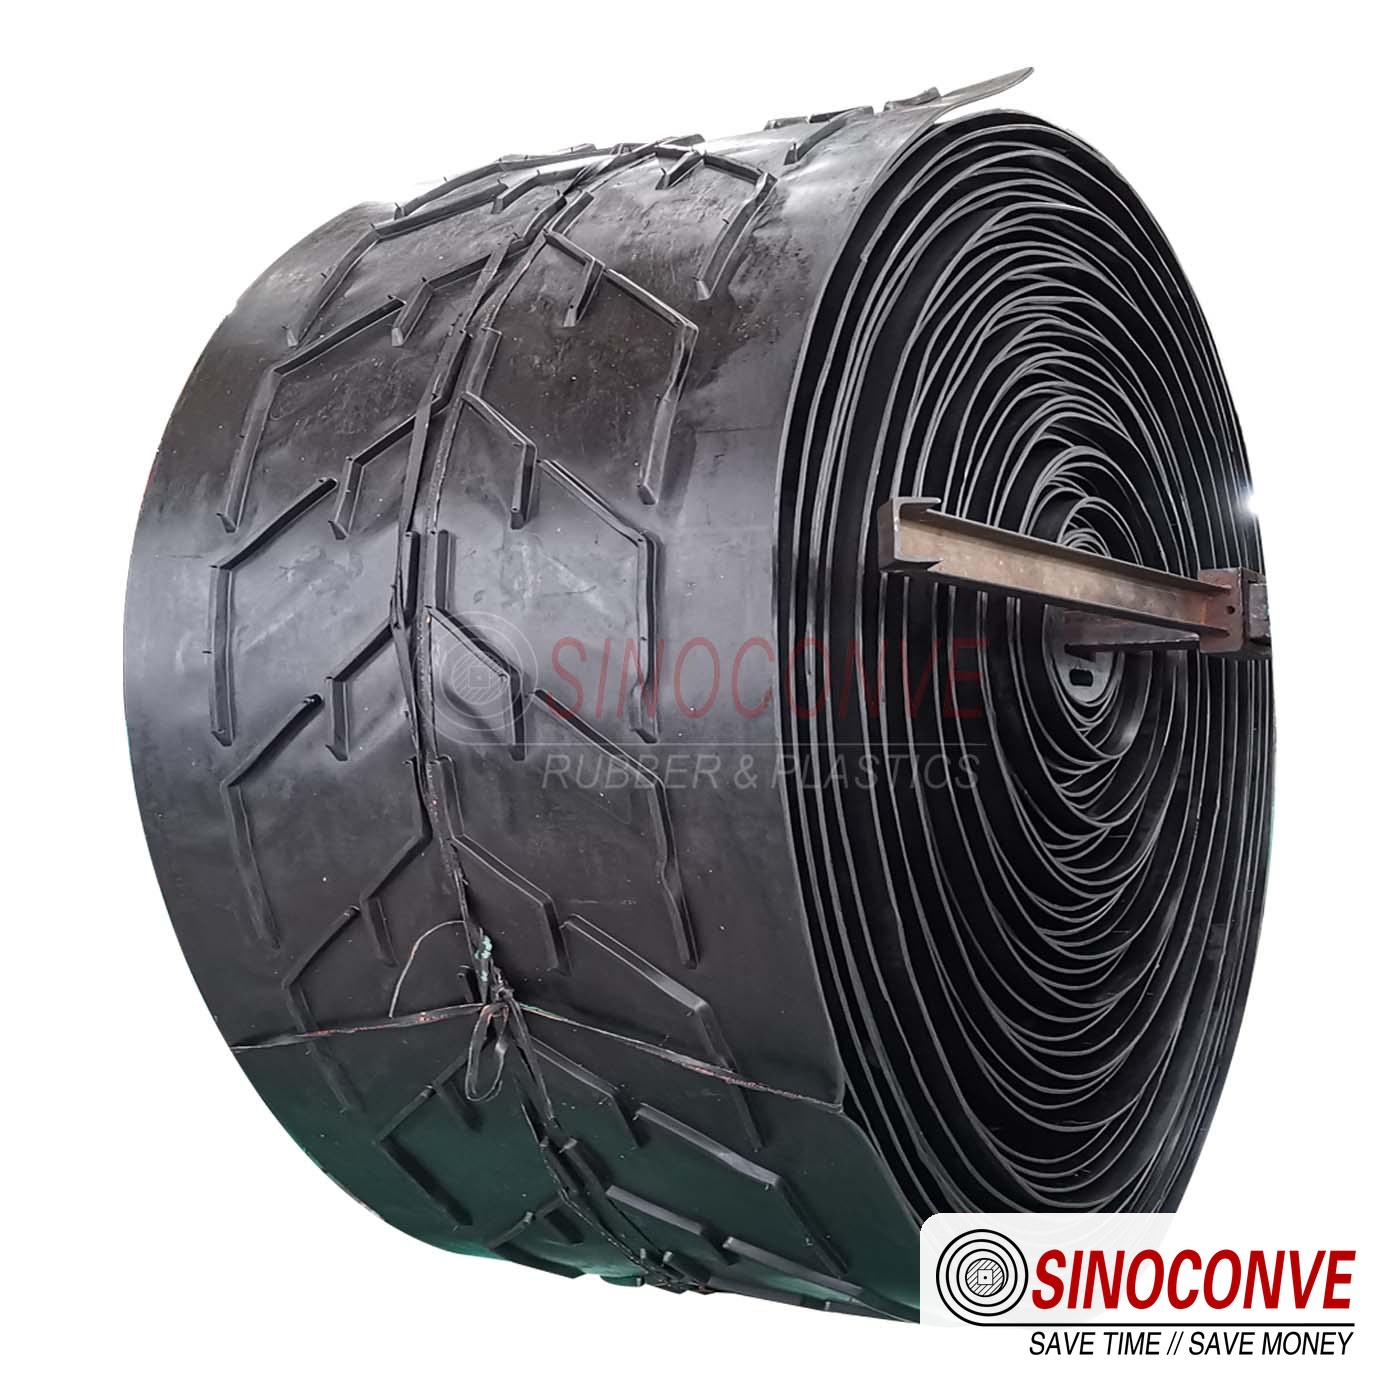
On an incline, a chevron belt might retain screened material. Loose bar is another matter: it can hook a profile and tear it away. Make the incline and its feed condition part of the same decision.
05 Read the edge before tightening the skirt
A bright, even edge may have been rubbing the frame for days. A gouge has its first sharp notch under the skirt. Lift that liner at isolation and look for the piece that made it. If a fitter simply tightens the seal because material escaped, the fragment can be pressed harder into the cover.
Check the gap along its whole length
Check the first, middle and last skirt brackets while the drive is isolated. If the belt dips between supports, rubble can enter beneath the seal and score a long track. Compare the track with Martin Engineering's entrapment examples. Record the installed arrangement and use its maker's setting procedure rather than one guessed gap for every belt.
| Edge signature | Likely place to inspect | Next measurement |
|---|---|---|
| Even polish on one side | Frame or chute wall | Running clearance and tracking |
| Sharp start below skirt | Liner and trapped debris | Skirt position with belt supported |
| Exposed fabric at cut | Edge and splice seal | Depth and length of opening |
| Cracks near transition | Pulley and trough change | Transition length and belt flexibility |
An exposed fabric edge can draw in wet fines. Inspect the actual edge construction on the delivered belt and at the splice, then repair damage before it travels inward. The tracking guide is useful when the edge shows continuous structure contact.
06 What the wet return leaves behind
After a wet shift the first return roller is coated in grey paste. At the isolated stop, collect a little of it on a card and note the station. A metal shaving in that paste suggests a route through the transfer or cleaner. Trace the runoff before resetting the blade.
Check the separator against burden depth
An overhead magnet catches ferrous steel it can reach. A bar buried under a slab may pass beneath its effective field. The Eriez selection page asks for width, speed and burden depth. A shallow test bed is no proof against a full loader surge. Note those values on the actual line, especially during a loader surge. Aluminum and many other nonferrous fragments need another control.
A metal detector must leave time to stop the feed or divert the offending piece before the vulnerable transfer. Check its position against belt speed and stopping distance. Test it with representative wet material under the site's procedure; a green power light says nothing about whether a deeply buried piece will be found.
07 The sample bag and the order sheet
Put a chalk arrow on the failed piece and photograph its first cut beside a ruler. Attach the chute sketch, pulley sizes and belt dimensions. The loader operator can often identify the largest slab and bar that reached the hopper. Add wet or dry running conditions, drive load and the splice drawing. Any site fire test belongs on the order by its exact designation.
| Check | On receipt | During service |
|---|---|---|
| Belt code and width | Compare with approved drawing | Keep identification legible in records |
| Cover and edge | Measure, photograph, check exposed fabric | Watch new cuts and edge polish |
| Splice | Confirm joint type and workmanship | Look for lifted steps or cracks |
| Receiving zone | Confirm support and skirt setup | Look under the impact and along both edges |
| Return and cleaner | Confirm drain and blade setting | Look for mud on the first return roller |
One new cut gets a date and location on the sheet. Visible fabric, a growing slit or a joint corner lifting is a stop-and-isolate finding under the plant procedure. Inspect for embedded metal only on a stopped, isolated belt. Save the rejected piece under its machine number.
SINOCONVE manufactures the belt. For a combined enquiry, list each roller or cradle by its own maker and model; we supply these components through qualified partners. The contact page accepts the drawings and photographs.

08 Questions from the yard
The cover grade is good. Why did the belt split?
A fine concrete stream can wear rubber evenly. A bar end can punch a hole through that same cover. The starting mark and chute arrangement tell you which occurred.
Where should we look on a torn belt?
Find the first notch, then trace it back to the loading station. Even thinning across the carry path tells a different story from one slit following the travel direction.
Does every receiving conveyor need a breaker layer?
No. Compare actual metal frequency, landing geometry and existing separation first. If a breaker is proposed, check its effect on bending, troughing and splicing for that conveyor.
Will an overhead magnet remove all the rebar?
No. Size the magnet for the burden actually passing beneath it, including the surge. Aluminum will remain in the stream. Verify the installation under representative feed.
Why does one edge fail while the center cover looks sound?
Look for a frame rub, unsupported belt under the skirt or a trapped fragment. The shape and start of the mark tell you which inspection comes first.
Can a chevron belt carry demolition debris uphill?
It can be considered for a screened stream on an incline. First check whether loose bar or plate can catch a cleat, and verify the profile, pulley and cleaning arrangement.
09 Related products and reading
- Rubber conveyor belts
- EP fabric belts
- Steel cord belts
- Recycling conveyor system guide
- Return-side belt cleaning