

01. Start with the old belt
The belt has already made a record of the sand line. Before disposing of it, mark the loading end, the middle and the discharge end. Take a cover reading at each mark, from edge to edge. A smooth but thinner centre is one story. A strip worn near a skirt is another. The second belt will inherit that strip if the skirt is left where it was.
A groove that runs with the belt deserves a look underneath. Find the return roll at the same cross-belt position; see whether it turns and whether its shell has a flat. If the roll has stopped, a new cover compound is an expensive way to avoid a cheap repair.

The three photographs worth keeping
Photograph the worn strip with a ruler, the hardware immediately above it, and the cut belt edge. Those views show more about the failure than a shot of the complete conveyor. Put the thickness readings on the same sheet. If fabric is exposed at an edge, note whether the section was wet; the splice and edge finish now matter as much as the cover.
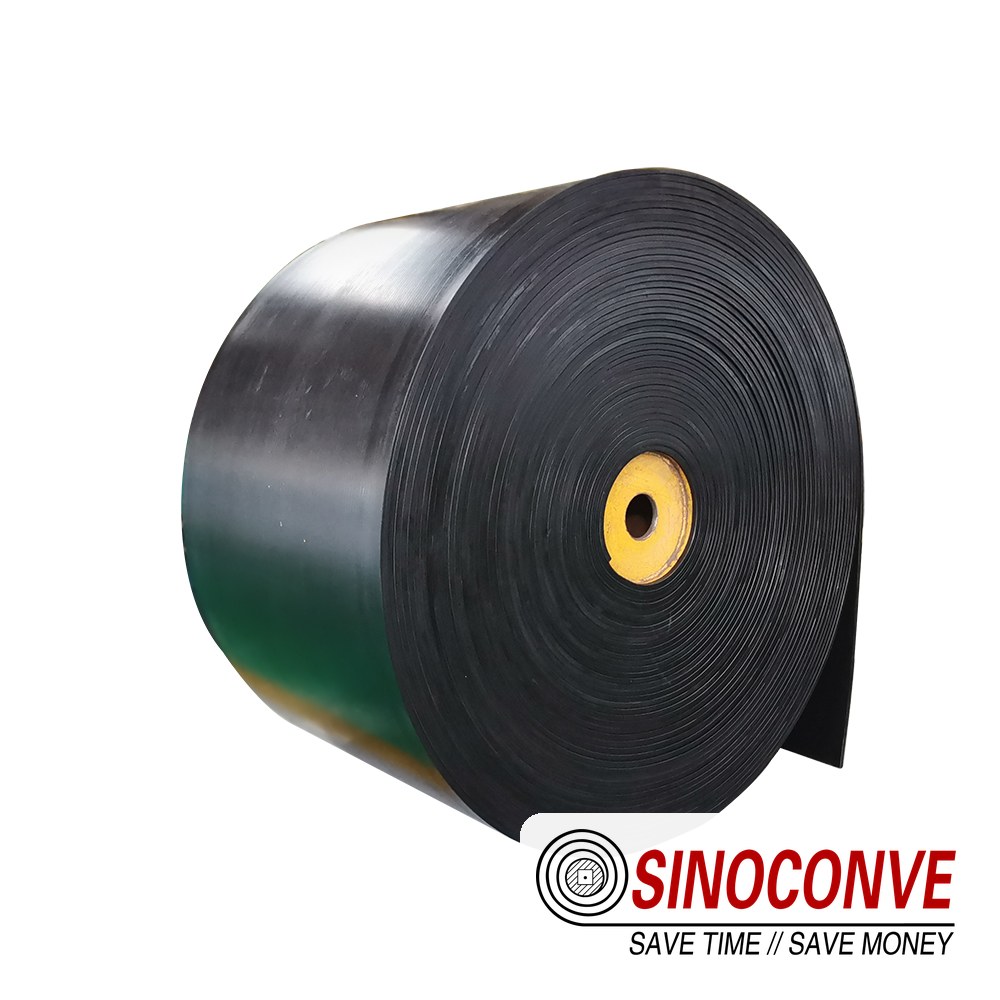
A cut sample gives the cover reading a location and a date.
02. Sand from which part of the plant?
A dry stockpile belt, a dewatering discharge and a recovered-filter-media line should not share an RFQ that says only “silica sand.” The dry line leaves dust at the transfer. The damp line leaves a film of fines past the head. Recovered media may also bring another fraction into the feed. Write down what reaches this particular conveyor, including the worst wet shift.
For a quarry, place the conveyor on the screening and washing route. An equipment builder needs the interface drawings; a site buying a replacement needs the wear record. On a mixed recovery line, use the recycling duty description as well. Material names alone do not tell the belt maker how the line runs.
At the head, watch one normal discharge. Is the belt clear as it goes around, or is there a pale coating on its return? The answer decides how much of this purchase belongs to cleaning hardware.
03. Where the test result ends
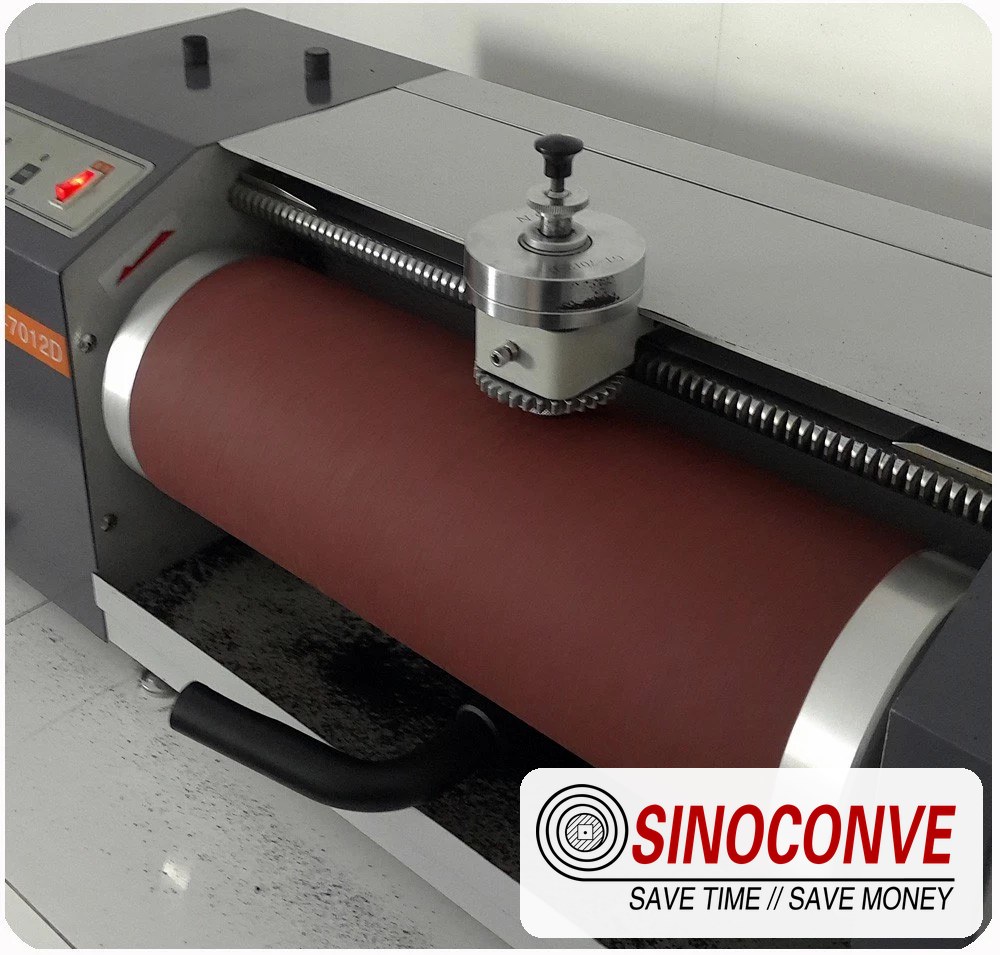
Two samples, one abrasion method: that gives the buyer a fair compound comparison. The trench on the old belt gives a different clue. Its location beside the skirt points back to the contact there. Add cover only after that contact is fixed.
At the loading point
Inspect the first metre beyond the chute. Note the skirt clearance and the position where sand collects. Compare the present liner with the drawing; it may have been changed since commissioning. See the quarry belt guide for cover choices once the hardware is set.
| Mark on belt | Look here |
|---|---|
| Even thinning | Running hours and cover |
| Skirt-side strip | Seal gap |
| Long groove | Return roller |
| Scored underside | Tail and plough |
04. Follow the dust
The transfer may release a visible cloud. Farther along, pale piles below return idlers tell their own story. A groove in the belt at the width of a roll calls for a stopped inspection of that roll and its shell.
For the transfer, inspect enclosure and extraction. For return deposits, start at the cleaner. For a bearing full of fines, inspect the idler seal. SINOCONVE manufactures the belt and can supply rollers through qualified partners. The idler note describes the component exposed to dust; the belt note addresses its edges and joint.
05. What returns past the head pulley
Film left after discharge rides underneath the conveyor. Deposits can appear at the first returns and at the tail. Clean the tail pulley, then compare the belt path in the next running shift. Keep a photo of both conditions.
Blade contact under load
A pale streak beyond the blade gives its position away. Record the streak across the belt and check whether it matches a worn blade segment. From a designated viewing point, see what remains under normal load. Then use the cleaner maker’s setting and clear its fines chute. The cleaner guide covers blade placement; the return note covers what gets through.
On a wash line, trace the drainage too. Sand stripped from the belt needs an exit from the cleaning station. Otherwise the spray merely shifts the deposit. See the sand washing note for that duty.
| Return-side clue | Check |
|---|---|
| Streak after the head | Blade contact |
| Fines below returns | Cleaner discharge |
| Tail deposit and drift | Pulley before training idlers |
06. The replacement construction
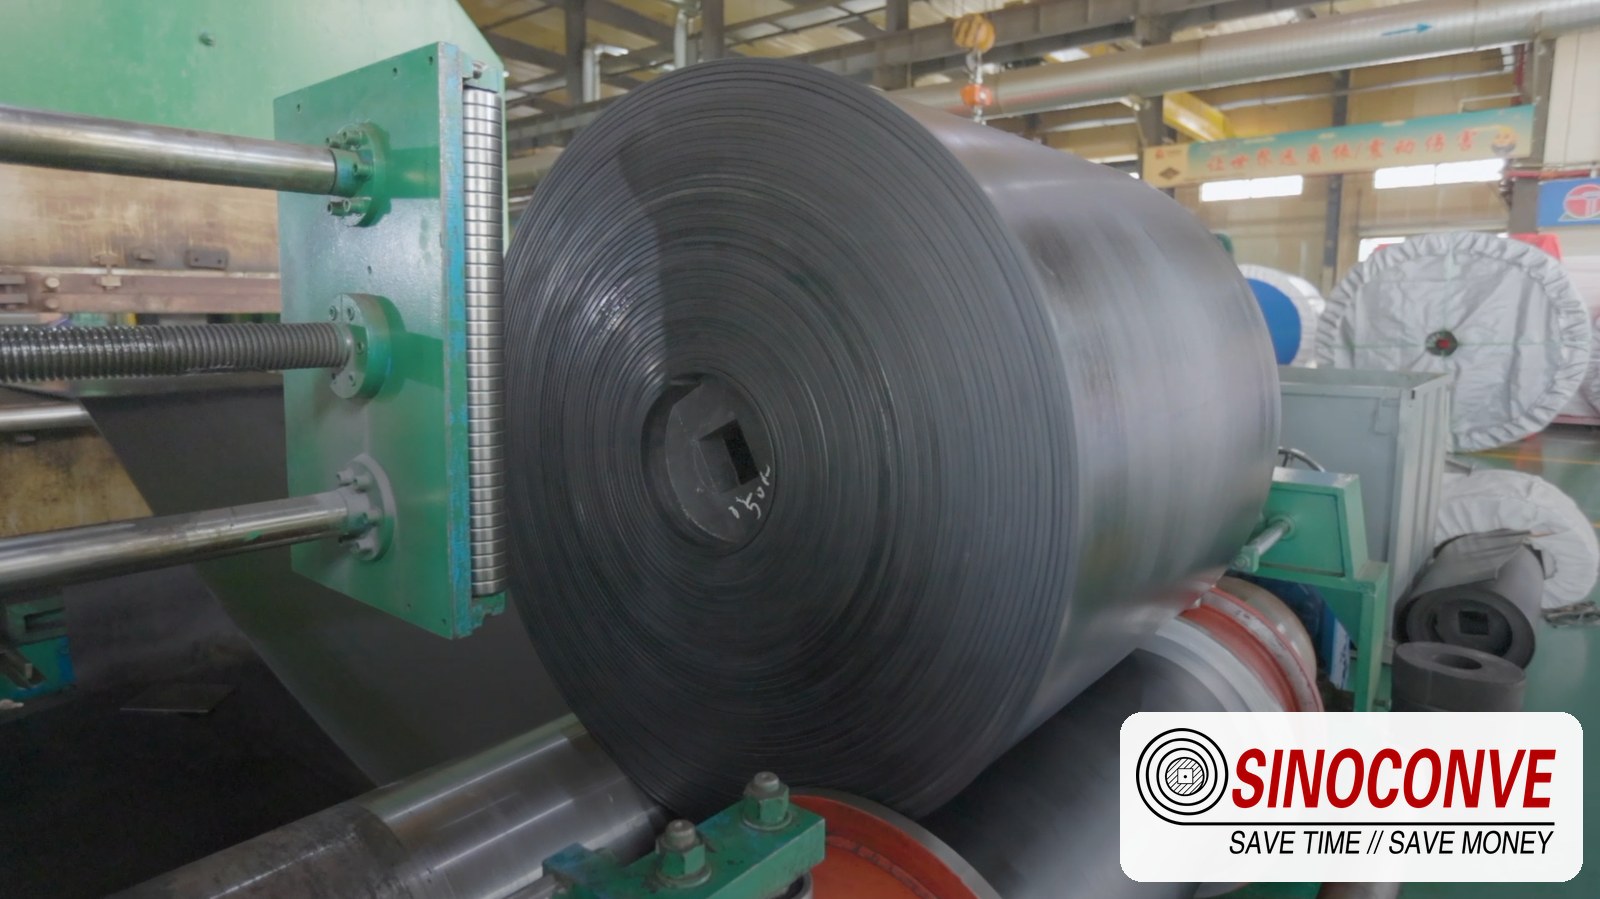
Compare the worn belt’s gauge map with the top and bottom cover thickness in each quote. Extra cover means extra bending at the head pulley, so the complete construction needs a stated pulley limit. Put the compound test method beside the result. The cover grade page names the options; the old belt indicates which one needs attention.
Edges, including the installed joint
A wet edge with fabric showing needs to be logged separately from worn top cover. Inspect the EP belt edge on receipt and compare the completed joint with the drawing. The jointing guide helps the site agree on a workable method.
For a long run, let the tension calculation decide whether steel cord is necessary. A short fabric-belt transfer has a different pulley and splice problem. The EP and NN guide is useful if both fabric options appear in the quotes.
07. RFQ, delivery and first running week
An RFQ can fit on one sheet if the drawings do the work. Show pulleys, the loading zone and take-up. Beside them, put speed, capacity, feed moisture and the intended joint. Attach the wear map and a photo of the cleaner. The quotation can then name the cover test and edge construction for this line.
At delivery, compare the belt markings with the approved drawing. Record several cover readings and inspect the edges before installation. A replacement idler and corrected skirt gap should be in place by the first run. Repeat the gauge readings at the same points after service begins.
Glass fragments belong on the enquiry if they turn up in the sand. They can slit a cover. The glass cullet note deals with that cutting duty.

08. Buyer questions
What service life should we budget?
Start a local record of cover loss and throughput. Those readings are more useful than a catalogue year count.
Does a thicker cover fix the strip under the skirt?
It gives that strip more rubber to consume. The trapped grain and pressure remain. Correct the skirt contact before ordering additional gauge.
What made the two lengthwise grooves?
Match the grooves to the roll positions. Stop, isolate and examine those rolls before commissioning a replacement belt.
Wet today, dry tomorrow: one belt?
Often. Give the supplier both feed conditions and allow for wet carryback and dry dust in the cleaning plan.
Will a dust-resistant belt seal the idlers?
No. Idlers need their own seals. The belt edge and joint are separate ingress points.
What do I send with a replacement request?
The belt drawing, operating conditions, a thickness map, and photos of the skirt, cleaner and return. The carryback guide can help label the return-side symptoms.