

The belt came off with its top cover nearly intact everywhere except beneath one transfer. There, a patch no wider than a hand had opened to the carcass. The work order said “worn out.” That description missed the shape of the damage: several separate cuts had met each other. A new roll of the same build would meet the same falling ore.
Keep one metre of the failed belt, including the worst patch. Chalk an arrow for travel and write the conveyor number on the back. A close photograph of a groove, with a ruler in frame, tells the supplier more than a broad picture of a black belt. Save a lump from the feed too. The average chip in a brochure is rarely the piece that starts a cut.

01Five things to write down about the ore
For the first site note, use five blanks: dry bulk density; wet bulk density if it changes; common lump size; occasional largest lump; fall from the chute exit to the belt. Add the feed rate seen during a surge, if a surge occurs. The scale reading for an entire shift smooths out an overloaded ten minutes. That ten minutes may be when a joint first starts to lift.
A broken face on crusher ore has a corner. On a long, gentle run it may only rub the cover. At the transfer it arrives with a vertical component and can leave a V-shaped wound. Pick several pieces from the belt, including the ugly ones, and photograph them beside a tape. The fines matter as well: note how many remain stuck to a gloved hand on a wet day.
A coal conveyor drawing can be a useful starting sketch, but its load assumptions cannot be carried over unexamined. Weigh the burden per belt metre at the ore rate in question. Check the actual trough and the room left between the burden and each belt edge. Look at the centre roll after a loaded shift, not just the unloaded belt before start-up.
| Observation at the line | Question for the enquiry | Where to inspect |
|---|---|---|
| Large, angular lumps | What is the largest recurring piece, and where does it first land? | Chute exit and impact zone |
| A load that changes after rain | How do fines behave when wet? | Head pulley, cleaner and return rollers |
| Deeply loaded trough | What is the mass per metre at the worst sustained rate? | Centre idler, wing rolls and edge margin |
| Intermittent feed surge | Does the belt start loaded, and what is the peak rate? | Drive, take-up and splice |
The mining and quarrying overview maps the wider route through the plant. Here the question is smaller: which failure began on this belt, and at which piece of hardware?
02Look at the scar before choosing a cover
The removed belt is easier to read with a work light held low over the rubber. A long polished lane reflects it; the neighbouring gashes interrupt it. Chalk the lane, measure from the nearest edge, and take the number back to the conveyor. A skirt frame over that lane is a better lead than another page of compound data. Get the first photos while the dust and lodged fragments still show where contact occurred.
The abrasion number comes from a particular lab test. It has a method and units; ask to see both. A sharp ore corner under the chute is another test altogether. Put the proposed compound beside the old one and ask what evidence supports its cut or tear performance. If the answer is merely “harder,” keep asking. Extra cover depth might extend a gradual wear life, while an exposed chute plate can cut through either sample.
Cut the saved patch across its deepest scar. Under the light, look at the bottom of the groove. Is there still rubber between it and the fabric or cord? Put the section in a labelled bag for the next purchase review. A small, exposed ply changes the repair question, even when a cover gauge shows plenty of rubber a few centimetres away.
The cover-grade guide gives the test vocabulary. For a rubber belt quotation, attach the scar photograph and mark where it sits on the conveyor.
03Fabric or steel cord: start with the tension calculation
The first carcass question is tension. On a compact transfer, the calculation may fit a fabric belt comfortably. On a long climb, the required rating and stretch limit may point to steel cord. The decision also depends on bending around the installed pulleys and on how the site will splice the roll. “Iron ore” is printed on neither the tension calculation nor the pulley drawing.
The drive sheet has three different entries for pull: running, loaded start and braking. Put take-up movement and the smallest pulley on the same page, then draw the first troughing set. A stiffer candidate may meet the tensile calculation but form a poor trough there. Have the fitter sketch the press position and space around it. That sketch may rule out a belt whose catalogue numbers otherwise look attractive.
Keep the falling-load sketch separate from the tension sheet. Repeated hits between supports may bruise plies beneath a cover that looks sound from above. If a breaker is proposed, its place in the build and the test evidence belong in the offer. Mark the exposed portion of any cord before repair. With fabric, determine whether damage ends at the first ply or continues across the stack.
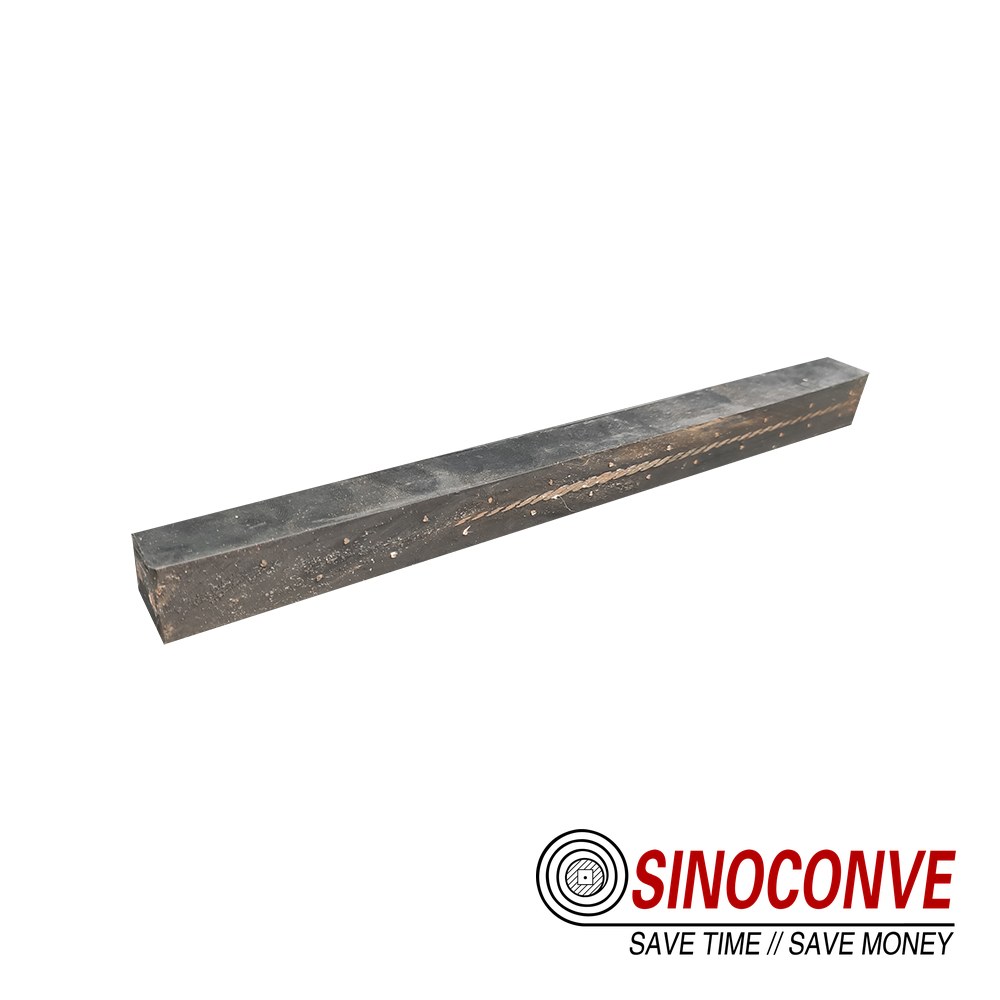
A fabric step joint and a steel cord joint have different layouts. Obtain the drawing for the exact construction, along with the rubber and cure instructions. Before ordering, count the working length available for that joint and identify the press crew. The fabric versus steel cord guide gives a wider comparison.
04The chute after its last liner change
A tape, a camera and the latest chute drawing are enough to begin. Lock out the conveyor and mark the lowest steel edge, belt surface below it, next support and skirt exit. Now compare the drawing with the liner actually fitted. The plate installed last shutdown may have changed the chute opening. “Drop height” on a purchase order should say exactly which two points were measured.
Watch where material lands when the line is safely operating. It should enter the receiving belt without a hard sideways shove. A chute that retains a bed of ore can reduce direct lump impact, provided its pocket works at the low and high feed rates. A static photograph of the empty chute cannot prove that it does. Video at both rates is a useful addition to the sketch.
Beneath the landing point, count the support stations and measure the gaps. Where the belt sags, the skirt seal can open and then be tightened until it rubs. Impact bars or idlers need the belt speed, lump and drop data for selection. Check that a support arrangement still allows the belt to form its intended trough downstream. At the tail, clear accumulated ore before inspecting the pulley side.
That straight groove beside the edge? Put a tape across the stopped belt and compare it with the skirt line. Check for a steel backing that touches rubber and for one trapped stone held like a tool bit. This is a machine contact problem even if the purchase history calls it “abrasion.” The loading-zone support notes cover the support beneath the seal.
05The splice sees dust before it sees tension
Dust settles even during a short joint preparation. Lay out clean materials and the press first. Use the procedure supplied for this construction, including its solvent, lay-up and cure instructions. Someone should note each reading beside its time. If the joint opens later, that sheet lets the crew compare the actual cure with the required one; the finished surface tells very little about what happened inside.
Before the old belt is cut, put the splice drawing on the floor at the intended work point. Is there enough straight length to lay out every step or cord? Will the press reach, and can the crew get around it? Those are questions for the shutdown plan. Discovering a short press after the roll is in the gallery leaves the crew choosing between delay and a joint nobody specified.
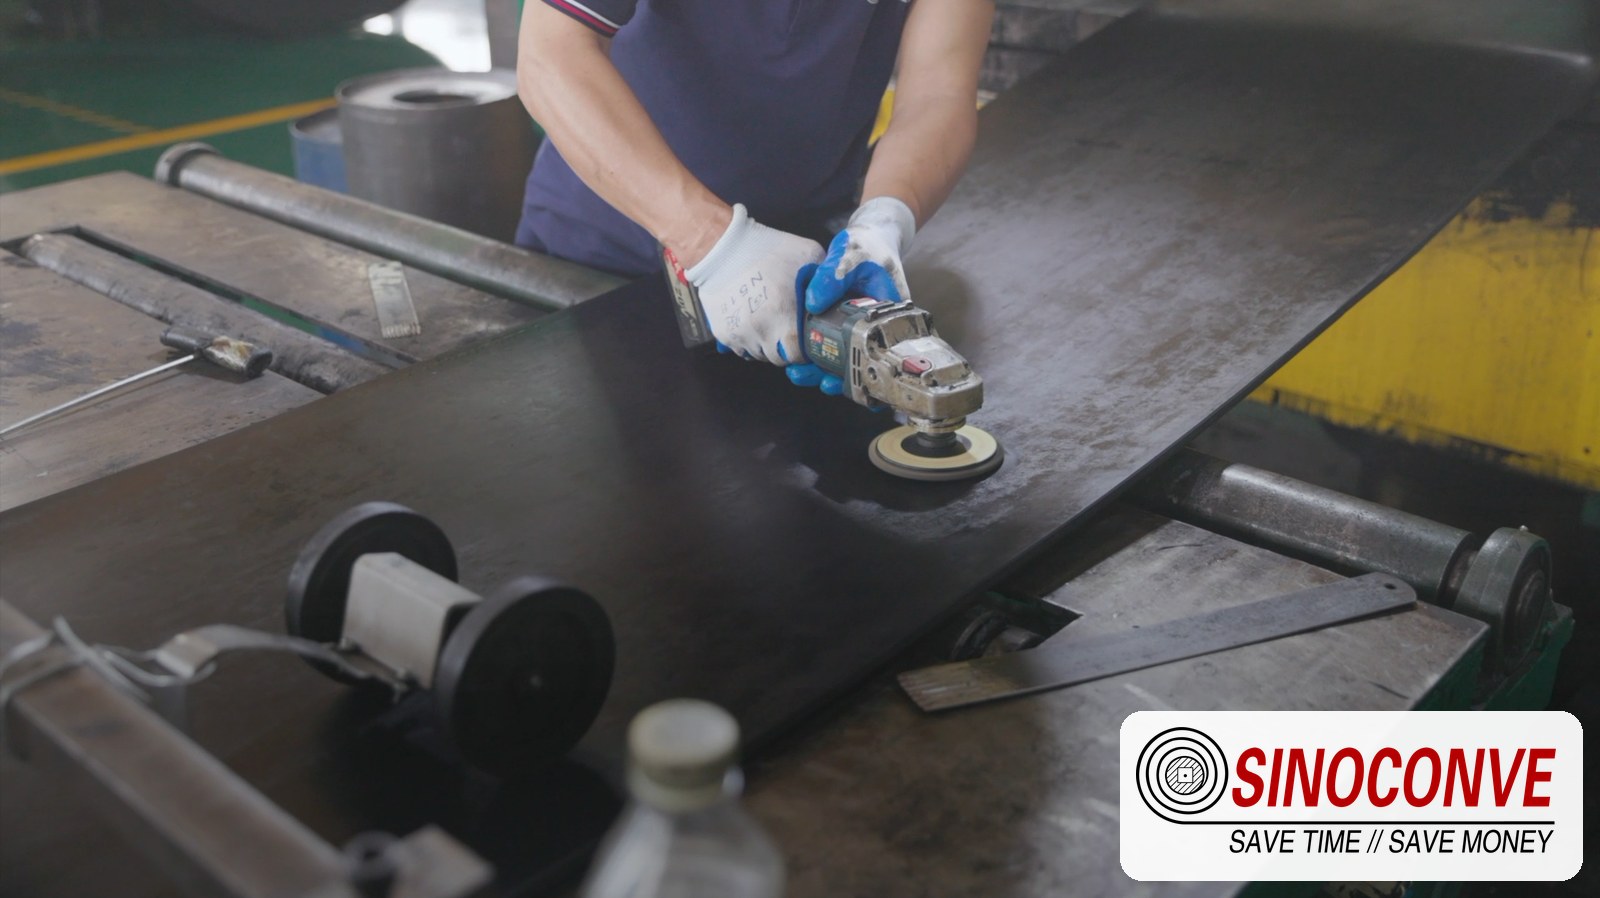
File the joint sheet under the conveyor number. Include the belt batch and a photograph before closing the press. An early opening may involve surface preparation, materials, geometry, curing or the tension imposed by the drive. The splice checklist is useful when arranging this work.
06Wet fines take the return route
On a dry afternoon, the head pulley can look almost clean. After rain, stop the conveyor for inspection and check the returning cover at a safe point. A damp red film that passed the cleaner will announce itself on the next few rolls. Note which shell has a deposit and whether it is even across its face. Bearing seals protect a different part of the assembly.
Start with the blade face. One end may have lost contact while the other is worn flat. Check where the scraped paste falls, then walk the return strand. If that paste rests on a shelf until vibration throws it back onto the belt, cleaning has only delayed its return. A single hard adjustment of the cleaner can also leave a bright contact stripe on the cover or catch a raised joint.
If the belt runs centrally empty and wanders under ore, film the loaded cross-section before touching an idler. Has a worn chute thrown the stream to one side? Has the skirt been tightened on the side that spills? Then inspect pulleys, structure, take-up and return-side deposits. Training hardware is one tool after the source of the side load is understood.
For more detail, see the carryback and tracking notes. We manufacture the belts and can supply rollers and other components through qualified partners. Both orders should use the same site drawing.
07Write a purchase order that can be checked at receipt
The minimum order line has width, rating and covers. For this conveyor, add the bagged ore sample and the marked scar picture. The attached sheet needs speed, lift, take-up, pulleys, peak feed and drop as measured after the latest liner work. Tell bidders whether the machine starts full. If drawings changed, cross out the obsolete revision. Each quotation can then be checked against the same physical line.
Read the roll mark before removing its wrapping; take a picture of the label and any damaged packaging. Measure width and both covers at the specified points. Check the edges while the roll is still accessible. File the batch sheet under the conveyor asset number. If the belt is already endless, put its joint record in the same folder before the rigging crew pulls it into place.
| Reported symptom | First check before replacing the belt |
|---|---|
| Cuts near the chute | Actual drop, lump size, trajectory, impact support and protruding liner |
| Uniform strip of missing cover | Skirt or cleaner contact, trapped ore and belt path |
| Wet fines on return rollers | Cleaner condition, discharge of scraped material and moisture source |
| Wander only under load | Feed position and load distribution before changing training hardware |
| Joint opens early | Splice drawing, preparation, cure record and operating tension |
The asset history needs a cause, not just a replacement date. Put “cut at transfer,” “edge rubbed at skirt,” “wet carryback on return” or “joint opened” beside the date when evidence supports it. The next buyer can then tell whether a new belt specification solved the failure or merely survived a different season.

08Questions at the maintenance desk
Does a thicker top cover fix sharp-lump damage?
It buys more rubber above the carcass. It leaves the same lump falling through the same opening. Put the old cut section and the chute sketch on the table before deciding whether thickness is the useful change.
The cover is gone: what pattern remains?
One shiny swath and several jagged cuts tell different stories. Photograph both with a ruler. A narrow stripe that stays the same distance from the edge is a clue to follow back to the skirt or guide hardware.
Should the next roll use steel cord?
Use the tension calculation and the installed pulley sizes first. Add the impact and splice plan. Steel cord may be necessary on a long, high-tension route; fabric may fit a shorter transfer. Neither is a grade of cover rubber.
Why does tracking deteriorate in the rain?
The wet fines that passed the cleaner may be packed onto return rolls. There may also be a shifted stream at the loading point. Take a loaded-belt photograph in dry and wet conditions, then compare deposits and the position of the burden.
What should arrive with the belt?
Check the marked construction, dimensions and edge condition against the order. Collect the batch information, test results and joint instructions. If a joint was supplied, ask for its record. File the whole set with the conveyor number.
Related products
- Steel cord conveyor belt
- EP fabric conveyor belt
- Conveyor rollers and impact idlers
- Full product catalog
Related reading