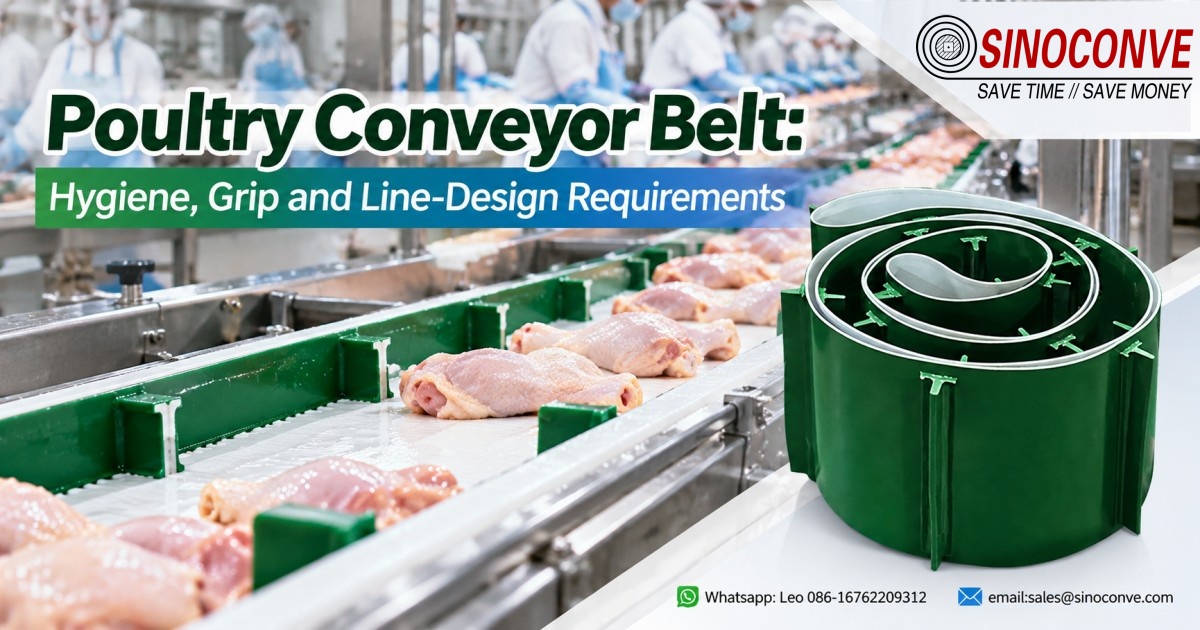
Poultry processing asks a belt to survive four things at the same time: hot rendered fat, standing water, bone splinters and knife tips, and a washdown cycle that runs several times a shift with hot water and chemicals. Choose a belt for grip alone and it dies early, while a belt picked for hygiene can tear on a wishbone. We build both requirements into one belt, and this guide walks through the station-by-station belt matrix, the material trade-offs, and the numbers you should pin down before you send a quote. If you are sourcing for a live-hang, debone, portioning, or packing line, this is the decision map our engineers use.

01Conclusion First: Three Ways a Poultry Line Differs from a General Food Line
A poultry belt is not a generic food belt with a blue cover. We have supplied enough deboning and cut-up rooms to know that the failure mode changes completely when animal fat, cold water, and bone are in the same drop zone. The difference is structural, so it shows up in the belt you pick, not just in the cleaning schedule.
Fat and water arrive together
On a bakery or snack line the belt sees dry crumbs and light oil. On a poultry line, rendered chicken and duck fat lands warm, then congeals as the belt cools, and washdown water mixes with it into an emulsion that seeps into any exposed fabric edge. A belt that is only wipe-clean will absorb that emulsion at the cut edge, harden, and harbor bacteria under the surface where a foam rinse cannot reach it. That is why food-contact poultry belts are almost always closed-edge or sealed construction, not a raw cut carcass edge.
Bone and knives are the abrasives
Nothing on a vegetable line is as hostile as a chicken keel bone dropped from 400 mm. A sharpened deboning knife touches the belt surface dozens of times per minute at the cut-up table, and the operators scrape product across the cover all shift. The wear agent is cutting and gouging, not dust, so the cover must resist tear and puncture rather than heavy abrasion. A heavy rubber conveyor belt that survives a quarry would be the wrong choice here; the right answer is a thinner, tougher food-grade PVC or PU cover that can be nicked without releasing particles.
Cleaning is the real duty cycle
A general food line might wash down once a shift. A poultry line is cleaned two to four times per shift, often at 60–70 °C with chlorinated alkaline foam and a hot-water rinse, because salmonella and campylobacter pressure never lets up. The belt sees more sanitizer contact in a week than some belts see product in a month. Every material decision — cover, adhesive, fabric, edge, weld — has to survive that chemistry, or the belt fails as a hygiene surface long before it fails mechanically. This is the single biggest difference from the zone-based selection we describe in our food packaging conveyor line guide.
Field note from our engineers: In one cut-up room we visited, a belt looked fine after 18 months but failed a swab test because the cover had micro-crazed at the knife stations. The plant replaced the belt not for wear but for sanitation — that is the poultry failure curve in a nutshell. The mechanical life and the hygiene life of a poultry belt are two different clocks.
Before the details, note our position: SINOCONVE is a conveyor belt manufacturer in Ningbo that builds food-grade PVC and PU light belts alongside heavy rubber and fabric belts, so the same engineering team that sizes a mine belt also welds the guide profiles on your deboning line. We handle the poultry belt as a full engineered component, not a catalog item.
02Station Map: From Live-Hang to Finished Pack
A poultry plant is really five or six different conveying problems sharing one roof. The belt that works under the live-hang shackle line is wrong for the portioning table, and the belt that survives the freezer tunnel is overkill for the dry carton lane. We lay out the stations so you can map each one to a belt type instead of buying one belt for the whole plant.
Receiving and live-hang
Live birds arrive in crates and are hung on a shackle line; the crate-return and empty-crate conveyors here never touch food. Fat, feather, and crate dust are the loads, so a standard PVC or even a light industrial conveyor belt in the non-food zone is acceptable. The food-contact chain starts at the kill and bleed step, which is usually an overhead system rather than a flat belt, so belt selection really begins at evisceration.
Cut-up, deboning, and portioning
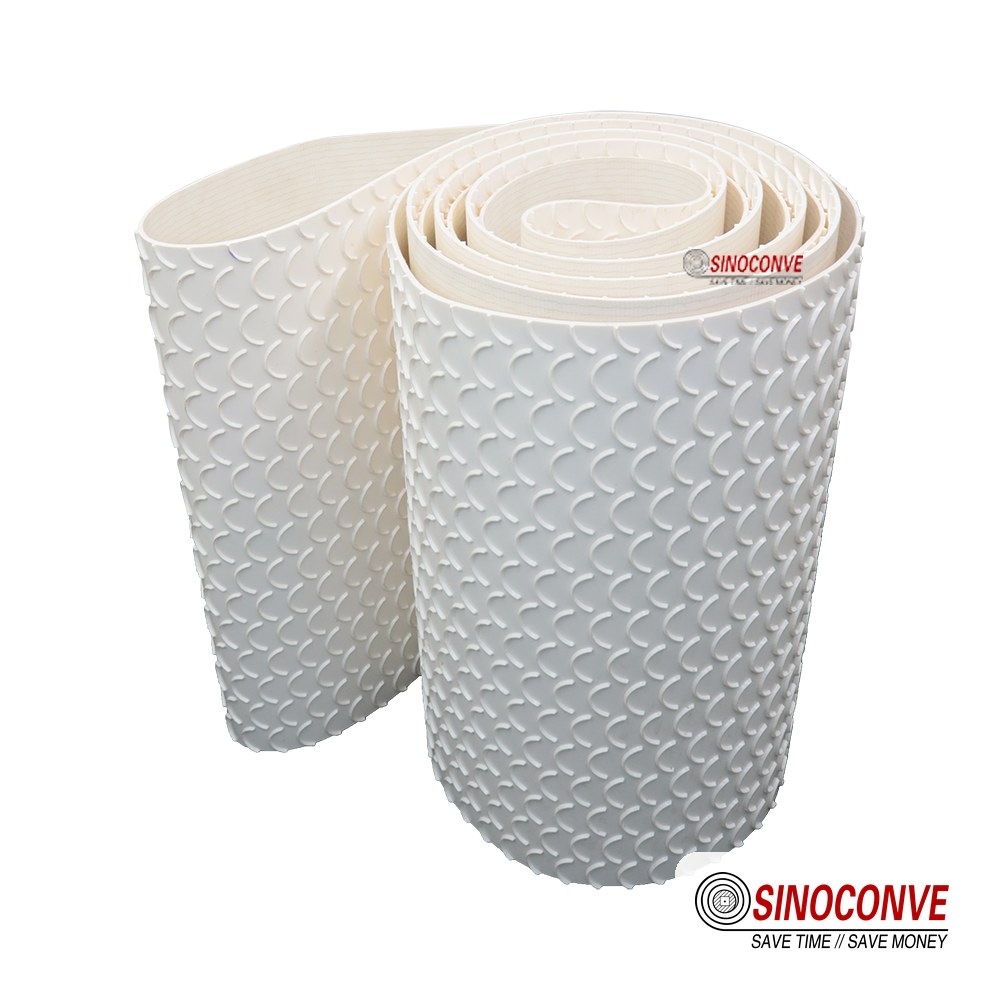
This is the hardest zone. Operators cut directly on or next to the belt, bones and knives contact the cover, and rinse water runs continuously. Belts here are thin, tough, food-grade PVC or PU, usually with a closed or welded edge and often with a small cleat or rough-top pattern so wet breast fillets do not slide. The fruit conveyor belt logic of gentle textured grip is useful here, but poultry adds the cut hazard, so the texture must also shed knife nicks without flaking.
Sorting, grading, and weighing
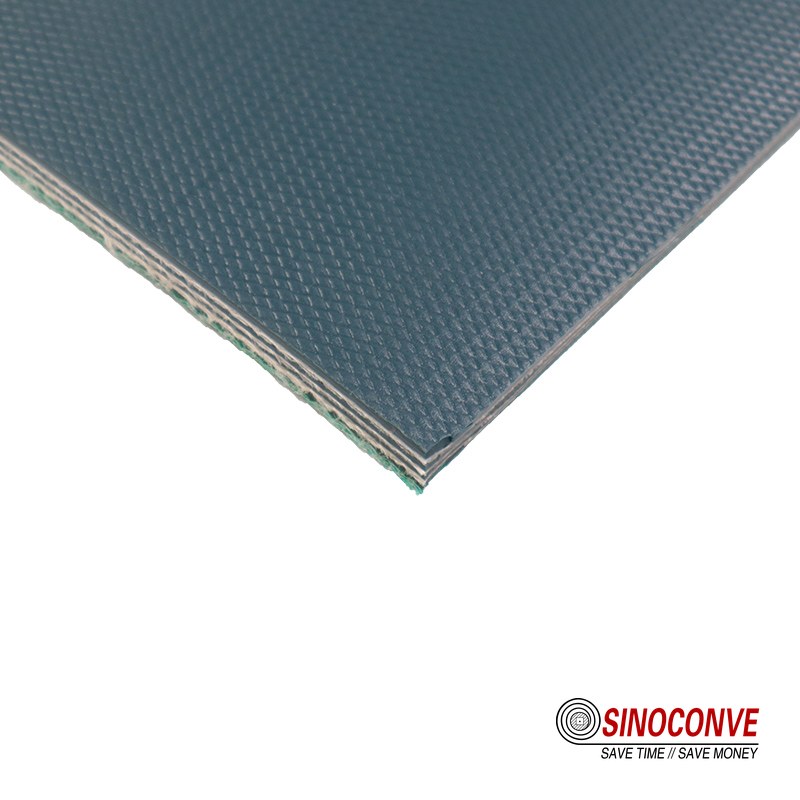
After portioning, product moves past graders and across checkweighers. These belts run faster, often 25–45 m/min, and they need a smooth, low-friction surface that will not grip a wet fillet and drag it off the scale. A thin white or blue PVC with a matt finish works well; the weigh station in particular needs a belt that stays flat and does not pick up moisture that would skew a tare reading.
Packing and carton lanes
Tray-seal and flow-wrap stations sit right after weighing, then cartons travel on dry, ambient lanes. This is where the per-station belt selection we wrote about in our packaging machine belts guide applies — but only after the raw product is sealed. Once the tray is wrapped, the belt is in a dry zone and the hygiene rules relax; a standard PVC or even a light rubber belt can carry sealed cartons.
| Station | Belt faces | Recommended belt | Critical requirement |
|---|---|---|---|
| Live-hang / crate return | Feather, fat, crate dust | Standard PVC or light rubber | Non-food zone, easy to hose down |
| Cut-up / debone | Knives, bone, continuous rinse | Food-grade PVC or PU, cleated | Tear resistance, closed edge, cleanable texture |
| Grading / checkweigh | Wet fillets, 25–45 m/min | Smooth matt PVC or PU | Low moisture pickup, stable tare |
| Tray-seal / flow-wrap | Sealed trays, light oil | PVC or PU, flush edge | No cover transfer to film |
| Carton lane | Dry cartons, ambient | Standard PVC or rubber | Dry zone, cost-driven |
03Hygienic Design: Cleanability, Seams, Edges, and Guides
A belt is a hygiene surface first and a carrying surface second on a poultry line. The places where bacteria hide are almost never the middle of the belt — they are the edges, the welds, the finger-splice joints, and the base of any profile. Our design rule is simple: every geometry on the belt has to be reachable by a foam lance and a 60 °C rinse in under a minute, or it becomes a hold-up point.
Seam and edge: the two weak points
The cheapest way to make a belt is to cut it and leave the fabric edge exposed, or to join it with a mechanical fastener. On a poultry line both are liabilities. An exposed cut edge wicks fat-and-water emulsion into the carcass fabric by capillary action, and a metal hinge fastener traps meat particles in its pockets. For food contact we specify a hot-weld or finger-splice joint that is flush and closed, plus a sealed or welded side edge where the belt rubs a guide. You can read our wider checklist on splicing verification for the joint options, but the poultry answer is almost always: weld it, do not clip it.
Sidewalls, guides, and the risk they carry
Cleats and sidewalls keep wet product on the belt, but each one creates a corner where the foam has to work. A welded V-guide on the underside is fine because it rides in a groove and gets flushed from below; a bolted-on sidewall is not, because the bolt holes are a perfect growth niche. Where you need a tall sidewall, use a welded profile and verify the fillet radius is open enough to rinse, not a tight 90° crack. The same logic applies to the PVC conveyor belt product family we stock — guide and cleat geometry is chosen for cleanability, not just grip.
Field note from our engineers: We once switched a customer from a bolted sidewall to a welded one on a thigh-deboning line and their ATP swab failures on that conveyor dropped to zero within a week. The belt material did not change at all — only the geometry did. Most poultry hygiene problems are geometry problems, not chemistry problems.
One more design point: keep the belt tension low enough that the underside never rubs a stationary wear strip with heavy pressure. In a wet room, a pressed underside traps a thin film of water between belt and slider bed, and that film goes stagnant. Slightly higher belt speed and a low-friction slider bed reduce that film better than any detergent does.
04Material Choice: PVC vs PU vs Polyolefin Under Poultry Conditions
Three materials dominate food-grade light belts, and they are not interchangeable once fat and washdown are in the picture. We keep all three in our range and we are blunt with customers about where each one fails, because a dollar saved on cover material becomes ten dollars lost in downtime later.
PVC: the workhorse for wet cut-up rooms
Food-grade PVC is our default for deboning and portioning. It welds cleanly, takes a rough-top or cleat pattern well, resists the chlorinated alkaline and acid foams used in poultry sanitation, and costs less than PU. Its limits are temperature: standard PVC stiffens below roughly −5 °C and softens above about 70 °C, so it is wrong for blast freezers and for direct contact with hot cooked product. On a raw cut-up line running at 4–12 °C room temperature, PVC is exactly in its comfort zone.
PU: when cold, oil, and cut resistance meet
PU costs more than PVC but earns it in three places: it stays flexible down to −30 °C, it shrugs off animal and vegetable oils that can eventually harden a PVC cover, and it resists cuts and nicks better because the polymer is tougher. Where you have a spiral freezer or a portioning room that also handles cold, oily product, PU is the right call. We cover the food-plant trade-off in more detail in our PU belt food handling guide.
Polyolefin and modular: niche but real
Polyolefin belts and plastic modular belts appear where a belt must release sticky product, tolerate aggressive chemicals, or allow open drainage of water through the surface. Modular plastic belts drain beautifully but have hundreds of hinge points that each need a cleaning pass, so on raw poultry they are usually limited to transfer sections where full CIP is available. For most cut-up rooms a solid welded PVC or PU belt is easier to keep clean than a modular one.
| Property | Food-grade PVC | PU | Polyolefin / modular |
|---|---|---|---|
| Continuous service temp | −5 to 70 °C | −30 to 90 °C | Depends on grade, wide |
| Animal fat / oil resistance | Moderate, hardens over time | Good | Very good |
| Cut / tear resistance | Good | Better | Very good |
| Weld / joint quality | Excellent, flush | Excellent, flush | Mechanical hinges |
| Relative cost | Lowest | Mid | Highest |
One reminder that trips up first-time buyers: a rubber conveyor belt is not a food-contact material for raw poultry, because rubber carcasses are harder to make closed-edge and to certify for direct meat contact. Rubber belongs in the non-food zones — crate return, offal, and by-product conveyors — while the cut-up and packing rooms stay on PVC or PU. The rubber versus PVC comparison we wrote earlier spells out that boundary in more detail.
05Color Management: Why Blue and White Belts Are a Functional Part, Not a Style Choice
In an HACCP plan, a blue or white belt is a detection tool, not decoration. The color is there so a fragment of belt cover that breaks off is instantly visible against pink meat and white fat, and so contamination from a non-food surface is obvious the moment it crosses into the food zone. That is the whole job of the color, and it is why we treat color as a specification with tolerances, not a preference.
Blue for raw zones, white for visibility
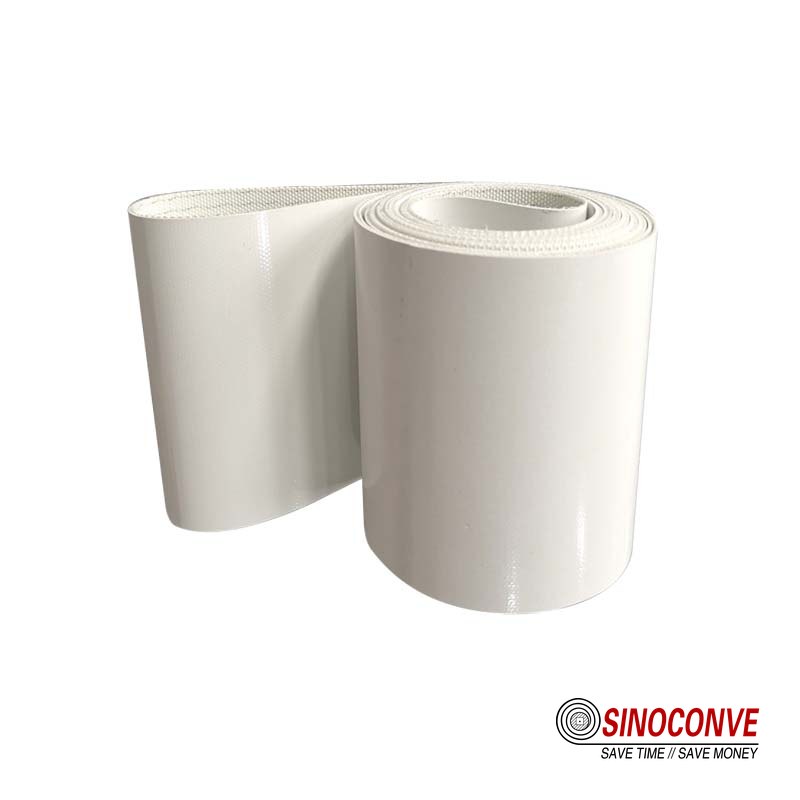
Blue is the standard for raw meat and poultry because almost no food product is blue, so a blue cover chip is caught by optical sort or by the human eye at the next inspection station. White is used where a plant wants maximum contrast for foreign-material spotting or where customer audits demand a white surface. Some processors run blue in raw zones and white in cooked or ready-to-eat zones so that a belt from the wrong area cannot be swapped in unnoticed.
The color has to survive the washdown
A cheap colored belt bleaches to a pale grey after a few hundred chlorinated foam cycles, and a grey belt is a detection tool that stopped working. We specify pigments that hold their tone through the sanitation chemistry, and we tell plants to log belt color at each audit so a fading belt gets flagged before it becomes a recall risk. Color fastness is a real acceptance criterion, not a marketing line — ask your supplier to include it in incoming inspection, which we detail in our food-grade PVC buyer's check.
06Bone and Knife Damage: Cuts, Tears, and How a Chip Becomes a Foreign-Body Risk
The most expensive failure on a poultry line is not a broken belt — it is a 3 mm chip of cover that ends up in a sealed pack. Every cut and gouge on the belt surface is a future chip, so the whole design goal is to make damage visible and self-limiting rather than hidden and spreading.
How the damage happens
Three actions cut a poultry belt. A dropped keel bone or thigh bone lands edge-first and punctures the cover; a deboning knife slices across the surface when an operator pushes too hard; and a bone splinter dragged under a scraper or transfer plate becomes a gouge that grows with every meter of belt travel. The failure we fear is a cut that reaches the fabric, because then washdown water wicks into the carcass, the cover delaminates, and a flap of cover tears loose as a particle.
Designing against the chip
We counter this four ways. First, a tougher cover polymer, usually PU or a high-grade PVC, so a knife mark stays shallow. Second, a closed edge so a cut cannot start from the fabric. Third, a slightly thicker cover in the known knife zones — 1.6 to 2.0 mm instead of 1.0 mm — bought as a deliberate trade of cost for chip resistance. Fourth, a dull-surface texture that hides nothing: a knife mark on a matt white belt is visible, so the maintenance team can log it and plan a repair before it becomes a particle. A belt you cannot see is a belt you cannot control.
| Damage type | How it starts | Consequence | Prevention |
|---|---|---|---|
| Puncture | Bone lands edge-first from 400 mm | Cover hole, water wicks into carcass | Thicker cover in known bone zones |
| Slice | Deboning knife dragged across cover | Shallow cut becomes a future chip | Cut-resistant PU cover, knife discipline |
| Gouge | Splinter dragged under a scraper | Channel grows with every meter | Set scraper gap, closed edge |
| Delamination | Cut reaches fabric, washdown wets it | Cover flap tears loose as a particle | Sealed edge, hot-weld joint |
Field note from our engineers: We recommend a simple daily routine at the deboning tables: run a gloved hand along the belt at the knife stations for two minutes and mark every nick with a china pencil. If the count per meter climbs week over week, the knife pressure or the scraper setting is the problem, not the belt. Tracking nicks per meter is the cheapest predictor of a future recall you will ever run.
07Fat and Cold: How Room Temperature Moves Belt Hardness and Slip
Poultry plants run a wide temperature span in one building: the live-hang and evisceration rooms are chilled to 10–12 °C, cut-up rooms hold 4–8 °C, and blast freezers drop to −30 °C or lower. The same belt that grips at 10 °C can turn stiff and slick at −25 °C, and rendered fat behaves differently at every one of those temperatures.
Northern and southern shops behave differently
In a cold-climate plant, or in a freezer tunnel, PVC hardens and loses its conformability, so a cleat that grabbed a wet fillet at 8 °C starts to slip at −20 °C. Southern or tropical plants have the opposite problem: ambient heat plus hot washdown keeps the belt soft, but congealed duck and chicken fat stays liquid longer and migrates deeper into any open edge. The material answer is a PU cover for the cold end and a fat-resistant, closed-edge PVC or PU for the hot end — two belts, not one compromise.
Fat is a solvent, not just a lubricant
People think of fat as a slip risk, and it is, but it is also a mild solvent that softens some PVC plasticizers over thousands of hours. The belt stays flexible, which sounds good, until the cover starts to leach and the surface turns tacky and holds bacteria. A fat-resistant food-grade compound, verified against animal fat rather than just mineral oil, is the specification to write into the purchase order. If the supplier cannot name the fat test they ran, the belt is probably not the one for a high-fat poultry line.
Field note from our engineers: In a northern duck plant we measured a PVC cover at 72 Shore A in the 6 °C cut-up room, then again after an hour of summer washdown cycles and got 64 Shore A. That eight-point swing is enough to change how a cleat grips a wet breast fillet, and the operators noticed the slip before maintenance noticed the hardness change. When a belt starts slipping seasonally, suspect the temperature before you suspect the tension.
08Small Pulleys and Tight Turns: Minimum Diameter, Transfer, and Incline
Poultry lines are cramped. Belts run around knife-small nose bars, dip under transfer plates, and climb short ramps to a packer, and every one of those features puts a bending load on the belt that a flat floor belt never sees. Get the minimum pulley diameter wrong and the belt cracks at the bend within weeks.
Minimum pulley diameter is a material number, not a guess
Thin PVC and PU belts tolerate smaller nose rollers than thicker belts, but only down to the diameter the cover and fabric can flex without cracking. A 1.0 mm PVC belt may run a 30 mm nose bar; a 2.0 mm belt with a heavy carcass may need 50 mm or more. We publish the minimum nose diameter for each belt we quote, and we treat it as a hard limit, because a belt bent tighter than its rating micro-cracks at the hinge line on every revolution and those cracks are the first place fat and water get in.
Transfers, ramps, and the drive
Short transfers between belts are where product jams and where a thin nose bar is worth its cost. On ramps, a rough-top or cleated PVC holds a wet fillet at 20–25° of incline, but steeper than that you need taller cleats or a sidewall. The drive side matters too: we size the motor and the transmission with the same care as the belt, and we source V-belt drives from a dedicated line, which is why we can also act as your transmission belt manufacturer for the whole machine rather than just the carrying belt.
09Cleaning and Sanitizing Cycles: CIP, Foam, and High-Pressure Rinse
On a poultry line the sanitation cycle is the real endurance test. A belt that survives 40,000 hours of product contact can still fail in 2,000 hours of washdown if the chemistry and the temperature are wrong. We spec the belt around the cleaning regime, because the cleaning regime is the one thing the plant will never relax.
What a poultry washdown actually does to a belt
A typical cycle runs like this: a 55–65 °C chlorinated alkaline foam is applied, it dwells for 10–15 minutes, then a hot-water rinse at 60–70 °C and 40–80 bar clears it, followed by a disinfectant pass. The belt is not just wet during this — it is hot, chemically loaded, and under intermittent pressure. Three things age the belt in that cycle: the alkali attacks the cover surface, the hot rinse softens the cover and lets chemical wick deeper into any edge, and the pressure blasts loosened debris into the joint. That is why we push for a closed edge and a flush welded joint, and why a spray-cleaning setup has to be aimed, not blasting the belt edge directly.
The temperature-pressure trade-off you can actually use
Higher rinse temperature cleans better but shortens a PVC belt's hygiene life, because repeated thermal cycling embrittles the cover faster than steady heat does. As a working rule we give plants: drop the rinse from 70 °C to 60 °C and you can expect materially longer cover life, provided you keep contact time and foam concentration up to compensate. We measure the trade two ways — a rinse at 70 °C every cycle versus 60 °C every cycle can move a PVC cover's expected service life by roughly 25–40% depending on foam chemistry, so the "free" heat savings are often not free at all. You can find the broader method discussion in our cleaning methods and schedules guide, and the underside story in our return-side belt cleaning note.
Counting the downtime: a number you can reuse
Every extra cleaning minute is lost production, and poultry lines run lean margins per kilogram. Here is the arithmetic we give customers. Suppose a deboning line moves 4,000 kg per hour at a margin of USD 0.12 per kg, so each hour of running is worth USD 480 of margin. If a washdown-related belt change stops the line for 2.5 hours, the true cost is USD 1,200 in lost margin — plus the belt. Now compare: a premium closed-edge PU belt that extends change intervals from 4 weeks to 9 weeks saves five changeouts a year, or roughly 12.5 hours, about USD 6,000 of margin — against a belt price difference that is usually a few hundred dollars. The belt is the cheapest thing you buy; the line hour is the expensive thing.
10Tracking and Tension in Wet, Slippery Conditions
A wet belt tracks differently from a dry one, and most poultry plant callouts we field are not material failures — they are a belt wandering to one side and wearing its edge against a frame rail. On a wet line the cause is almost always a film of water or fat between belt and pulley, which turns the belt into a low-friction surface that slides instead of steering.
Why a wet belt wanders
Conveyor belts steer by staying centered on a crowned or driven pulley, and that steering depends on friction. When fat-and-water emulsion coats the drive pulley, the belt loses lateral grip and drifts. The fix is rarely more tension — over-tensioning a wet belt actually makes it worse, because it stretches the carcass unevenly and presses the underside film into the slider bed. The real fix is a clean, crowned drive pulley, a low-friction slider bed, and correct belt length. We wrote the full diagnostic in our belt tracking guide, which applies to light belts just as it does to heavy fabric belts.
| Symptom | Likely cause | Action |
|---|---|---|
| Belt drifts to one side | Greasy drive pulley | Degrease pulley, check crown |
| Edge wears, frame rubs | Belt over-tensioned | Release to correct sag, re-track |
| Squeal at the drive | Water film on pulley | Add drainage, roughen pulley face |
| Product slides on belt | Wrong surface or cold cover | Switch to rough-top or PU cover |
| Belt walks on short transfers | Nose bar misaligned | Align nose roller to frame |
Tension that works in a wet room
We run poultry belts at the lowest tension that still drives without slip, and we prefer a crowned drive pulley with a rough face over extra tension. In a wet room, a belt with a slight sag between supports is healthier than a drum-tight belt, because the sag lets water shed and keeps the underside film from being pressed into the bed. If you can press the belt down 8–10 mm at mid-span with one thumb, you are close to the right tension for most light PVC and PU food belts.
11Acceptance and Testing: What to Check Before the Belt Earns Its Spot
Buying the belt is the easy part; proving it belongs on a food line is where most suppliers and plants fall short. We treat acceptance as a three-step gate — incoming inspection, on-line test, and batch retention — and we write all three into the purchase order so there is no debate later.
Incoming inspection items
Before a belt goes near a production line, check the cover thickness at three points across the width, the total thickness, the hardness in Shore A, the color against an approved swatch, and the weld or joint profile. A food-grade belt also needs its compliance documentation — the FDA and EU 10/2011 statements for the cover compound, plus any migration or heavy-metal test report the plant's audit scheme requires. If the supplier ships the belt without a traceable batch number, reject it, because a food safety auditor will ask for that batch's paperwork two years from now.
Field test and batch retention
Run the belt on the line for a full shift, then pull it and swab the joint and edge with ATP to confirm it can be brought back to a clean baseline after a normal washdown. Keep a 300 mm cut sample from the same batch in the engineering office, sealed and labeled, so a future failure can be compared against the as-shipped material. This is the kind of discipline that separates a working belt from a working food-safety system, and it is what we build in as a conveyor belt factory that audits its own food-grade output before it leaves the floor.
12Procurement Checklist: Fields You Must Ask For
We get RFQs for poultry belts that say only "blue food belt, 600 mm wide." That is not enough to quote the right belt, and it is usually the reason a plant ends up with a belt that fails in six weeks. Here are the fields that separate a usable quote from a guess, and you should demand an answer to every one.
The fields that matter
Specify the material (PVC, PU, or polyolefin), the cover thickness, the carcass type, the color, the surface pattern (smooth, rough-top, cleated), the edge treatment (closed or welded), the joint method (weld or finger splice), the minimum nose-bar diameter your machine imposes, the continuous temperature range, and the sanitation chemistry it must survive. Add the compliance documents and the batch traceability requirement, and state whether you need the belt made endless in our shop or spliced on site. A conveyor belt supplier that pushes back on any of these fields is telling you something about how the belt will be supported later. For plants buying across multiple lines and sites, our wholesale conveyor belts program lets you standardize one spec across every cut-up room, which cuts the spare-parts shelf and the audit paperwork at the same time. And if your machine also needs a new drive, we can quote the carrying belt and the V-belt manufacturer side together so the pulley and the belt are matched from the start.
| Field to specify | Why it matters on a poultry line |
|---|---|
| Material and cover thickness | Sets fat resistance and cut resistance |
| Carcass type and edge treatment | Closed edge stops fat-and-water wicking |
| Color and surface pattern | Color is foreign-body detection; texture sets grip |
| Joint method | Weld cleans; fasteners trap product |
| Minimum nose-bar diameter | Bending tighter cracks the hinge line |
| Continuous temperature range | PVC stiffens cold, softens hot |
| Sanitation chemistry and compliance docs | Belt must survive the washdown and pass the audit |
13TCO: Downtime vs Belt Price, Reckoned in a Simple Sum
Procurement teams are graded on belt price; plants are graded on uptime. The two numbers live in different ledgers, and that split is why cheap belts keep winning until someone does the total-cost math. We do it for our customers because the math is short and the conclusion is usually uncomfortable.
The arithmetic, line by line
Take a cut-up line worth USD 480 of margin per hour, from the earlier example. A basic PVC belt costs USD 180 and lasts 6 weeks; a premium closed-edge PU belt costs USD 520 and lasts 14 weeks under the same washdown. Over a 42-week year, the basic belt is replaced 7 times — 7 changeouts at 2.5 hours each is 17.5 hours of downtime, or USD 8,400 of lost margin plus USD 1,260 of belt spend, about USD 9,660 total. The premium belt is replaced 3 times — 7.5 hours, or USD 3,600 of margin plus USD 1,560 of belt spend, about USD 5,160. The premium belt saves the plant roughly USD 4,500 a year on one conveyor. Multiply that by the twelve conveyors in a typical cut-up room and the "expensive" belt is the bargain. Working with a conveyor belt distributor who understands this math, rather than one who only discounts the unit price, is the single biggest TCO lever on a poultry line.

14Frequently Asked Questions
What is the difference between a poultry conveyor belt and a general food conveyor belt?
As soon as it carries raw poultry, the belt faces four stresses a dry food line never meets — rendered fat, standing water, bone and knife cuts, and washdowns three or four times a shift. That is why a poultry belt is specified as closed-edge, welded, food-grade PVC or PU with a cut-resistant cover, while a plain bakery line can run an ordinary open-edge belt.
Which belt material should I use on a deboning line, PVC or PU?
On a wet deboning or cut-up table, start with PVC. In a 4–12 °C room it welds cleanly. It also shrugs off the caustic and chlorinated wash. PU only earns its price where the line runs below −20 °C, carries heavy fat, or takes constant blade contact. There it keeps its flex and resists cuts longer, so many plants split the two by zone.
Why are poultry conveyor belts usually blue or white?
Why blue or white at all? Because the cover colour is really a foreign-body detection aid — even a 1 mm chip stands out against meat and fat and gets caught at inspection instead of leaving in a sealed pack, which is why blue is the raw-zone default and white normally marks a ready-to-eat zone or a plant chasing maximum contrast.
Can I use a mechanical fastener to join a poultry belt?
No, not anywhere food touches — a hinge fastener leaves a 3–4 mm gap that traps meat particles, cannot be cleaned to a safe baseline and will be flagged by auditors, so weld it flush or finger-splice it with a closed edge and reserve mechanical fasteners for dry, non-food lanes like crate return.
How often should a poultry line belt be washed down?
Two to four times a shift is normal, and the wash itself is aggressive. A chlorinated alkaline foam at 55–65 °C, a short dwell, then a hot rinse at 60–70 °C and 40–80 bar. That frequency comes from the plant's HACCP plan and product risk, not from the belt. So the belt has to live through that chemistry for its whole service life.
What minimum pulley diameter should I allow for a food-grade PVC belt?
It depends on thickness and carcass, so there is no single number. A 1.0 mm PVC belt may turn a 30 mm nose bar. A 2.0 mm belt with a heavier carcass may need 50 mm or more. Ask the supplier for the published minimum nose diameter and treat it as a hard limit. Bend it tighter and the cover cracks at the hinge line.
How do I know my belt's fat resistance is real?
Ask which animal-fat test the supplier actually ran on the cover compound, then get the result in writing. A belt proven only against mineral oil tells you nothing on a poultry line, because animal fat attacks some PVC plasticisers differently. A supplier who cannot name the fat test, or show a 24–72 h soak result, is probably not rated for high-fat product.
Why does my belt slip on the drive pulley when it is wet?
Stand by the drive end while the line runs wet and watch the belt. A film of water and fat between belt and pulley kills the friction that both drives and steers it, so the belt wanders — fix that with a clean crowned pulley, a rough face and a low-friction slider bed plus open drainage, not more tension, which usually makes a wet belt wander worse.
Is a thicker belt always more durable on a poultry line?
Not always — a thicker cover resists chips and cuts but bends worse around a small nose bar and can crack sooner at the hinge line, so match about 1.0 mm to tight transfers and checkweigh stations and save the 2.5–3.0 mm for the knife and bone zones.
15Related Products You May Need
- PVC conveyor belt — the workhorse for wet cut-up and packing lines, welded rather than stapled
- EP rubber conveyor belt — crate-return and other dry, non-food lanes
- Rubber conveyor belt — heavy carcass grade for by-product and offal runs, where abrasion matters more than hygiene
- Timing belt — exact drive for graders and weighers
- V-belt — matched sets for the motor side
- Chevron conveyor belt — inclined offal transport, cleats doing the grip work
16Related Blog Posts
- Food Packaging Conveyor: How to Zone a Food Line by Belt Type
- Packaging Machine Belts: Per-Station Belt Selection
- Fruit Conveyor Belt: Gentle Grip for Wet Produce — closest cousin to a wet poultry line when the product is soft
- PU Conveyor Belt for Food Handling and Hygienic Lines
- Food-Grade PVC Conveyor Belt Buyer's Check — worth reading before you sign off a spec
- PVC Conveyor Belt Types: Selection Guide