
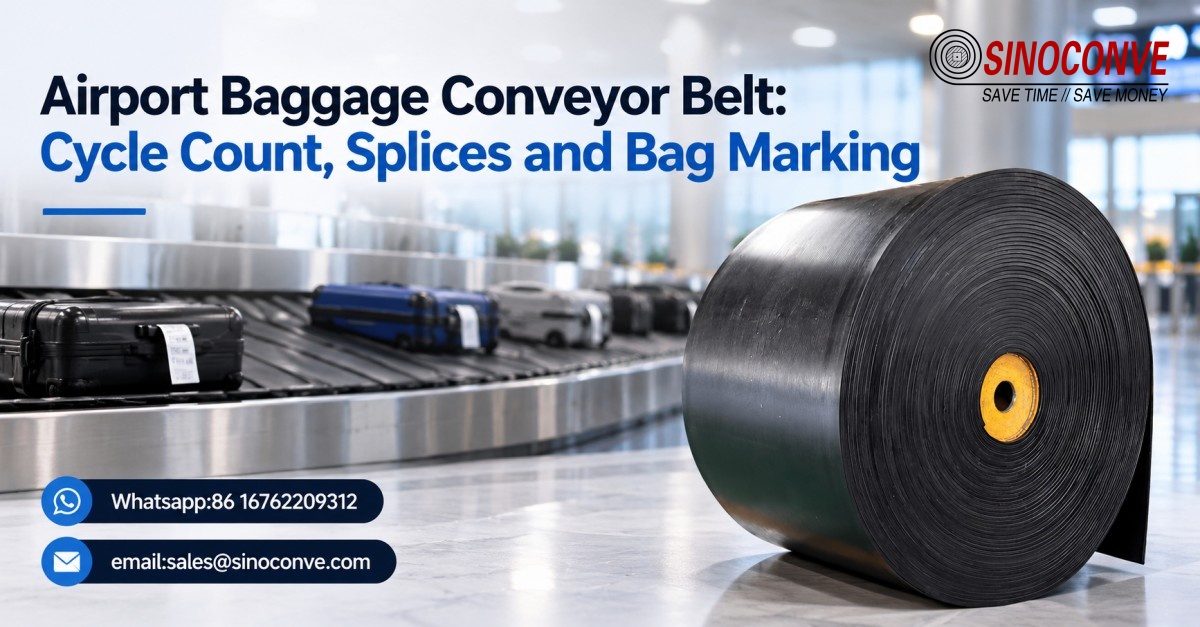
Airport Baggage Conveyor Belt: Cycle Count, Splices and Bag Marking
At reclaim, a passenger turns a cream case around to show a dark arc by the wheel. It was clean at the security exit. Somewhere later it waited while a conveyor kept moving beneath it. A second case has a straight streak along its side, which points toward a rail. Use a light test case through the route and note the first stain after each handoff. The remaining thickness of the belt tells you little about either mark.

01Why Baggage Belts Wear Out Last, Not First
The strip down the middle looks tired, yet it is still smooth. Near the left frame, three wisps of yarn protrude from the edge. Mark the strip with chalk, run one revolution and see whether it comes back with the belt. The yarn, meanwhile, faces the same side rail at the same point every time. Inspect that rail while the machine is safely stopped; a replacement loop will encounter it too.
What the running face hides
Check-in conveyors disappear beneath counters, hiding the joint's running face. At an isolated service stop, bring that portion into view and photograph both shoulders, not only the smooth top. One edge may have separated into fine yarn. Keep a piece of a failed loop with the job sheet: when the next quotation arrives, it gives a real construction to compare.
Where the cycles actually accumulate
The controls technician can pull motor starts and run hours for each section. Baggage count cannot stand in for either. An induction zone may stop repeatedly while a trunk conveyor carries the same flow without stopping. At the little nose, the belt still bends on each revolution; count those passes separately. Empty space between cases does not necessarily switch anything off.
02Where This Belt Sits In A Full BHS Line
Line scope versus belt scope
The procurement drawing gives the belt maker a surprisingly small slice of the story. Beside the usual width and finished length, mark the smallest nose pulley, bed material, curve or incline and the spot where a case can queue on a moving surface. Include the coldest point if a section reaches outside. The integrator can then say which starts are commanded and which conveyors run straight through.
03Five BHS Segments, Five Different Belt Duties
| BHS segment | Contact and operating pattern | Belt detail to agree | First field check |
|---|---|---|---|
| Check-in and weighing | Wheels, corners and uneven loading at low speed | Surface grip and bag marking on representative cases | Look for slip at the scale exit |
| Takeaway and X-ray feed | Short runs, transfers and possible controlled cycling | Joint profile, small-pulley approval and consistent feed | Inspect the transfer lip and joint at running tension |
| Merge and sorter induction | Acceleration, side loading and bag spacing control | Lateral stability, surface grip and cycle data | Watch bags that enter off-center |
| Long transport and curves | More pulley passes and possible side guidance | Running-side friction, edge clearance and curve design | Compare both edges after a loaded run |
| Reclaim carousel | Passenger-visible bags and long dwell near a crowded discharge | Low marking surface, smooth joint and cleaning access | Check pale bags and transfer plates |
04Cycle Count Beats Abrasion Every Time
Cycle count gets too much credit when a slider strip has a raised screw. Conversely, a perfectly respectable top cover can sit over a joint whose fingers peel at every wrap. Examine the discarded belt and the machine together. Broad, even loss across the bag lane suggests ordinary wear; a lifted joint with near-original cover gauge suggests flex, installation or a snag. One failure code cannot cover both.
A crack that vanishes when the belt is flat
A hairline across the running face may be visible only as the joint curls around a pulley. The maintenance photograph therefore needs the belt in two positions, with the drive isolated and the joint safely brought into view. Put a ruler in the frame and revisit the same crack next week. If it begins at a finger tip, discuss the actual joint build and nose diameter with the maker. The plain sheet's bend rating is not the answer.
05The Splice Is Where Most Lines Stop
At a short transfer, one wheel lifts as the joint goes by. The suitcase turns sideways and its tag catches the lip; the alarm reports a bag jam. Chalk the joint, then watch whether the next loaded hesitation occurs at that chalk mark. A joint edge can be examined by hand once the conveyor is isolated.
Endless splice or mechanical fastener
The fitter spots a shaft crossing the path of the proposed endless loop. That changes the order: first determine whether the shaft can be removed within the allotted stop, or whether the line accepts another closure. A fastener approved by the machine maker can be practical, provided the hinge profile clears the small pulley and baggage transfer. Try it with real bags before sign-off.
Why a lifted splice trips a jam alarm
Stand at the transfer while the joint approaches. Is a step leading into travel, or trailing behind it? A leading step may catch the bag wheel; the cleaner can work under the same edge. Record the finished joint profile across the full width and run it through the smallest pulley with baggage on the line. File the joint method and installer record with the belt drawing, so a breakdown crew can reproduce the accepted build.
06Black Marks: The Complaint With No Work Order
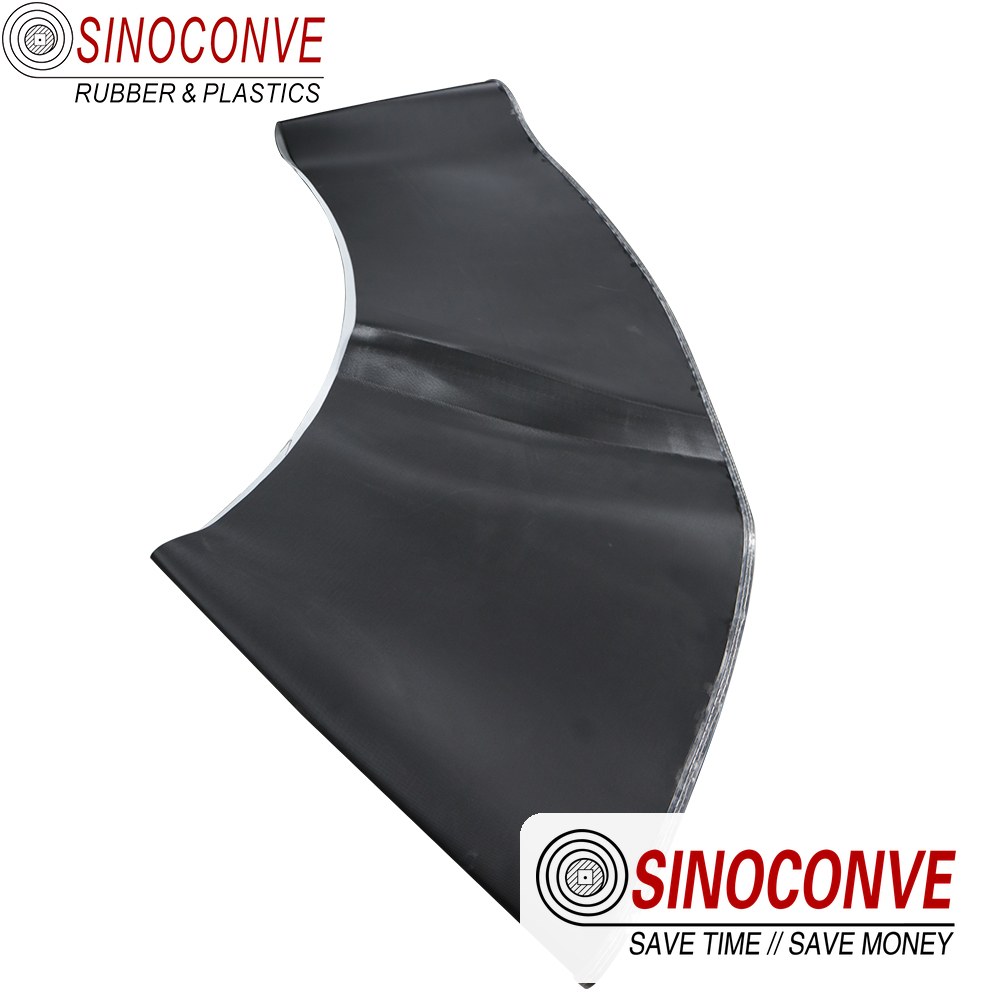
Use a pale case and pause after each handoff to inspect it. Wheel-height arcs call for a look at a waiting bag on a moving deck. If the stain appears at a repeat interval, mark a point on the belt and compare its return. The rag test shows whether residue lifts easily; then work backward to the dirty component that supplied it.
Three mechanisms that leave a mark
The cover has been washed and the streak remains. Clean only the next transfer lip for the second trial. A clean case after that trial implicates the lip. If staining still follows a marked patch around the loop, examine that patch for material rubbed into the cover. One change per run gives the maintenance log a useful answer.
07Tracking On A Long, Low-Tension Run
A camera aimed at the empty conveyor shows a centered loop. Add an awkward heavy case and it heads for the left guide near the loader. Film that minute. Drift beginning there calls for a loading and support inspection; drift only as the joint reaches the pulley asks a different question.
Try the geometry before the take-up
Under isolation, remove any lump on the bed that pushes up into the running face. A straightedge across the joint shows whether it was closed square. Now make a modest adjustment by the OEM method and wait for several complete turns. Do not use a tightly pressed edge guide as proof of good tracking: its bright worn stripe may be the first warning that yarn is going next.
08Slider Bed, Tension, And Motor Load
The underside may be doing the hard work on a long slider bed. When drive current creeps upward, do not judge the belt from above. Pull the commissioning current and speed, then examine the bed for a screw head, a grooved strip or sticky deposits. One bad support surface can heat a sound belt along its whole return path.
Friction is a maintenance item
Specify the bed and the belt underside together. A low-drag running face can reduce current, but the drive still needs enough traction at its pulley. Compare current and take-up position before and after the support is cleaned. Some strips are intended to run dry. Unapproved lubricant can reach bag contact areas, change friction at the drive and complicate the original diagnosis.
09Cold Mornings And The First Start
The bridge after a night stop
Take the temperature on the belt at the exposed bridge before the first run of the morning. Film the nose pulley as the conveyor starts and note current on the drive display. The first case may slip where condensation sits on the deck. Supply these observations, plus that pulley and joint drawing, when asking whether the proposed compound suits this bridge.
10Labels, Film, And The Cleaning Routine
After a jam, keep the tag or strap that caused it and mark the precise catch point. One label folded around a return roller tells you where it entered, and whether the guard permits regular cleaning. If it catches again after a new belt goes in, the geometry of the trap has survived the repair.
Geometry that self-clears
Make access part of the drawing. At a shift inspection, can a fitter see the tail and the return immediately beneath the transfer? A cleaner that pushes tags into the next roller merely moves the jam. Try the proposed cleaner on the actual belt and record its setting. A maintenance crew should not have to remove half the frame to reach the same label nest each night.
| Reported symptom | Check at the machine | Likely next action |
|---|---|---|
| Pale luggage picks up a short black arc | Wheel path at an accumulation point | Test cover transfer and queue dwell |
| Jam repeats when joint passes | Joint edge, transfer lip and cleaner clearance | Repair joint and validate loaded passage |
| One edge frays after a belt change | Loaded tracking and splice squareness | Correct geometry before another replacement |
| Motor current rises with no visible top wear | Running side and slider bed | Clean or renew support, then remeasure |
| Tags gather at the tail | Return access, guards and nip geometry | Clear safely and change trap point |
11What Belongs In The Specification
Send a belt maker the failed joint, a scaled photograph of the marking or edge wear, and the machine drawing. “Airport PVC” is too broad a request. Finished length, pulley diameter, bed type and site fire requirements give the quotation something testable. The table below is a practical acceptance sheet for the actual article code.
| Tender clause | Why it matters | Evidence at acceptance |
|---|---|---|
| Exact grade and construction | Color or generic PVC/rubber label is insufficient | Article code, carcass and cover data |
| Smallest pulley and bed type | Joint and running side must survive both | Written approval for complete build |
| Start count, run hours and speed range | Separates cycling from continuous flex duty | Drive or PLC data and loaded run |
| Bag marking and surface grip | Passengers see scuffs before belt wear | Agreed light-case trial and cleaning method |
| Splice type and finished dimensions | A proud or skewed joint catches bags | Joint record, profile check and loaded passage |
| Tracking, edge clearance and noise | Installation can defeat a suitable belt | Signed commissioning observations |
| Site fire and static requirements | Airport or project rules vary by location | Applicable test reports for exact grade |

12Frequently Asked Questions
Can ordinary PVC be used at check-in?
Perhaps. A PVC sheet used successfully at one check-in counter may have the wrong running face for another bed. Obtain the article code and its pulley, splice, static and fire evidence for the location concerned.
Should the splice be endless or a mechanical fastener?
At a crowded reclaim point, the flatter endless joint is appealing. Yet a loop that cannot be threaded past the machine shafts is no solution. A fastener approved for that layout may be appropriate; run bags across the finished closure before sign-off.
Will a new cover stop every black streak?
No honest specification can promise that. The test is a pale case sent through each transfer, with the first fresh mark recorded. The stain may belong to a wheel queue or side trim long before the belt compound is blamed.
Do we need sidewalls to stop a tracking problem?
A flat run seldom needs sidewalls for this. Find the first point of drift with bags on the belt, then inspect alignment and the joint. Sidewalls can create fresh catches for dangling straps.
What changes for an exposed bridge?
Describe the overnight cold, the wet weather, the restart and the tightest pulley on that bridge. The supplier can then assess the precise cover, fabric and closure proposed for it.
Should we lubricate the slider?
A bed can be made to run dry. Find the strip maker's instruction before putting oil near luggage. If current fell after the support was cleaned, the original drag may have been debris rather than a need for lubrication.
How much outage does the replacement need?
Allow time to isolate the conveyor, release the take-up and reach the joint. Its closure and cure can take longer than putting the new belt on the frame. Only after the loaded trial is the line ready for bags. Check whether the spare loop can pass the through-shafts beforehand.
How much spare belt should a terminal hold?
Map critical loops by width, finished length and joint method, then compare their lead times with the available outage window. Label the spares accordingly. A similar-looking roll may lack the length needed to make the approved joint.
Related Products You May Need
- PVC belting for check-in and carousel loops
- Rubber belting grades for heavier baggage duty
- V-belts for conveyor gearmotor drives
- Full product catalog for belt and splice enquiries