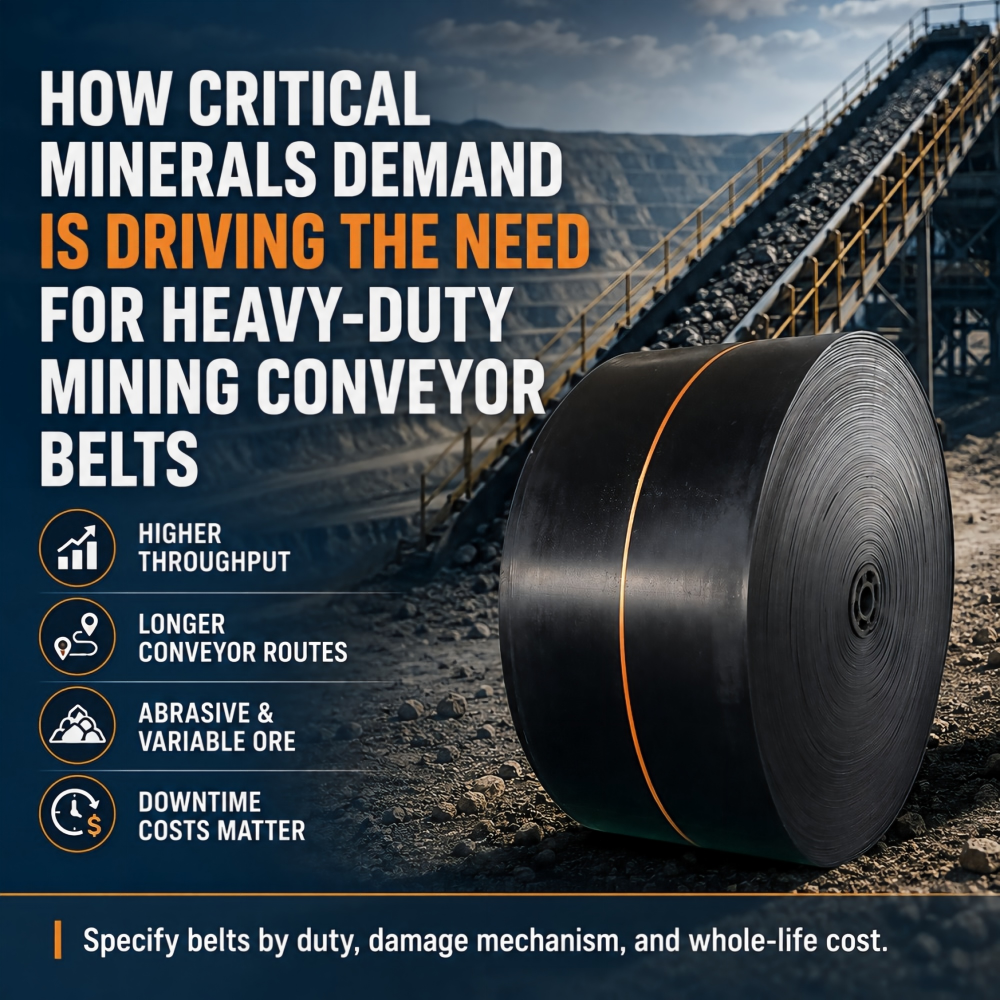
Here is a scene we hear about far more often than we would like. A plant orders a good rubber conveyor belt, and the roll sits in a yard or a warehouse corner for a few months before anyone schedules the change-out. When the belt finally goes on, the crew finds hairline cracks on the cover, a crushed edge, or a belt that will not track. The easy verdict is a "bad belt." In most cases we review, the belt was damaged long before it carried its first kilogram.
We are a conveyor belt manufacturer based in Ningbo, China, and we have built these belts for more than 35 years. Ten production lines and over 200 employees run under an ISO 9001 system, and we manufacture to DIN 22102, ISO, RMA, AS 1332, or BS 490 depending on your market. Our range runs from 100 to 3000 mm wide and 3 to 100 mm thick, so the roll on your pallet probably came off one of those ten lines recently enough that its test certificate still carries the signature of the lab. What happens after the truck pulls away from our gate is the part we cannot control — and the part this guide is about.
Want the storage and installation checklist for your site?
Tell us your belt type, roll dimensions and storage setup — we will send the checklist that fits your operation, plus a quote if you need new belting.
Maybe you buy belts for a mine, a cement plant, a port terminal, or a logistics hub. Maybe you are the purchasing manager who signs the delivery note, or the maintenance engineer who will live with the belt for the next five years. Either way, you are the last line of defense between a healthy roll and an early failure. Even a careful conveyor belt supplier cannot protect a belt from six months of bad storage or one careless afternoon of installation.
So this guide is a field manual, not a sales page. It collects the twenty checks we use ourselves and hand to customers, from the moment the truck arrives to the end of the first loaded shift.You get the full checklist in one printable table, then each stage in depth: arrival, storage, handling, installation, and start-up, with the numbers that matter and the red lines you should not cross.
01Why a New Belt Fails Before It Carries a Load
When a new belt dies young, the splice is usually blamed first and the belt construction second. In our experience the real culprit is usually neither. The damage happens earlier and more quietly: in the weeks the roll waits on site, in the ten minutes it takes to lift and move it, or in the first hour of running. Each stage produces a different kind of damage, and each kind is preventable once you know what you are looking at.
Look at the failure patterns we see most often:
- Sun and ozone. A roll parked beside a welding bay, a motor room, or a switchgear cabinet slowly develops a cracked, hardened cover while nobody is watching.
- Mechanical bruising. A forklift tine through the wrapping, a chain sling around the roll, or a drag across a gravel yard leaves damage that a clean outer wrap hides completely.
- Bad geometry. A heavy roll left lying on its side on an uneven floor, or leaned against a wall, takes a permanent set that shows up later as edge tension and wandering.
- Cold, dirty splicing and rushed starts.A joint made at three degrees with dust in the air, or a belt loaded to capacity before it has run one empty revolution, rarely survives its first year intact.
Add these up and you get a pattern. Nothing dramatic, nothing that looks like a factory defect — just small events that shorten a belt's life by years. An industrial conveyor belt is a precisely built laminate of fabric plies and rubber compounds, and like any laminate it fails where its surface was abused or its geometry was distorted.
The encouraging part is that every failure above is a process problem, not a material problem. One owner, one checklist, and one record file prevent most of them. Here is the checklist.
02The 20-Point Checklist at a Glance
Print this table and keep it with the delivery paperwork. Each row is one check, one reason, and one line you should not cross. If a check fails, stop and fix it before moving to the next stage — almost every item below is cheaper to correct the day it is discovered than three months later.
| # | Stage | What to check | Why it matters | The red line |
|---|---|---|---|---|
| 1 | Arrival | Wrapping, end caps, strapping intact | Transit damage is claimable now, not later | No torn wrap or crushed edge accepted without photos |
| 2 | Arrival | Labels match the order: width, thickness, grade,length | Wrong spec installed = total rework | Never sign off an unverified label |
| 3 | Arrival | Roll count and total meters match the packing list | Shortage disputes die in the first 48 hours | Count before the truck leaves |
| 4 | Arrival | Put the roll somewhere dry within hours | Sun and rain start degrading rubber immediately | No overnight parking in the open |
| 5 | Storage | Leave the original wrapping on until use | The wrap is your first UV and abrasion shield | No partial unwrapping "for a quick look" |
| 6 | Storage | Stand large rolls upright (on end) on a clean, level surface | Lying flat distorts the roll and creates tension differences across the width | Never let a roll rest on its side on uneven ground |
| 7 | Storage | Keep temperature roughly 0–40 °C | Freezing stiffens the cover; heat accelerates ageing | No storage beside boilers, steam lines,or radiators |
| 8 | Storage | Keep the area dry and ventilated | Trapped moisture attacks edges and fabric plies | No standing water within the storage bay |
| 9 | Storage | Shield from direct sun, motors, welders,switchgear | UV and ozone crack the rubber cover within months | No storage within a few metres of motors or welding bays |
| 10 | Storage | Do not stack heavy rolls directly on another belt roll | The bottom roll takes a permanent compression set | One roll deep unless racking is purpose-built |
| 11 | Storage | Rotate stock on a first-in,first-out basis | Rubber ages even in perfect storage | No roll older than roughly 12 months goes in blind |
| 12 | Storage | Record where each roll came from and when it arrived | Traceability is what makes a warranty claim clean | Every roll gets a tag and a register entry |
| 13 | Handling | Lift by the core with a spreader bar or two wide textile slings | Chains and wire rope crush the roll edge and core | Never choke a roll with chain or cable |
| 14 | Handling | Move rolls on their end whenever possible | An upright roll moves with far less edge stress | No dragging, no rolling over gravel or grit |
| 15 | Handling | Use padded forks or a roll cradle for forklift moves | Bare tines punch straight through the wrapping | Forks never touch the belt itself |
| 16 | Handling | Keep the protective wrap on until the roll is at the conveyor | Most handling damage happens in the last 10 metres | Unwrap at the installation point,not at the gate |
| 17 | Installation | Confirm frame, pulleys, and idlers are square and aligned first | A new belt cannot fix a crooked conveyor | Fix the structure before stringing the belt |
| 18 | Installation | Unwind the roll the correct way, without forcing it | Wrong unwind direction kinks plies and strains edges | Never pull a heavy roll backwards over its own coil |
| 19 | Installation | Splice in a clean, dry, warm area with the right crew and tools | A rushed splice fails early,and a dirty one fails sooner | No splicing outdoors in dust, rain, or near-freezing air |
| 20 | Start-up | Run empty, watch tracking, tension gradually, then load in steps | First-hour damage is the most common avoidable failure | Never start a new belt at full load on day one |
Keep that table honest and the rest of this guide is mostly detail. What follows walks through each stage the way our field engineers would talk you through it on site.
03Arrival and Receiving: the First Inspection Decides Everything
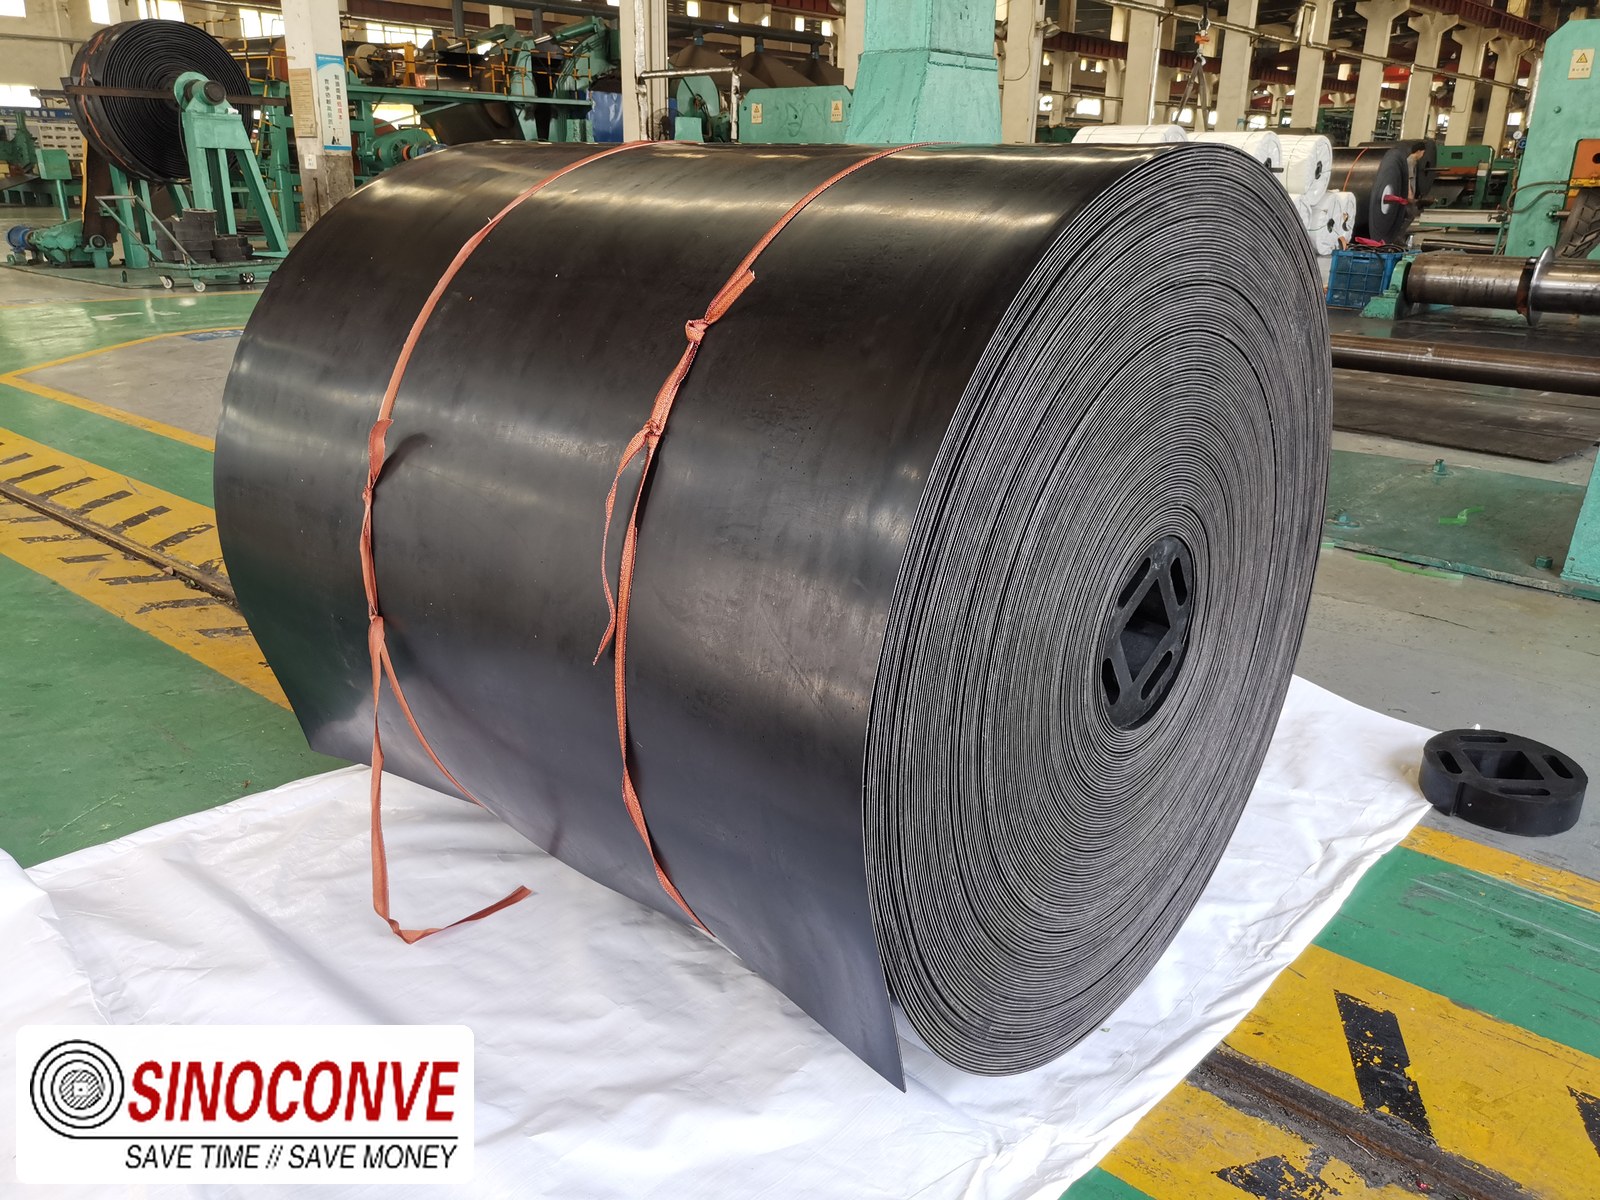
Receiving looks like paperwork, but it is really the moment where the supplier's responsibility ends and yours begins. We ship wholesale conveyor belts by the roll and by the container, and the condition the belt arrives in is, frankly, mostly about how the truck was loaded, braced, and handled between our dock and yours. Our standard export package is a waterproof PP fabric wrap over the roll, plus steel or wooden protection at the edges and a pallet under the roll. That package is designed to survive a normal ocean voyage, not to forgive a forklift hitting it at speed or a roll dropped off a tailgate.
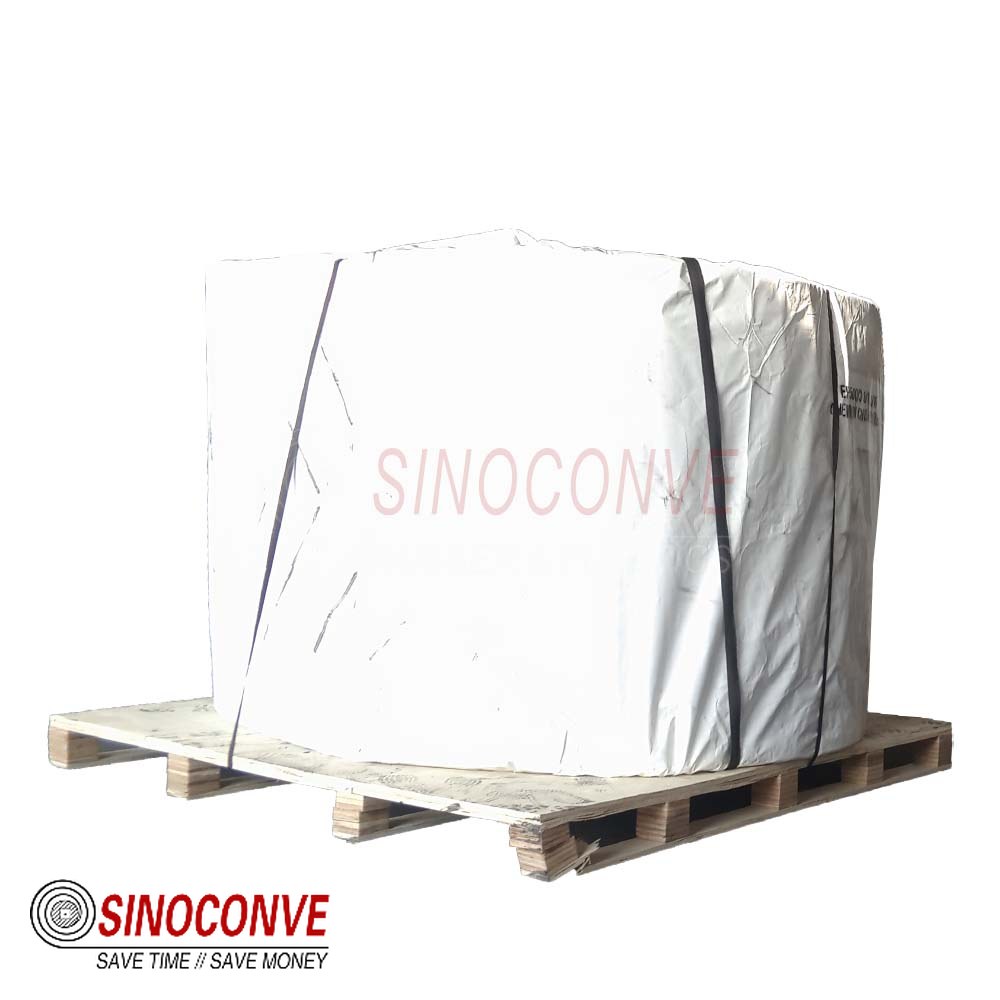
So when the truck arrives, walk around the load before you sign anything. Look for punctures in the wrap, bent or missing end caps, and straps that have loosened. If you find damage, photograph it against the truck and the delivery note, note it on the paperwork, and tell us within 48 hours with those photos. We would rather replace a damaged outer wrap or arrange an inspection than argue about it three months later, when nobody can tell whether the belt was cut at our factory, in the port, or on your yard.
Second, check the label against your order. The label carries the width, thickness, cover grade, carcass construction, and length in metres.It sounds basic, but we have seen a 1,400 mm belt ordered for a 1,200 mm conveyor because somebody trusted a handwritten tag. Compare the label with the packing list, and compare both with your purchase order. If anything disagrees, do not unwrap the roll hunting for a second opinion — call us with the label numbers and the order number, and we will confirm within the hour.
Third, count rolls and metres. A conveyor belt is sold by the metre and weighed by the tonne, so a 500 m roll that is actually 497 m is a real money difference. Check the roll count against the packing list, and if your site has a weighbridge or a crane scale, weigh the roll and compare it with the theoretical weight on the certificate. The number does not have to match to the kilogram, but it should be close, and a large gap is worth investigating before the belt goes into storage for six months.
Finally, move the roll under cover the same day. A wrapped roll can sit outside for a week in most climates without disaster, but there is no reason to test that. Rain that finds its way under the wrap, or a week of tropical sun on the exposed end, starts damage that you will discover only when you unwrap the belt at installation time. Get the roll onto a clean, dry floor, and you have already completed checks 4 through 6 without thinking about them.
04Storing a Conveyor Belt Roll Correctly
The single most common mistake we see in storage is treating a conveyor belt roll like a drum of cable — something you can drop on its side, lean against a wall, and forget. A heavy rubber belt is a precision laminate, and its geometry matters as much as its chemistry. Leave a 1,200 mm EP500/4 roll lying flat for a few months and the weight of the outer wraps slowly squashes the inner wraps; the belt develops a slightly oval cross-section and a difference in tension from one edge to the other. The first time you run it, that difference shows up as a belt that drifts to one side and refuses every correction you try.
Stand the roll upright instead. Most conveyor belt manufacturers recommend storing rolls on end, on a clean, level surface, ideally still in the original wrapping. If the roll has a wooden or steel core, make sure the bottom end is supported evenly so the core does not dig into the floor. If you must store several rolls in one bay, use racks designed for the weight — a 500 m roll of heavy belting can easily weigh eight or nine tonnes, and stacking that on top of another belt is asking for a compression set in the bottom roll.
Temperature matters more than most people expect. Rubber behaves like a very slow liquid: heat accelerates every ageing reaction, and cold makes the cover brittle enough to crack under impact.A practical band is 0 to 40 °C (32 to 104 °F). Keep rolls away from boilers, steam pipes, radiators, and anything that generates heat locally. And keep the bay dry. Humidity alone does not ruin a belt quickly, but water that collects at the bottom edge of an upright roll, or condenses inside a wrapped roll that was loaded warm and cooled at sea, can wick into the fabric edges over months. A ventilated, dry bay beats a sealed shed every time.
Then think about ozone and UV, because they are the quiet killers. Direct sunlight degrades the cover surface within weeks in strong climates. Ozone — produced by electric motors, welding, switchgear, and even some air compressors — attacks stressed rubber and produces the fine cracked pattern you see on old belts and tyres. Keep the storage bay away from motor rooms and welding bays, and do not park rolls under skylights or next to windows that face the sun for hours a day. The original wrapping does a surprising amount of this work for you, which is why check 5 says leave it on.
Stock rotation is the last habit to build. Rubber ages even in perfect conditions, so a roll stored for two years is not the same product it was on the day it left the factory. Run your belt inventory on a first-in, first-out basis, and treat anything over about twelve months in storage as a risk that needs a cover inspection and, ideally, a conversation with the conveyor belt factory before it goes into service.A quick check of the cover with a durometer, and a look at the edges for cracks, takes ten minutes and can save you from installing a belt whose cover has already begun to harden.
05Handling and Moving Heavy Rolls Safely
The ten minutes it takes to move a roll from the storage bay to the conveyor causes a disproportionate share of belt damage. The reason is simple: the roll is heavy, the edges are unprotected rubber, and the tools that are closest to hand — chains, wire rope, bare forklift tines — are exactly the wrong tools for the job.
A chain or wire-rope sling wrapped around a roll crushes the outer wraps and cuts the edges. You may not see the damage through the wrapping, but it is there, and it will show up later as edge cracks, ply separation, or a belt that tracks badly because its edges are no longer parallel. If you are lifting a roll, lift it by the core. Use a spreader bar through the core with wide textile slings, or two wide slings spaced so the roll hangs level. Keep the sling angle reasonably steep — the more the slings angle inward, the more they squeeze the roll. For very heavy rolls, a purpose-made roll lifter or a cradle is worth the money the first time you use it.
If you move rolls with a forklift, padded forks or a roll cradle are non-negotiable. Bare tines go straight through the PP wrapping and into the belt.Even padded forks should only carry the roll on its end, with the weight on the pallet or on a protective disc, never on the belt edge itself. And for short moves, an upright roll can be walked carefully on its edge over smooth, clean floors — but not over gravel, not over grit, and not across expansion joints. If the floor is dirty, use plywood sheets or a roll cart. Dragging a roll, even a short distance, grinds the edge rubber and embeds grit into the cover.
One habit worth stealing from the logistics companies we work with: do not unwrap the roll until it is at the conveyor. The wrapping is doing its job right up to the moment you string the belt, so leave it on through receiving, storage, and transport. Unwrap at the installation point, and keep the unwrapped roll on a clean surface or a cradle while you work. A surprising amount of "factory defect" damage we are asked to inspect turns out to be grit embedded in the cover during a careless unwrap on a dirty floor.
06Installation: From the Roll to a Running Conveyor
Installation is where patience pays. Before you pull a single metre of belt onto the conveyor, verify the machine itself. Check that the frame is straight and level, that the pulleys are parallel and square to the centreline, that the idlers are correctly spaced and aligned, and that scrapers and skirt boards have the right clearances.A new belt will not fix a conveyor that is out of square — it will simply wear out faster while trying to compensate for it. This is the check that costs the least and saves the most, and it is the one most often skipped because the conveyor has "always run like that."
When you are ready to string the belt, position the roll so it can unwind without being forced. The belt comes off the roll in a particular direction, and forcing it the other way kinks the plies and strains the edges. Use a roll stand, a pit, or jack stands under the core so the roll turns freely. Pull the belt onto the conveyor along the carry side in the direction of travel, supporting it as you go so it does not drag on the ground or scrape against the structure. Never pull a belt by its edge with a come-along hooked onto the rubber — if you need to attach pulling points, use the clamping method on the belt end or a proper pulling clamp across the full width.
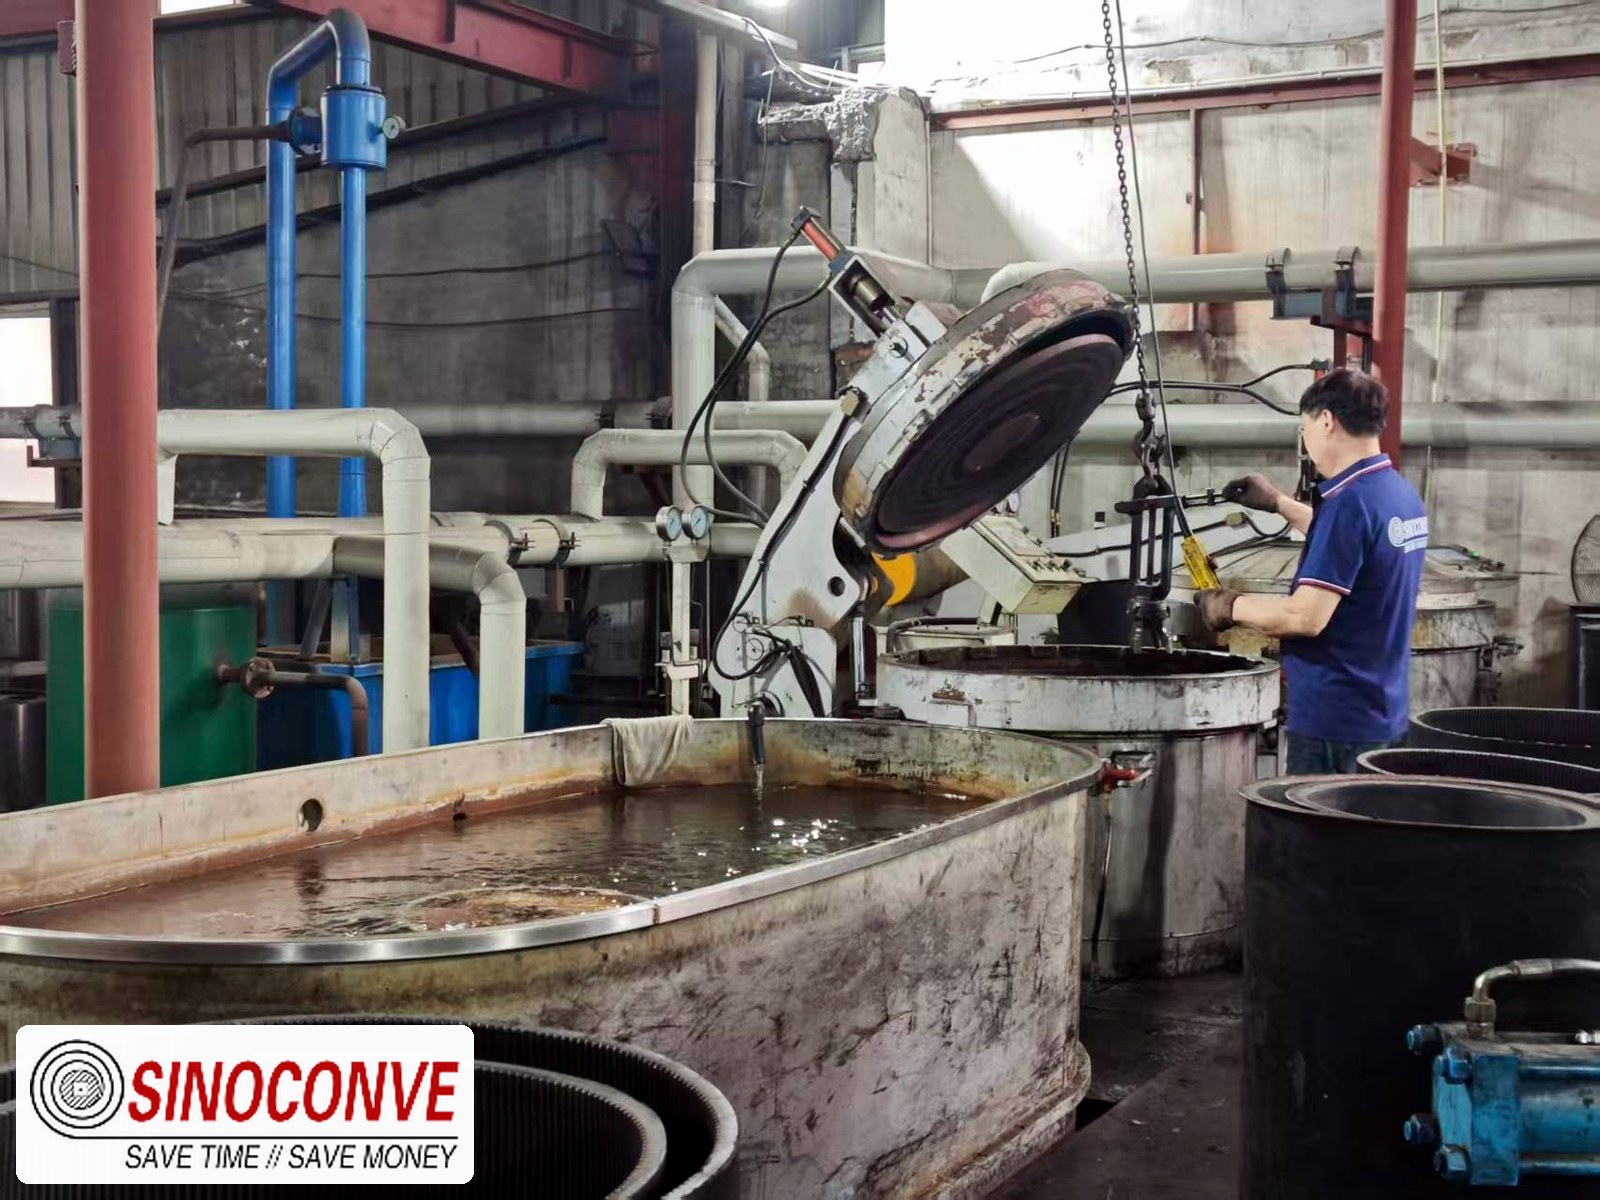
The splice deserves its own paragraph, because it is the most highly stressed joint in the whole system. Whether you choose a hot vulcanized splice or a mechanical fastener depends on the duty, but the conditions matter more than the method. Splice in a clean, dry, warm area.Dust gets into the joint and becomes a stress raiser; moisture turns a vulcanized splice into a slow failure; cold makes the rubber too stiff to prepare properly. Use a trained crew and the correct tools — step lengths, ply preparation, and cover angles follow the manufacturer's procedure, not a memory of the last belt. If your crew has not spliced a belt of this construction before, ask us about splice training or a supervised first splice; we would rather send a technician than replace a belt.
Tensioning is the second-most common installation error. A fabric-carcass belt stretches a little in its first weeks of service — typically around one to two percent of its length depending on construction — so the take-up must start with enough travel to absorb that growth. If the take-up runs out of stroke, the belt goes slack, slips on the drive pulley, and can wrap the snub pulley before anyone notices. Set the initial tension according to the conveyor design, run the belt empty, and plan to re-tension after the first 24 to 48 hours of operation, then again after the first week. That three-step tensioning habit prevents more premature belt failures than any other single maintenance practice we know.
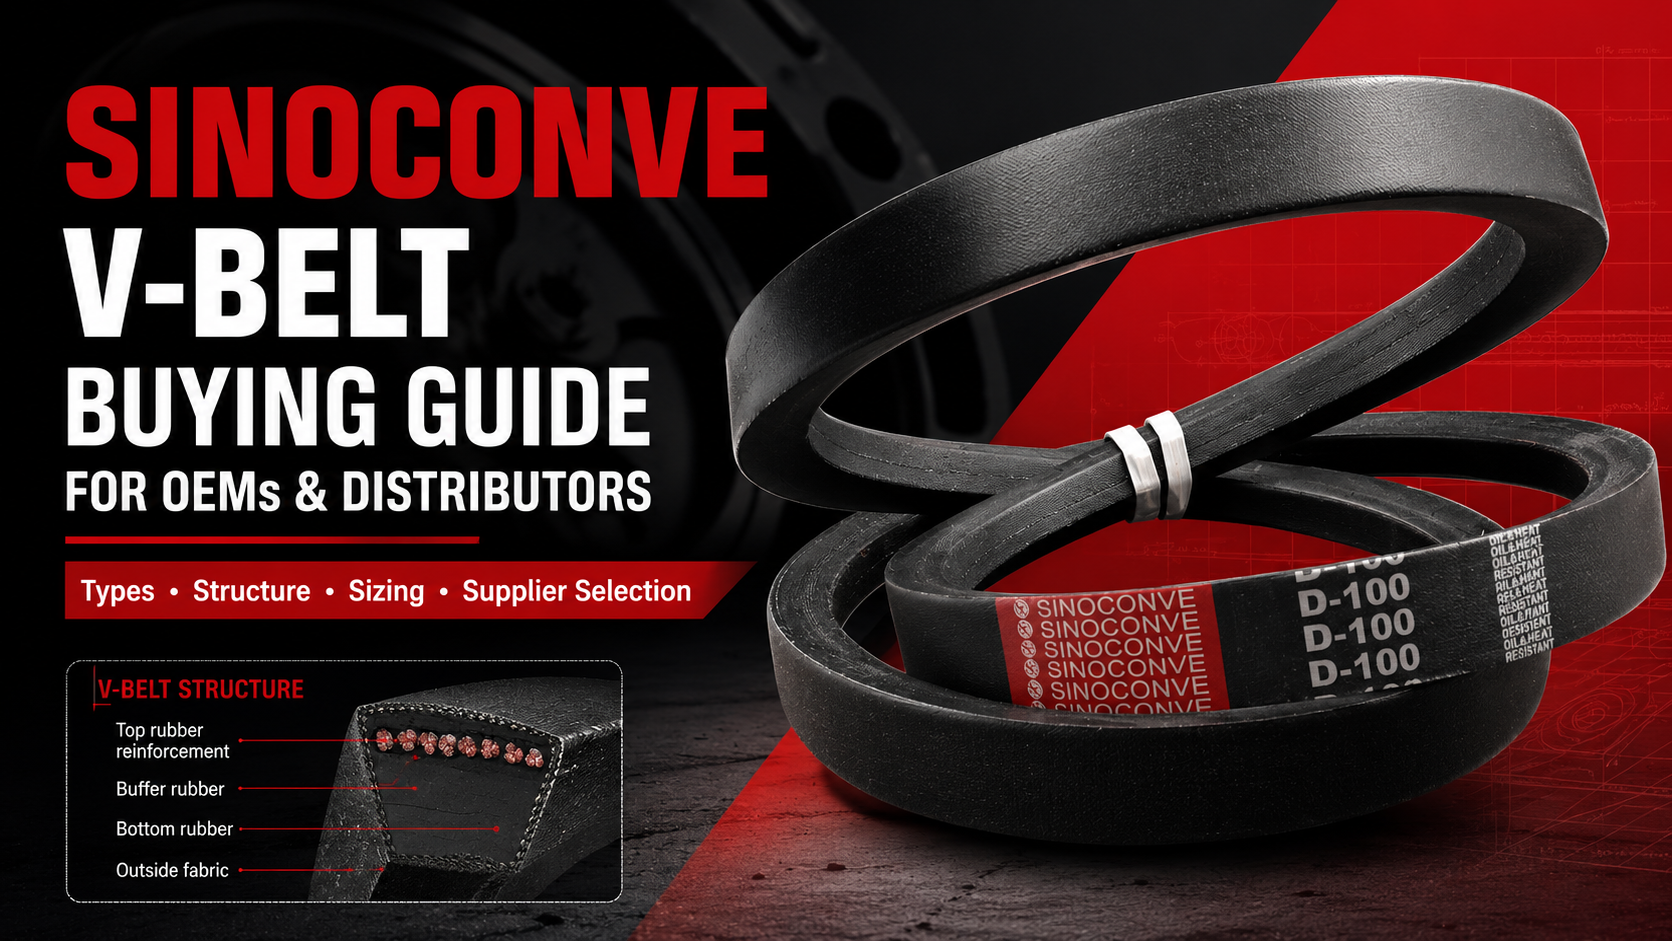
While you are at the drive end, check the drive itself. Many short conveyors and transfer belts are driven through a V-belt from the motor to the gearbox, and a loose or mismatched V-belt drive changes the effective speed and starting behaviour of the whole conveyor.If you need to replace those drive belts, this is the moment to do it — matching the section and length matters more than most maintenance teams realise, whether you buy classical sections from a V-belt manufacturer or need cogged, banded, or ribbed options from a transmission belt manufacturer that carries the whole drive family. Fitting the wrong profile, or over-tensioning a drive that was fine before, is a fast way to wreck new bearings and a new belt at the same time. And if your machine uses a synchronous or ribbed drive rather than a classical V-belt, the same logic applies: check condition, tension, and alignment before you commission the new conveyor belt, not after.
07Start-Up and the First Loaded Shift
A new belt should earn its load. Run the belt empty first — at least a few full revolutions — and watch it from the tail and the drive. Most tracking problems appear in the first empty passes, when the belt has no load to stabilise it. Correct tracking in small steps: adjust one idler at a time, in the direction of belt travel, and let the belt run a few minutes between adjustments.If the belt wanders at a splice every revolution, the splice is almost certainly not square; measure it and fix it before it damages the structure.
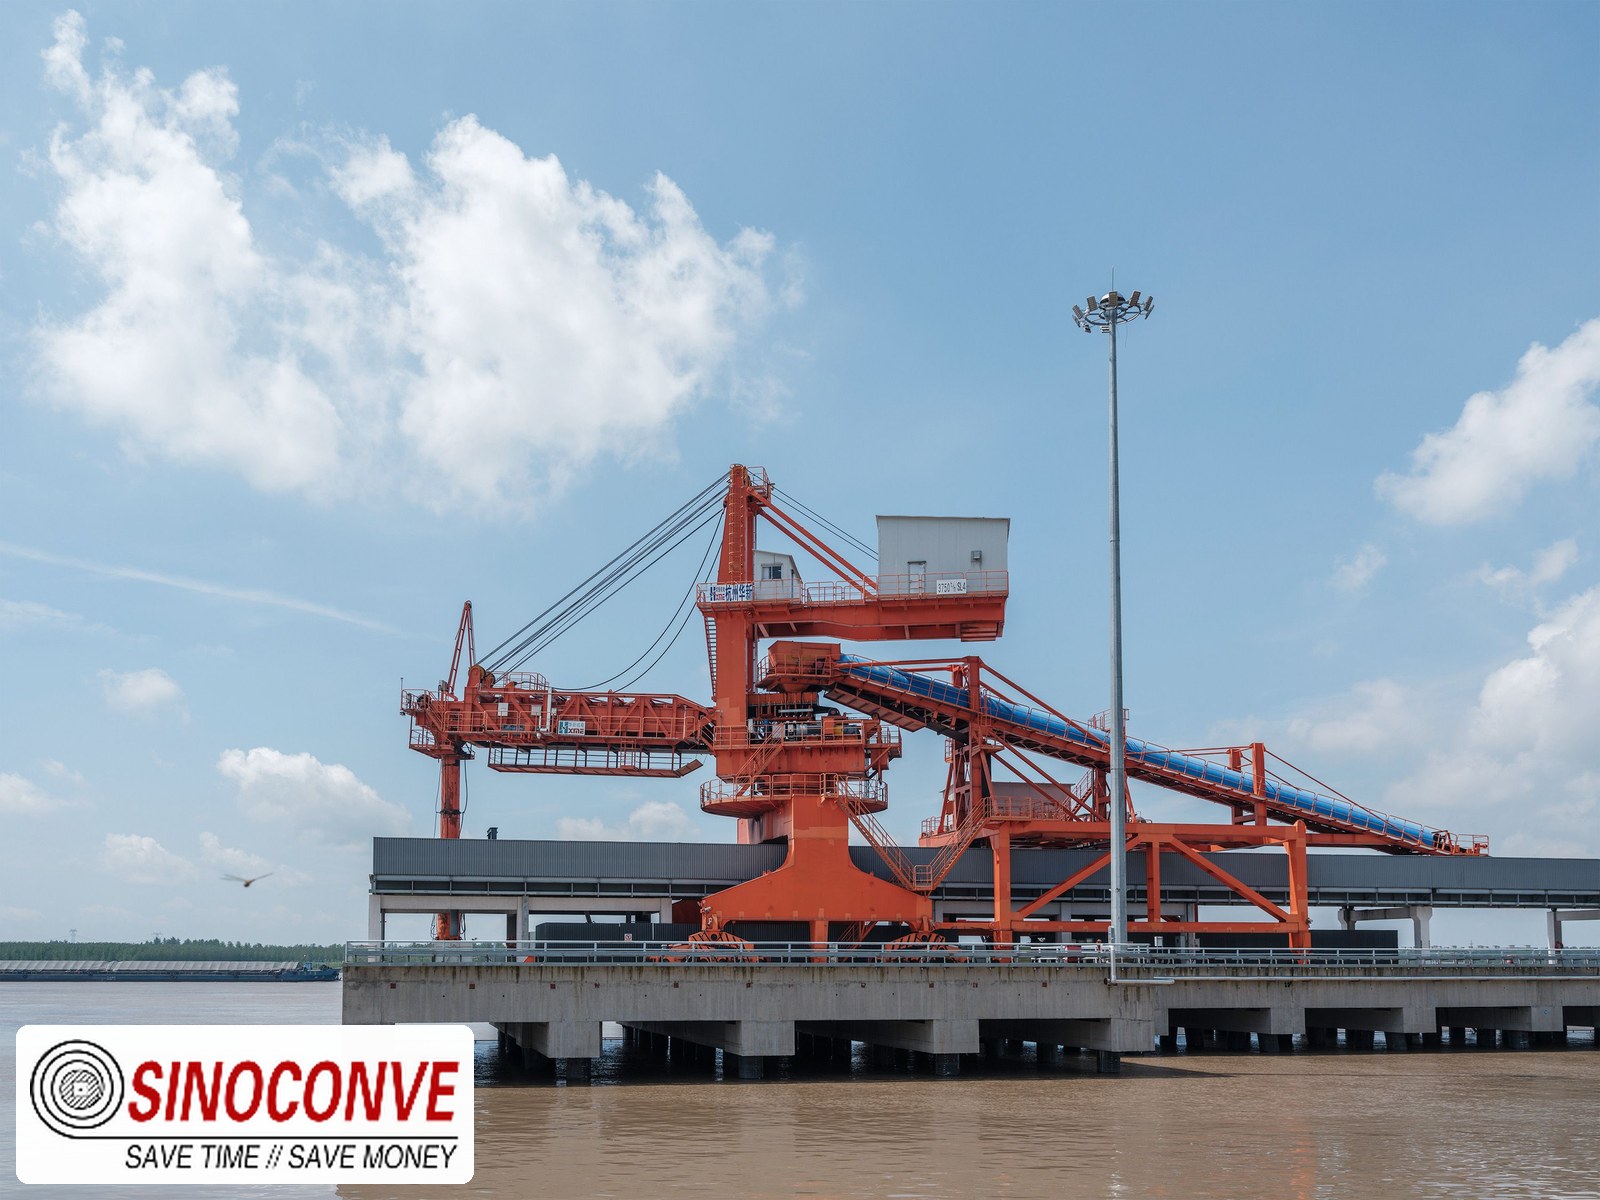
Once the belt tracks empty, run it with a light load and watch the loading point. Skirt rub, spillage under the belt, and material trapped between belt and pulley all show up in the first hour. Check the splice area after the first loaded passes for signs of movement or heating, and check the drive for slippage. Then increase the load in steps toward the design rate over the first shift or two. A belt loaded to full capacity on its first revolution has no chance to bed in, and the splice and covers pay for that impatience for the rest of the belt's life.
Finally, write it down. Keep a simple record for every belt: order number, construction, date received, date installed, splice method, tensioning history, and any problems found at start-up. When a belt fails — and eventually every belt fails — that record is what separates a quick, confident diagnosis from a week of guesswork. It is also what lets a conveyor belt distributor or supplier give you useful advice instead of a shrug, because the history tells them what to look for.
08A Worked Example: An EP500/4, 1,200 mm × 500 m Roll, Done Properly
Let us follow one roll through the whole process, with numbers you can scale to your own site. A mining contractor in West Africa ordered a 1,200 mm wide, EP500/4 rubber conveyor belt, 500 metres long, for a new crushing plant feed conveyor. The roll left our factory wrapped in PP fabric on a steel-framed pallet, with the test certificate and packing list in the waterproof pouch.
Arrival: the contractor's storeman checked the wrap for punctures, confirmed the label showed EP500/4, 1,200 mm, 500 m, weighed the roll on the site crane scale — about 8.5 tonnes, close enough to the certificate to be confident — and signed the delivery note with a note that the roll was intact. The roll went straight to a covered, level storage bay, standing on end, still wrapped, with the tag logged in the store register.
Two weeks later, installation day. The crew checked the conveyor frame and found the tail pulley was 4 mm out of square — small, but exactly the kind of error that makes a new belt drift. They corrected it before stringing the belt.The roll was moved on a roll cradle to the pit, unwrapped, and the belt was pulled through on the carry side with a pulling clamp across the full width. The splice crew worked in a sheltered area at 26 °C, prepared the steps to our procedure, and vulcanized the joint that afternoon. The take-up was set with about 1.5 percent of the belt length of travel in reserve for working elongation.
Start-up: the belt ran empty for twenty minutes while the engineer watched the tail. One idler on the return side needed a small nudge; the belt settled within three adjustments. The crew ran a light load for the first hour, checked the splice, then ramped to full load over the rest of the shift. The storeman re-tensioned the take-up the next morning, again at the end of the week, and logged both visits. The belt was still running straight when the contractor ordered the second 500 m roll three months later — this time without the storeman needing to be told how to receive it.
That is the whole point of the checklist. None of those steps is clever. Every one of them is cheap. The only cost is the discipline to do them in order, and the payoff is a belt that lives out its design life instead of dying in its first year.
09Storage Environment Quick Reference
If you only remember one table from this guide, make it this one.It condenses the storage guidance into the conditions a storekeeper can actually measure, plus the risk each condition creates when it drifts out of range.
| Condition | Recommended range | What happens outside the range | How to fix it |
|---|---|---|---|
| Air temperature | Roughly 0 to 40 °C | Below 0 °C the cover stiffens and cracks under impact; above 40 °C ageing accelerates sharply | Insulate the bay, avoid heat sources, monitor with a max/min thermometer |
| Relative humidity | Below roughly 75 %,ventilated | Condensation and standing water attack edges and fabric plies | Ventilate the bay, keep rolls off the floor, check for condensation after season changes |
| Sunlight | None, direct or indirect | UV hardens and cracks the cover within weeks in strong climates | Keep rolls wrapped and out of skylight or window paths |
| Ozone sources | None nearby | Motors, welders, switchgear, and compressors crack stressed rubber | Locate the store away from motor rooms and welding bays |
| Contact with floor | Clean, dry,level surface | Moisture and grit embed in the cover; uneven floors distort the roll | Use pallets, dunnage, or a painted level floor |
| Roll position | Upright on end | Flat storage creates compression set and edge-tension differences | Stand rolls on end; use cradles for temporary flat storage |
| Stacking | One roll deep,or purpose-built racking | Upper rolls crush lower rolls and distort the cores | Never stack belt rolls directly on each other |
| Shelf life | Prefer under 12 months | Rubber ages continuously; older rolls need inspection and advice | Run FIFO stock rotation and log arrival dates |
| Wrapping | Keep original wrap until installation | The wrap blocks UV, ozone, moisture, and abrasion | Unwrap only at the conveyor,on a clean surface |
| Pest and vermin | Rodent-proof bay | Rodents and insects damage wrapping and can reach the rubber | Keep the bay clean and sealed; inspect periodically |
Run through that table twice a year and you will catch most storage problems while they are still cheap. One caveat worth repeating: these are practical bands that suit the vast majority of rubber conveyor belts, not absolute guarantees. If your site is in an extreme climate — persistent freezing, tropical humidity, or desert heat — ask the supplier who sold you the belt for site-specific limits before you commit to a long storage period. Every reputable conveyor belt supplier would rather answer that question in week one than diagnose cracked covers in month nine.
10When to Call the Manufacturer
There is a difference between a maintenance problem you should solve on site and a question you should not gamble on.As a general rule, if an answer affects the belt specification, the splice procedure, or a warranty, phone the manufacturer before you proceed. The list below is short, but every item on it has, at some point, cost somebody a belt because they guessed instead of asking:
- The belt has been stored longer than twelve months and you are about to install it.
- The storage conditions were poor — heat, sun, water, or ozone exposure — and you are unsure whether the belt is still sound.
- The roll shows damage you cannot explain, and the delivery was more than a few weeks ago.
- You are changing the belt construction (for example from NN to EP, or fabric to steel cord) and the take-up or pulley diameters were designed for the old belt.
- The splice crew is unfamiliar with the carcass type and there is no local supervisor available.
- You are not certain whether the belt you received matches the certificate, and the label is unclear.
- The conveyor is being modified — longer centre distance, steeper incline, higher speed — and you want a sanity check on the belt you plan to reuse.
None of these questions costs anything to ask, and most of them get answered the same day when you write to sales@sinoconve.com with the belt construction and order number in the subject line. When you buy from a conveyor belt factory directly, you are also buying the accumulated experience of every installation that factory has supported — which is exactly the resource you want on your side during the weeks when a new belt is most vulnerable.
11Frequently Asked Questions
How long can a conveyor belt be stored before it goes bad?
Under good conditions — dry, shaded, roughly 0 to 40 °C, still wrapped, stored upright — a rubber conveyor belt will hold for a year without much change. Beyond that, have the cover inspected and get the manufacturer's opinion before installing. Rubber ages continuously, so treat belt stock like any perishable inventory: first in, first out.
Should conveyor belt rolls be stored standing up or lying flat?
Standing up, on end, on a clean level surface. A heavy roll lying flat on its side slowly distorts under its own weight, which creates tension differences across the width that show up as tracking problems later. If a roll must lie flat temporarily, support it evenly and rotate it periodically.
Why does my new belt track badly even though the conveyor was fine before?
Usually because the old belt had settled into the conveyor's misalignment and the new, stiffer belt will not. Check the frame, pulleys, and idlers for squareness before blaming the belt. If the structure is straight and the belt still wanders, check the splice for squareness and the roll for storage damage.
Can I splice outdoors if the weather is good?
Dry and warm is the test, not the calendar. Dust, wind, moisture, and cold all hurt splice quality. A covered, sheltered area with clean tools beats a sunny outdoor spot every time. If conditions are marginal, postpone the splice rather than risk it.
What is the right amount of take-up travel for a new fabric belt?
A practical starting point is enough travel for roughly one to two percent of belt length for fabric-carcass belts, since working elongation sits in that range for most EP constructions. Confirm the figure for your belt grade, and re-tension after the first day and the first week of operation.
Does SINOCONVE help with installation questions or splice training?
Yes. We supply splice procedures and materials with orders, and our engineers can support supervised first splices or answer installation questions by email at sales@sinoconve.com. The conveyor belt factory also welcomes specific questions about storage limits for the exact construction you bought.
Protect your next belt order from day one
Buying new conveyor belting? We deliver rolls that are built, inspected and packed for trouble-free storage and installation.
Related Products You May Need
| Rubber Conveyor Belt Multi-ply EP/NN fabric belts up to 3,000 mm wide |
EP Conveyor Belt Dimensionally stable carcass for long, high-tension lines |
| PVC Conveyor Belt Light and medium-duty options |
Conveyor Roller Idlers and rollers matched to your belt |
| V-Belt Classical and cogged V-belts for drive systems |
Full Product Catalog Browse the complete SINOCONVE range |
Related Blog Posts
- Conveyor Belt Stock Planning — how much belt to keep in stock
- Conveyor Belt Jointing Methods Guide — vulcanized vs mechanical splicing step by step
- Extend Conveyor Belt Service Life in Mining — maintenance habits that add years
- Conveyor Belt Sourcing Guide to Reduce Downtime — what to check before you order